Hello community,
I just wanted to share my little project with you. It was fairly simple to accomplish.
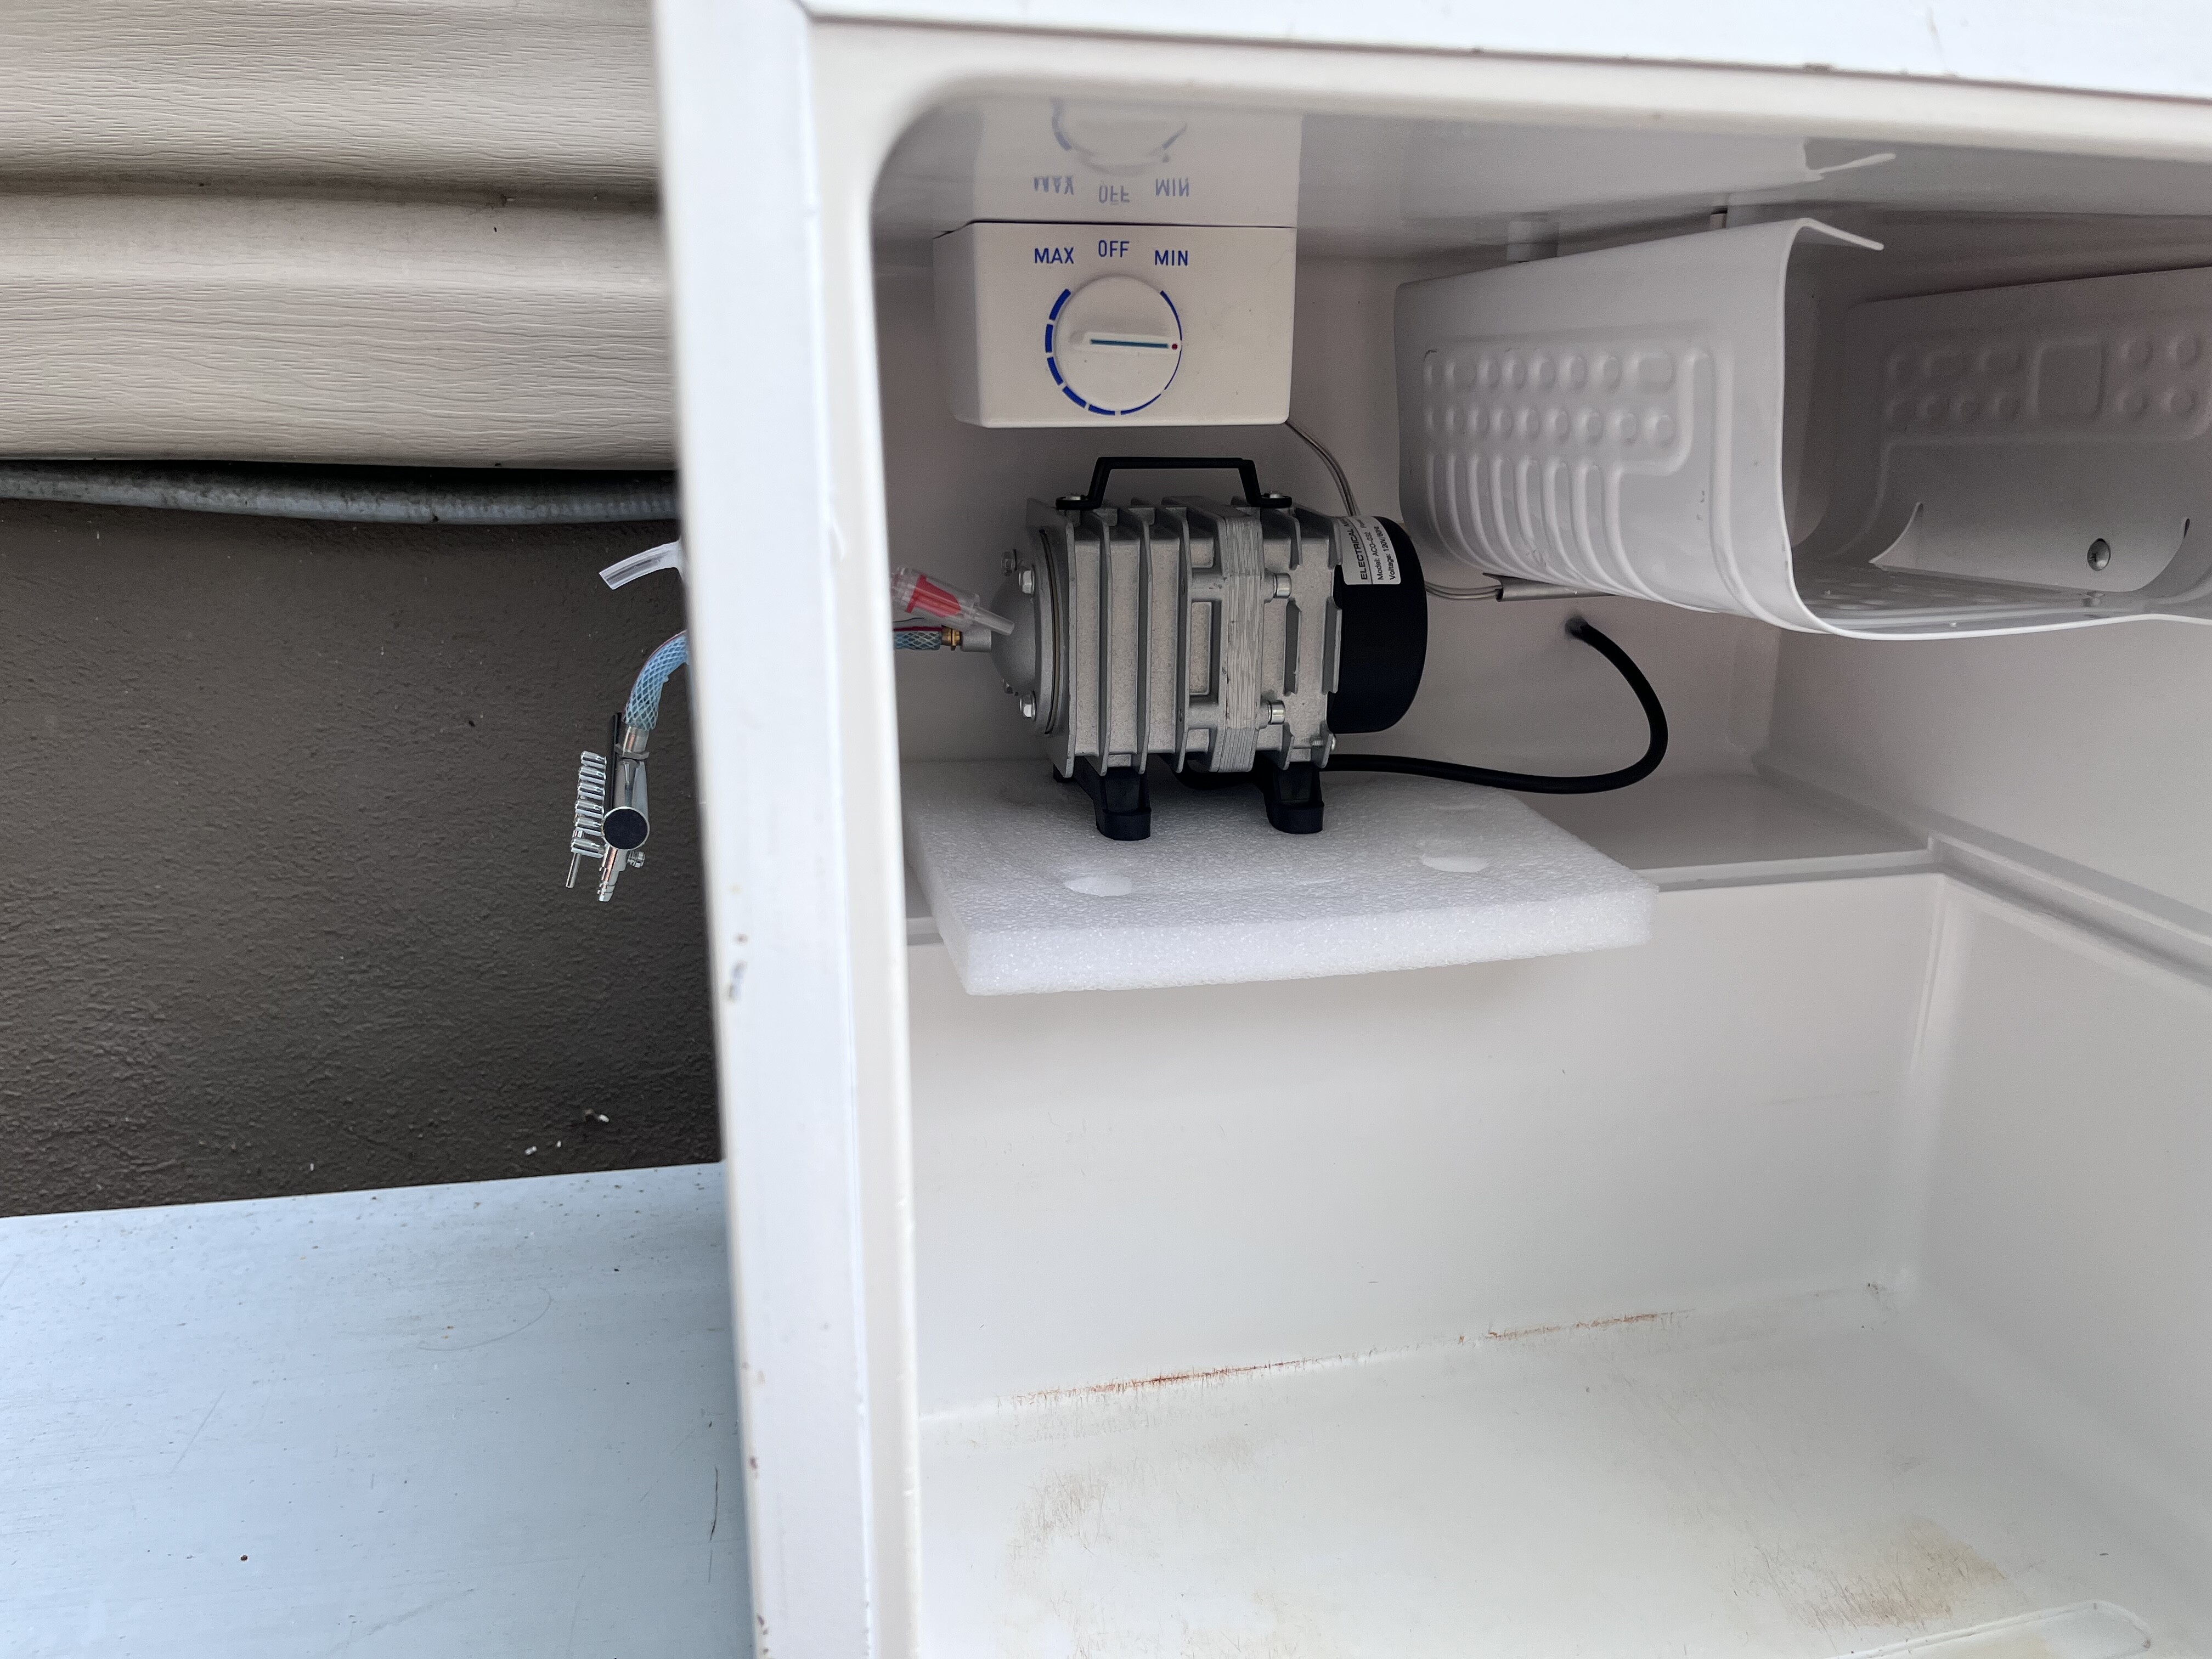
It is essentially a Water Chiller using a mini fridge and an air pump that can be used for Hydroponic set ups like DWC (Deep Water Culture) and RDWC (Recirculating Deep Water Culture).
Note: The only tricky part is preparing/splicing the power cable for the air pump. Since we want to drill the smallest hole possible to push the power cable through the fridge, you need to cut it, push it through a small hole that you need to drill, and then repair the cable. This video shows you 6 ways to repair the cable. 6 Ways to Fix Broken Wires - Beginner Through Pro
Items required:
1x Mini fridge (I got an old used one for $40)
1x Air pump with multi port manifold ( 1030 GPH 35W 65L/min)
1x Pawfly 6 PCS Aquarium Check Valves for Common Air Pumps
1x small piece of air tubing (3-4 inches) to use with the Check Valve
Tools required:
1x Power Drill
1x Drill Bit to drill holes for the Power Cable and the Air Tube from the Air Pump (I used a 1/4 drill bit)
1x Drill Bit To drill a hole for the Air intake tube (I used a 15/64 drill bit)
1x Tube of Caulking
Instructions:
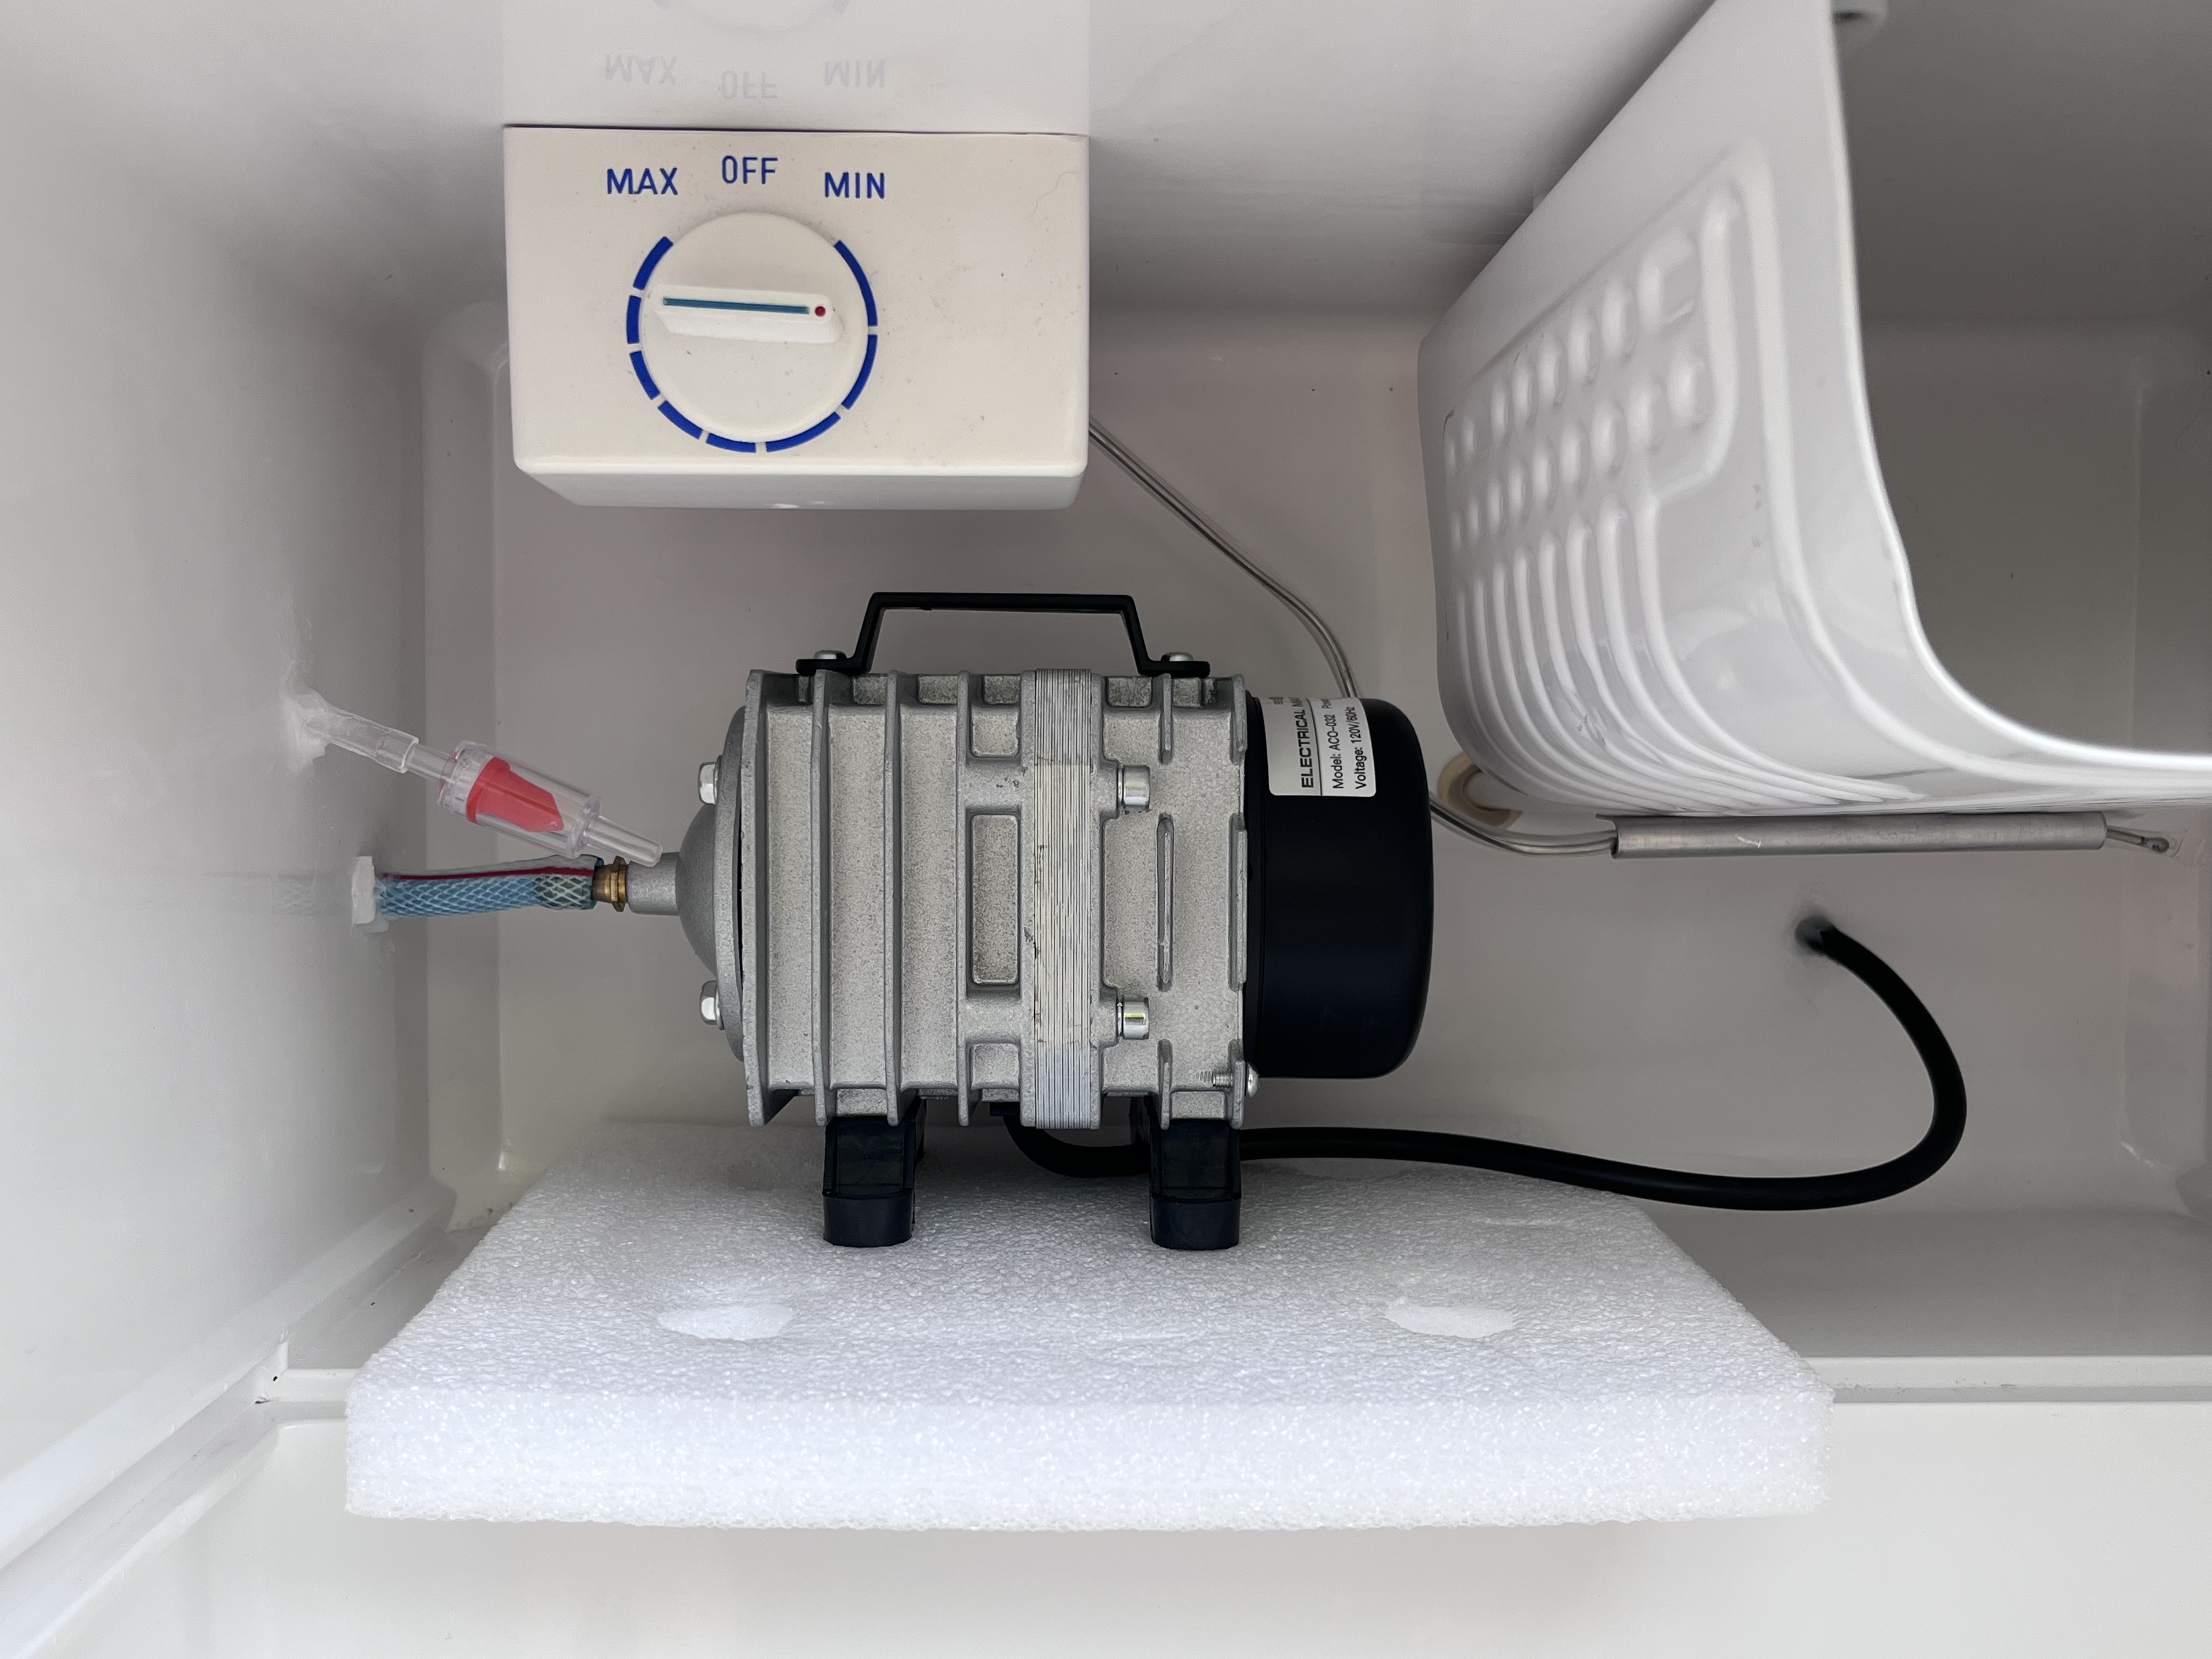
Step 1: Place the air pump inside the mini fridge and decide where it will sit, so that you can determine where to drill: 1. the hole for the air tubing for the air pump, 2. the hole for the power cable for the pump and 3. the hole for the one-way air intake with check valve.
Step 2: Once you have identified where to drill the 3 holes, get your drill and drill ![]()
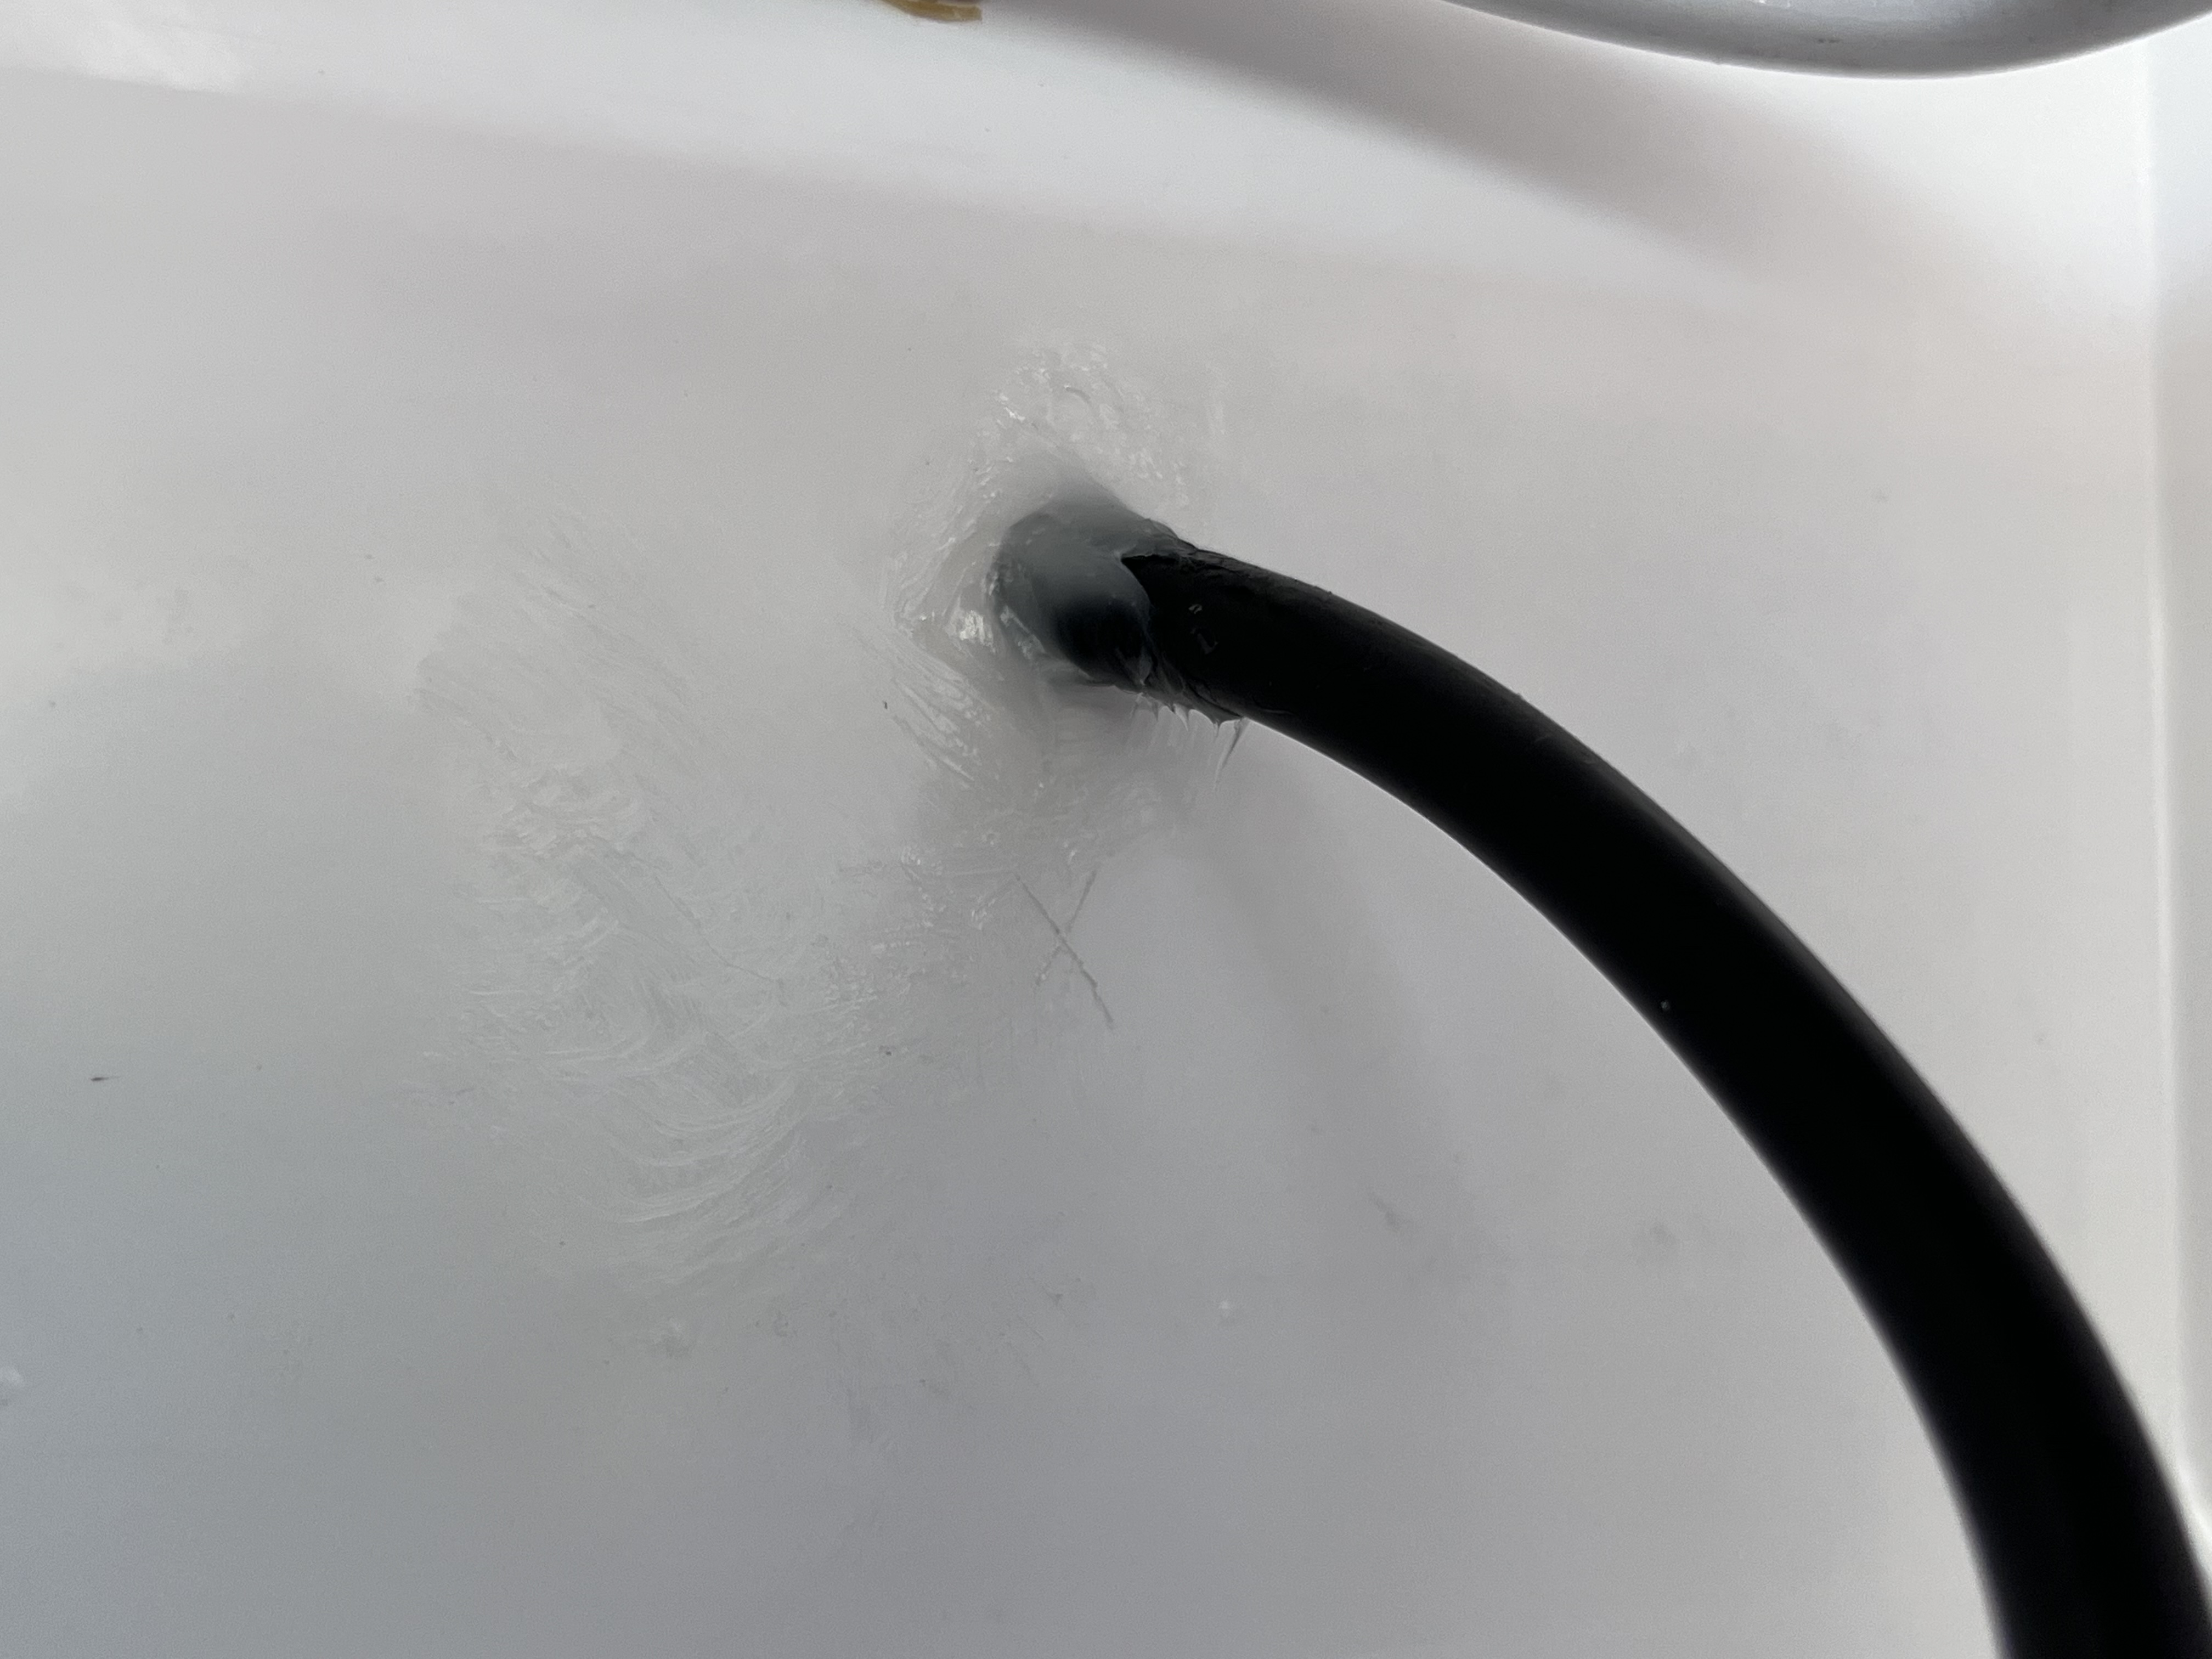
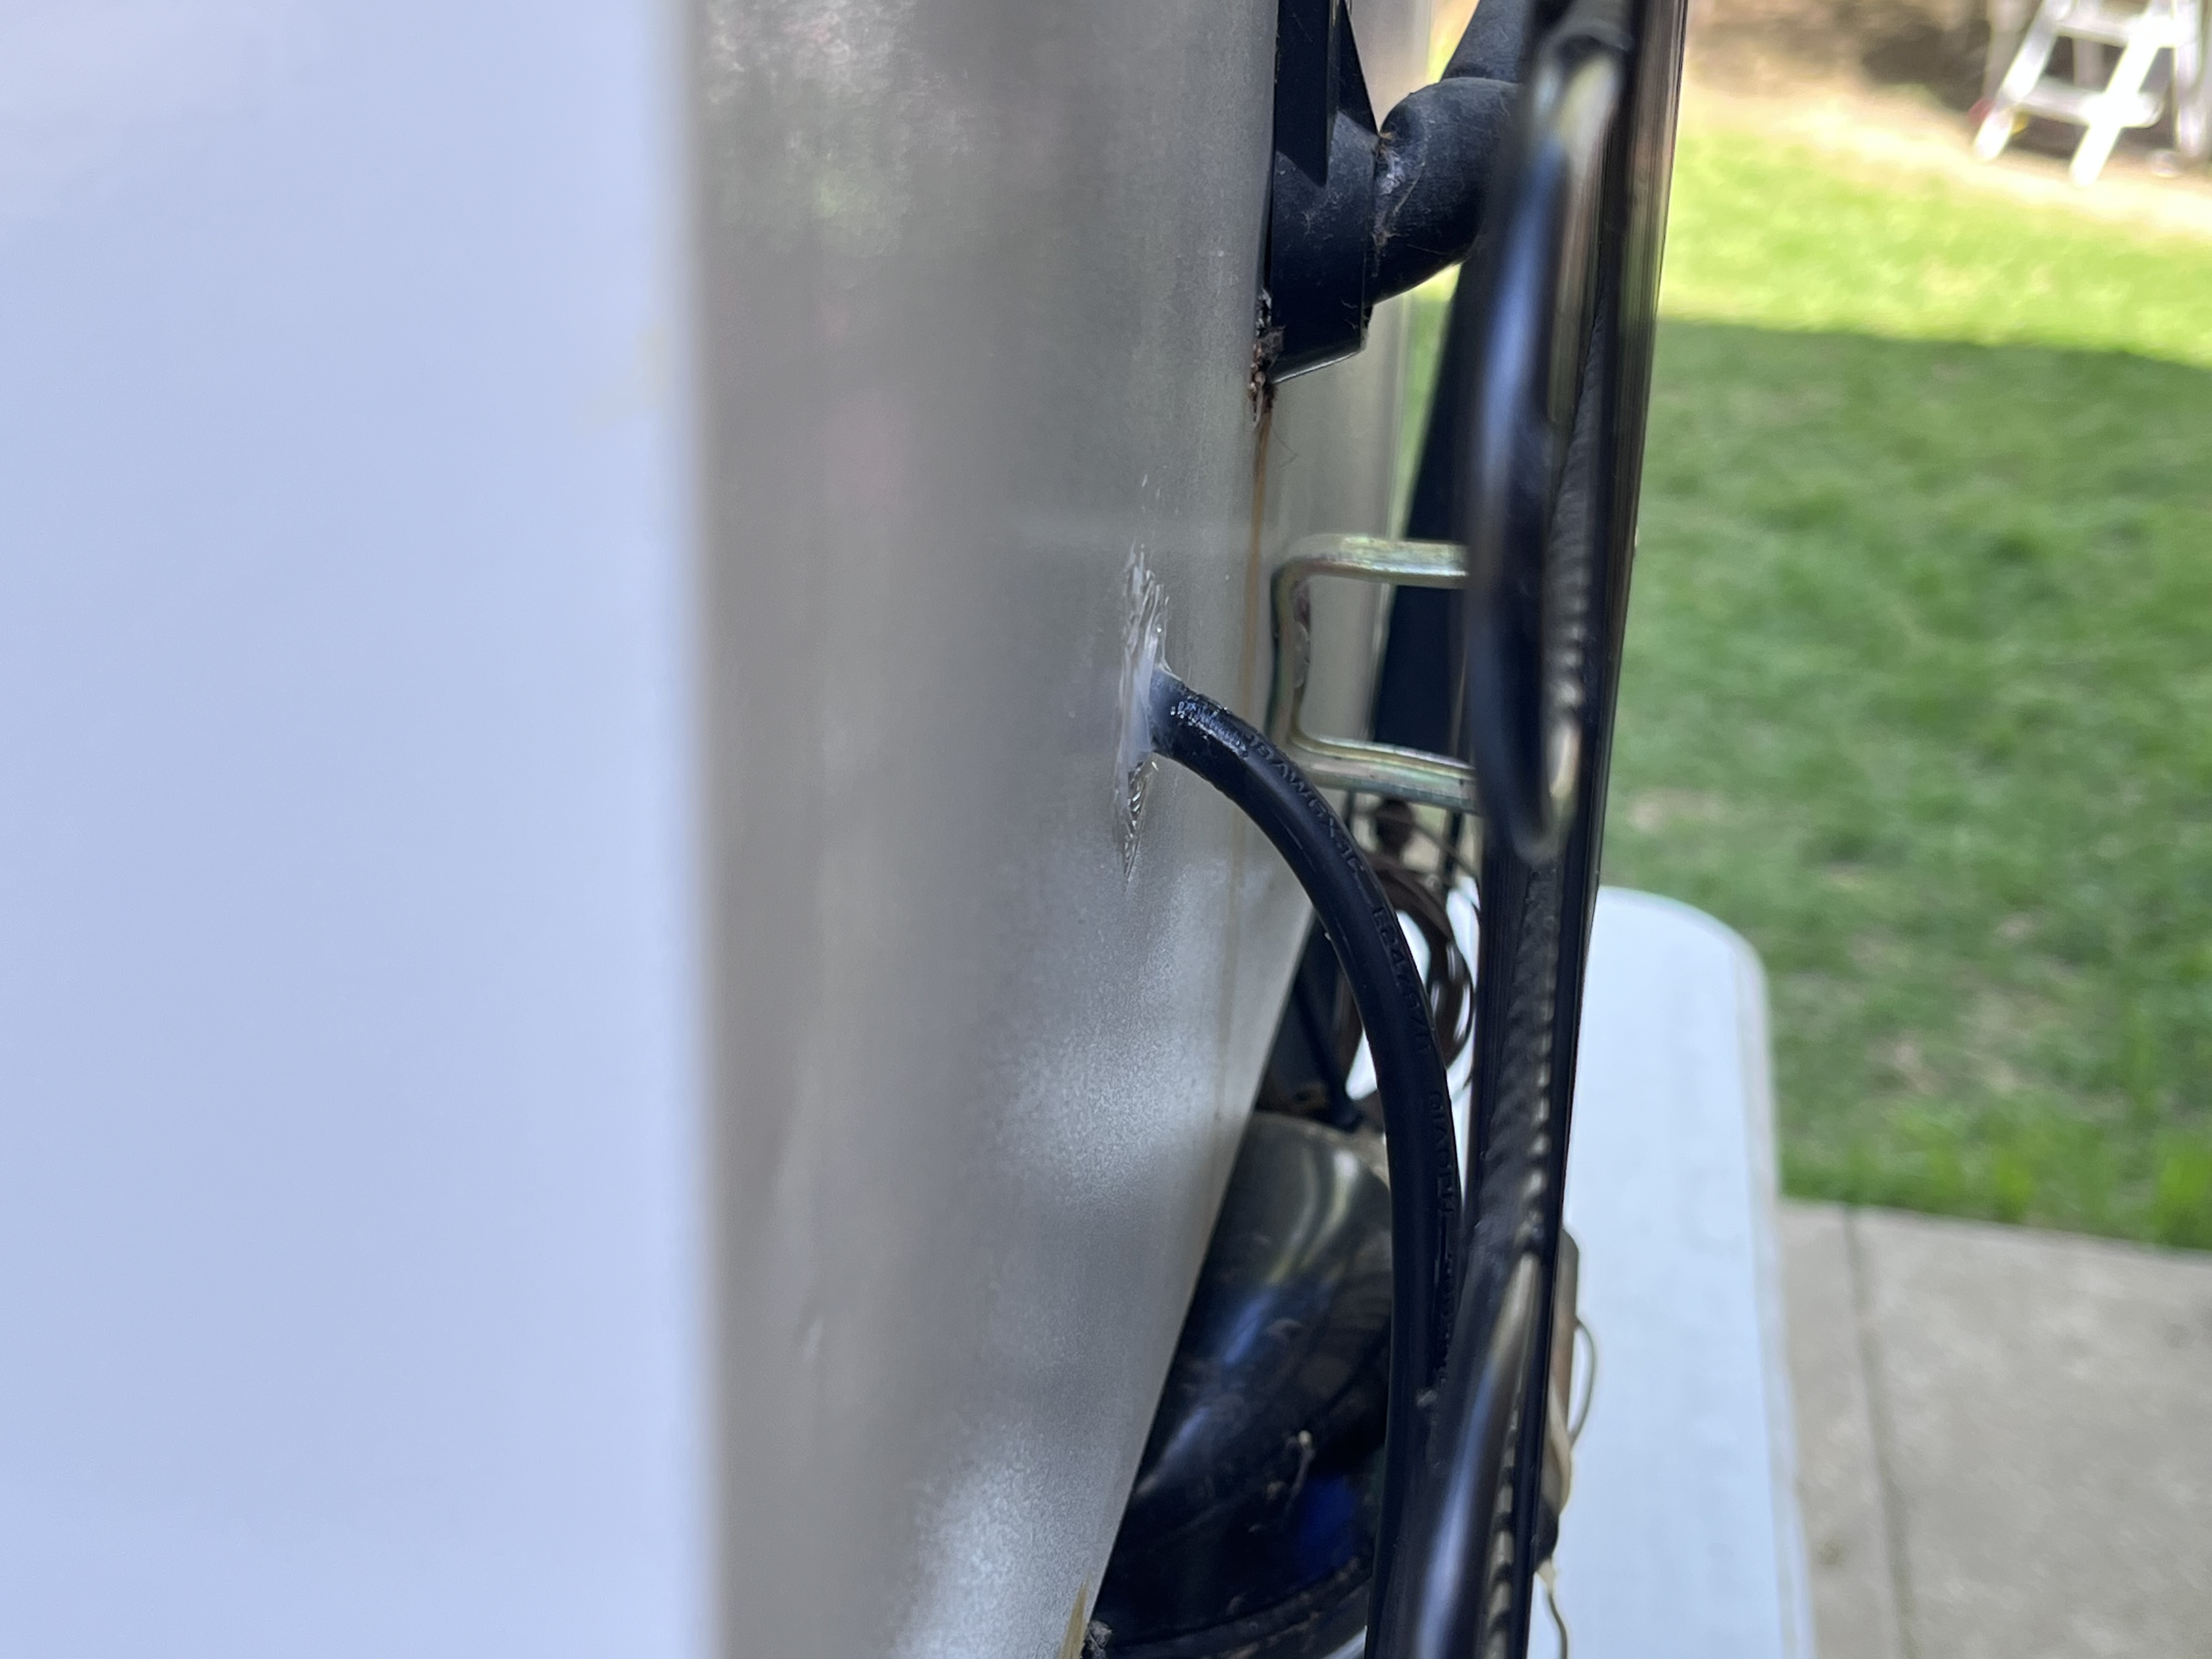
Step 3: Determine where you want to cut the power cord for the air pump, cut it and push it through the hole.
Step 4: Repair the power cable for the air pump.
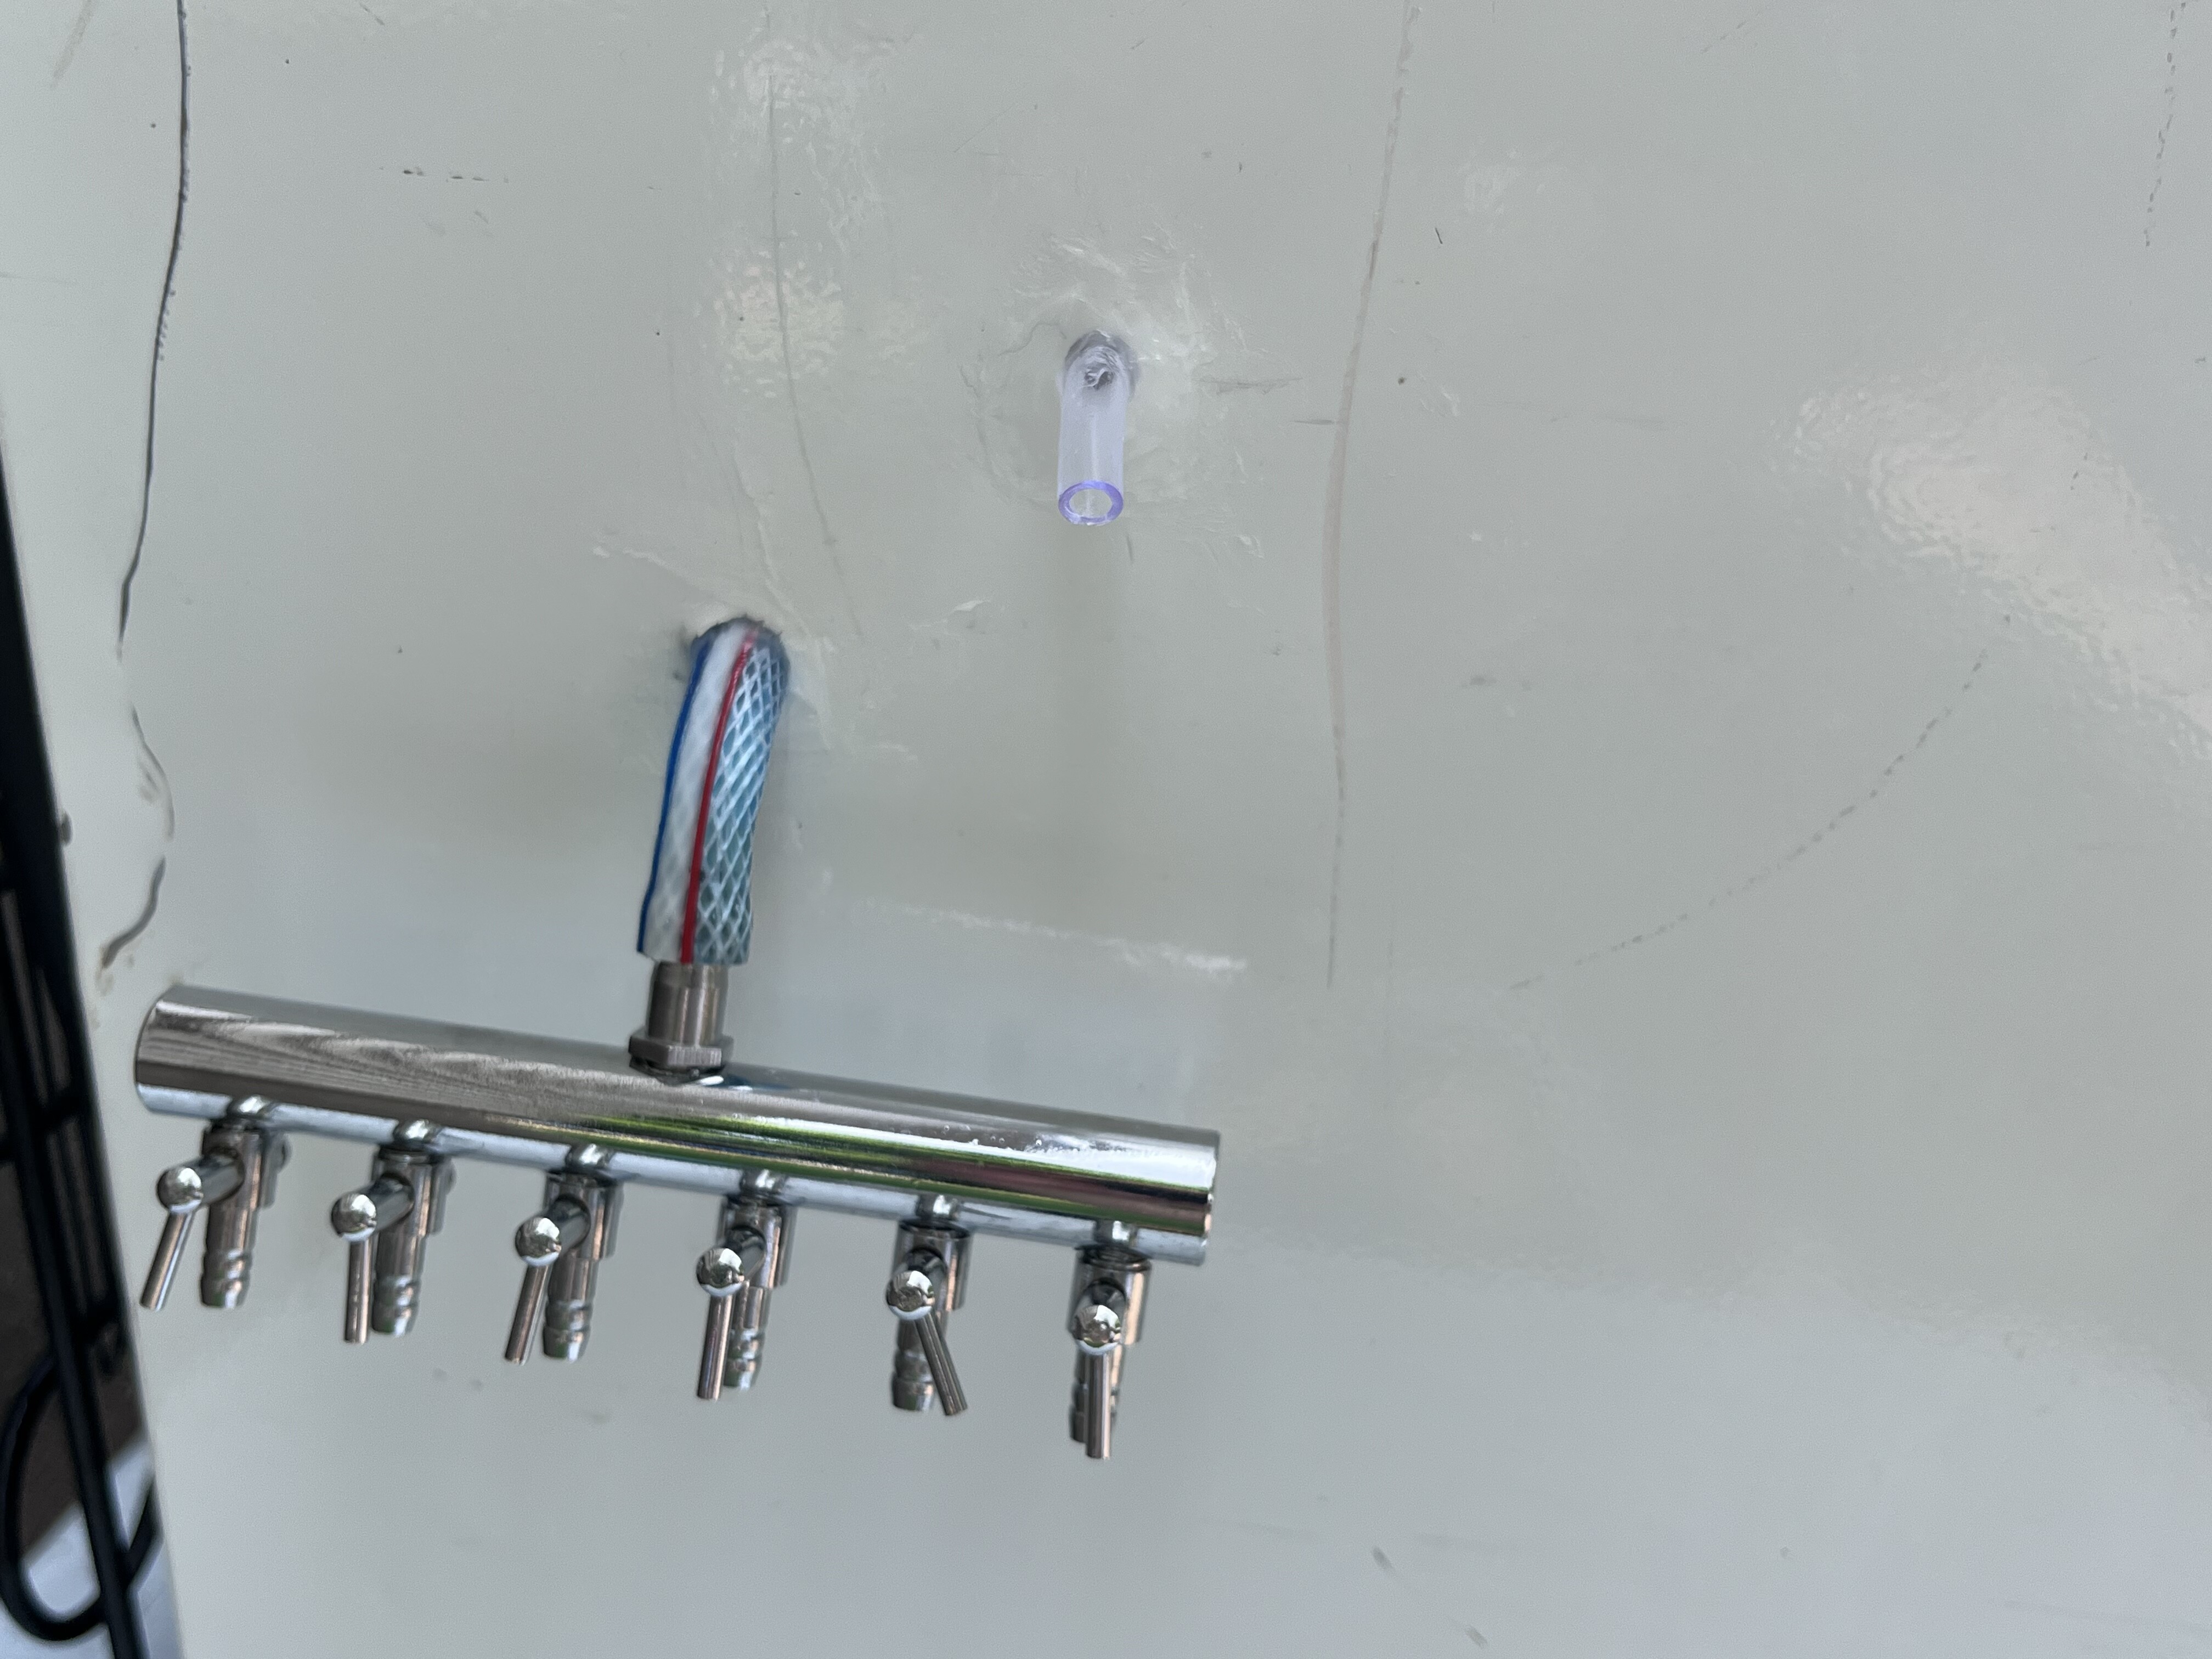
Step 5: Disconnect the air hose form the air pump (just pull it off), and push the air hose through the hole from outside the fridge, so that the hose is in the fridge and the manifold is outside the fridge. Clear any debris from inside the hose, and re-connect it to the air pump.
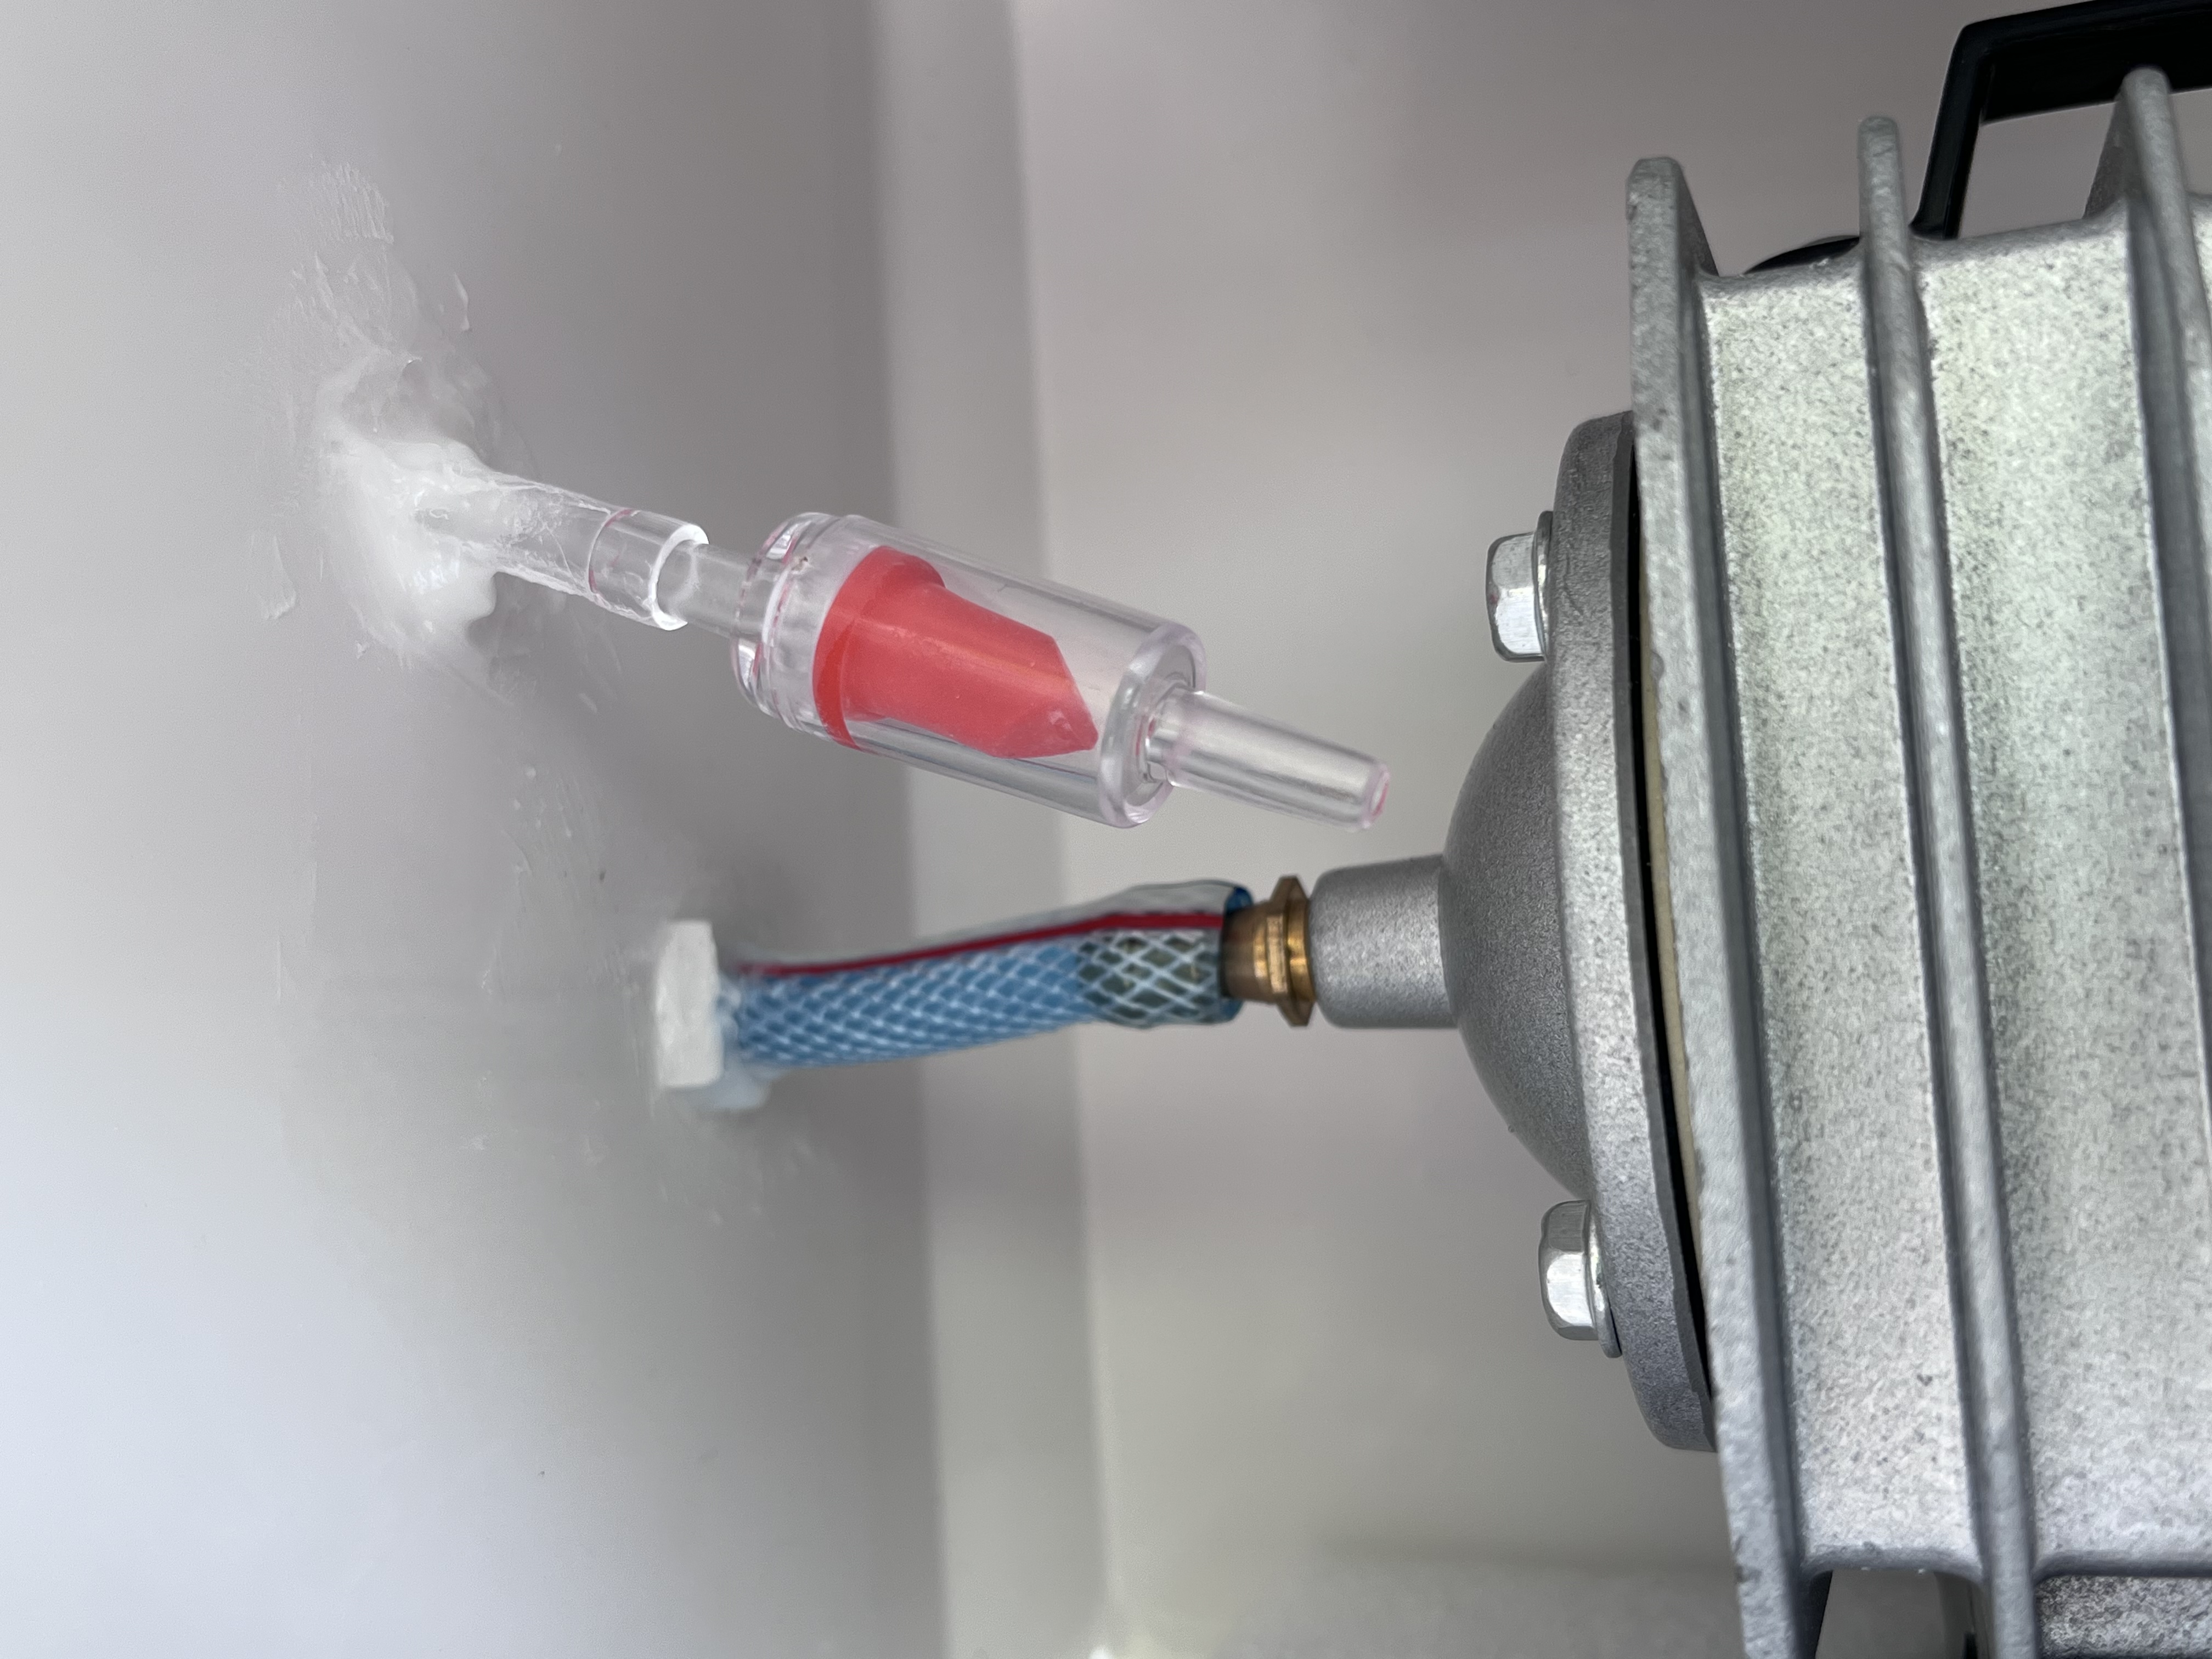
Step 6: Get the small piece of air tubing for the air intake and push it through the hole, clear the hose of any debris, and insert the check-valve in the correct direction
NOTE: Please make sure you insert the check valve so that it can allow air into the fridge, but not out.
Step 7: Get you caulking and apply caulking on the inside and outside of each hole you drilled. I applied 2 coats to be sure they were sealed.