Good morning, and it’s a pleasure to comment here with you.. I completely agree with your analysis regarding base water and the origin of feeding charts. Adding to the discussion, I’d like to share how we approach it through practical measurements for mineral management:
It is true that in organic growing, runoff is not measured because the focus is on soil microbiology and organic decomposition. But when working with mineral nutrition based on soluble salts, monitoring runoff becomes a key tool to avoid going in blind.
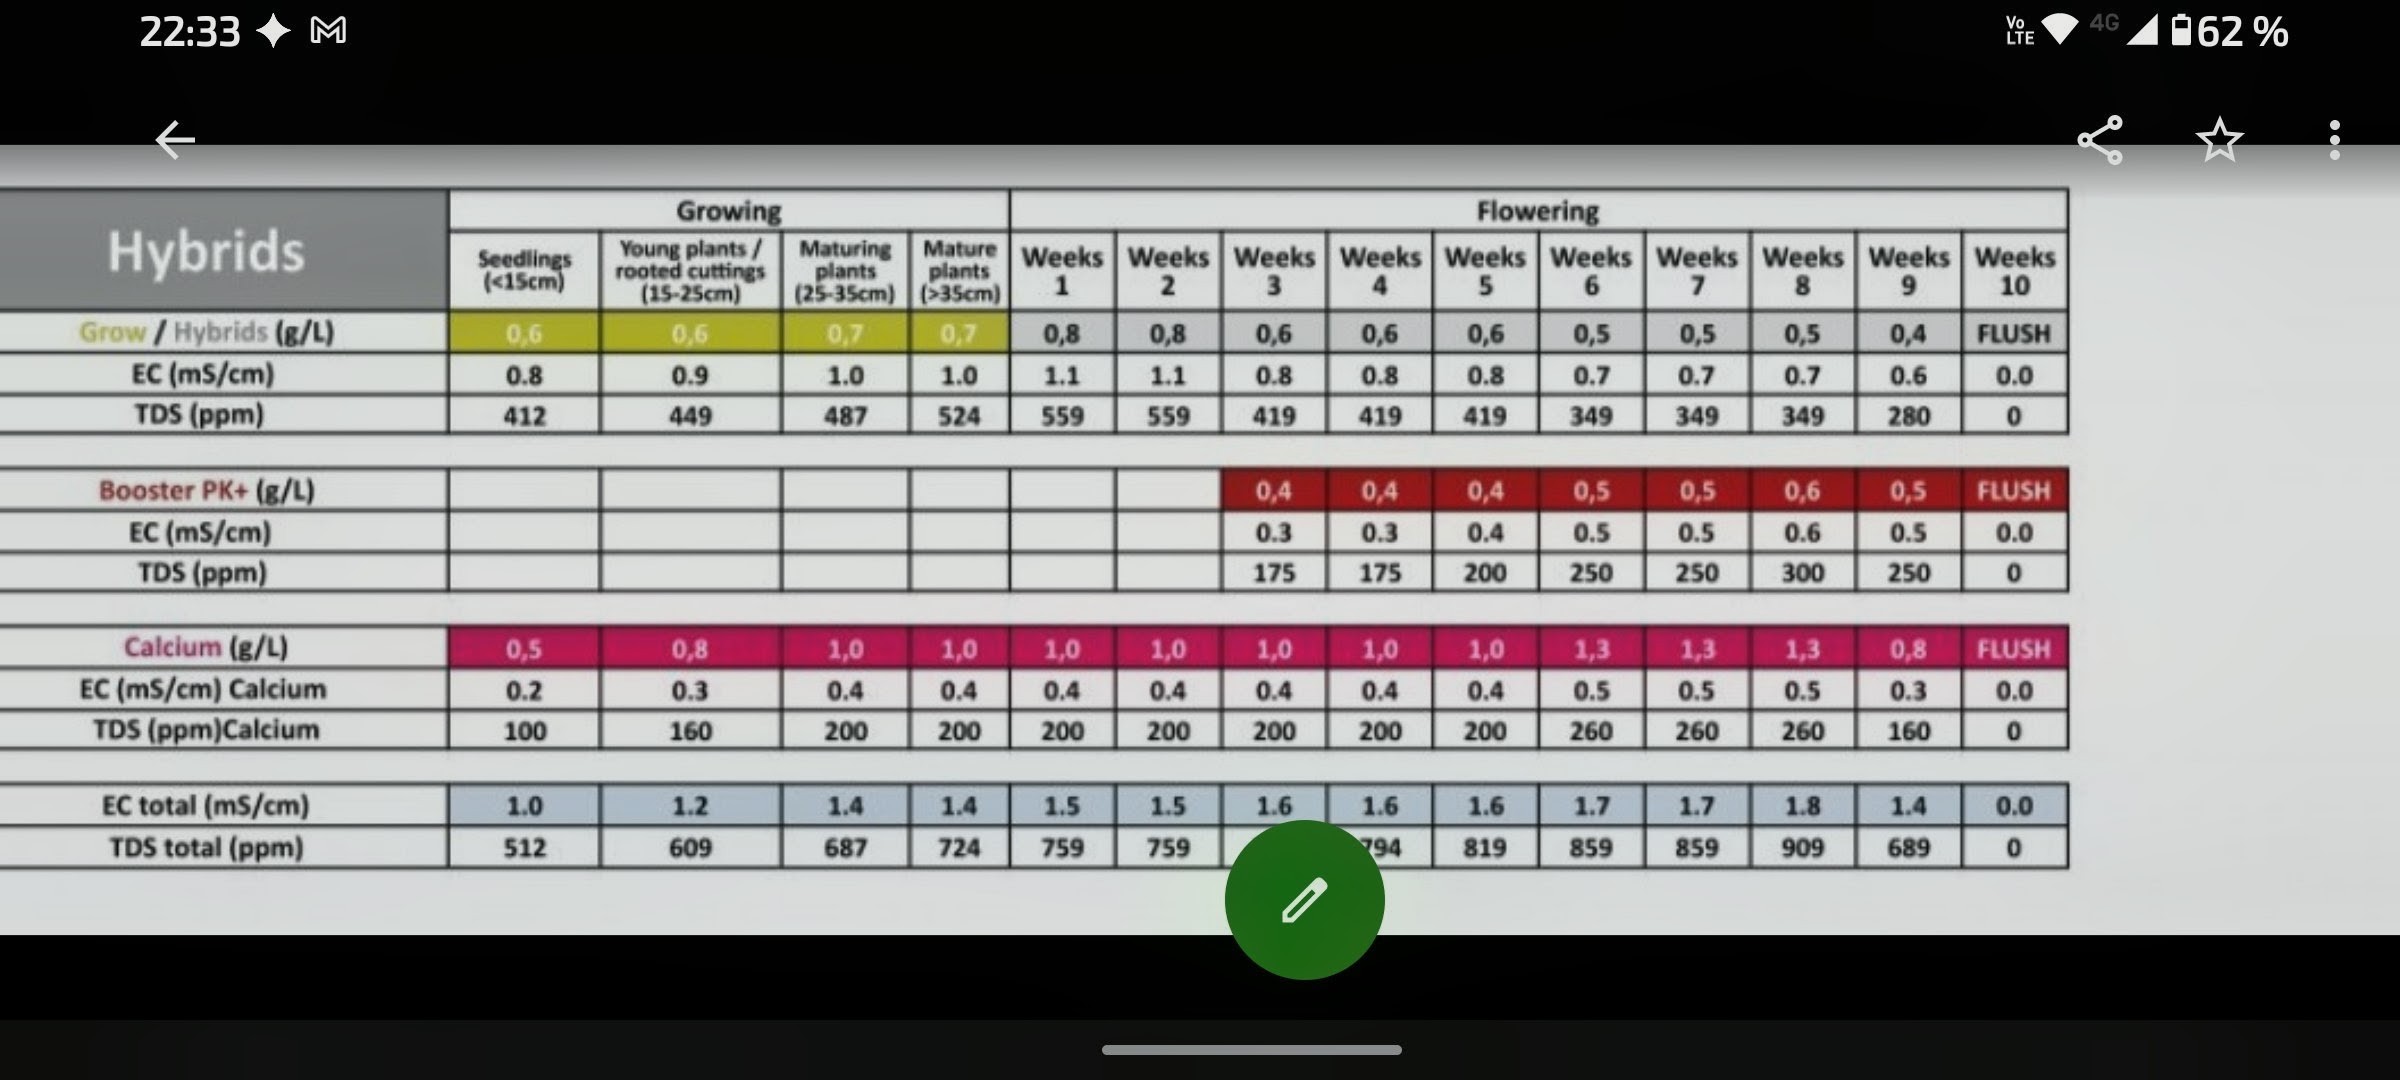
If we look at the official Powder Feeding (Hybrids) chart for substrate, the manufacturer suggests entering week 4 with a Total EC of 1.6 mS/cm (1600 µS/cm).
In mineral practice, if you continuously apply that EC of 1.6 mS/cm with every watering, the pot acts as a retentive reservoir. In our actual tracking with the Nicole 2 plant:
Applied input: EC of 0.83 mS/cm (830 µS/cm) with base water of 400 µS/cm (rain + well).
Measured runoff:1.95 mS/cm (1958 µS/cm).
Conclusion:
If we were to feed at the 1.6 mS/cm specified by the chart in every mineral watering, the internal buildup in the substrate would rise above 3.0 mS/cm, causing severe nutrient lockout.
For those of us feeding with salts, measuring the output allows us to adjust the input with moderate loads (~800 µS/cm) and maintain the desired plateau (~1.9 mS/cm) without saturating the medium.
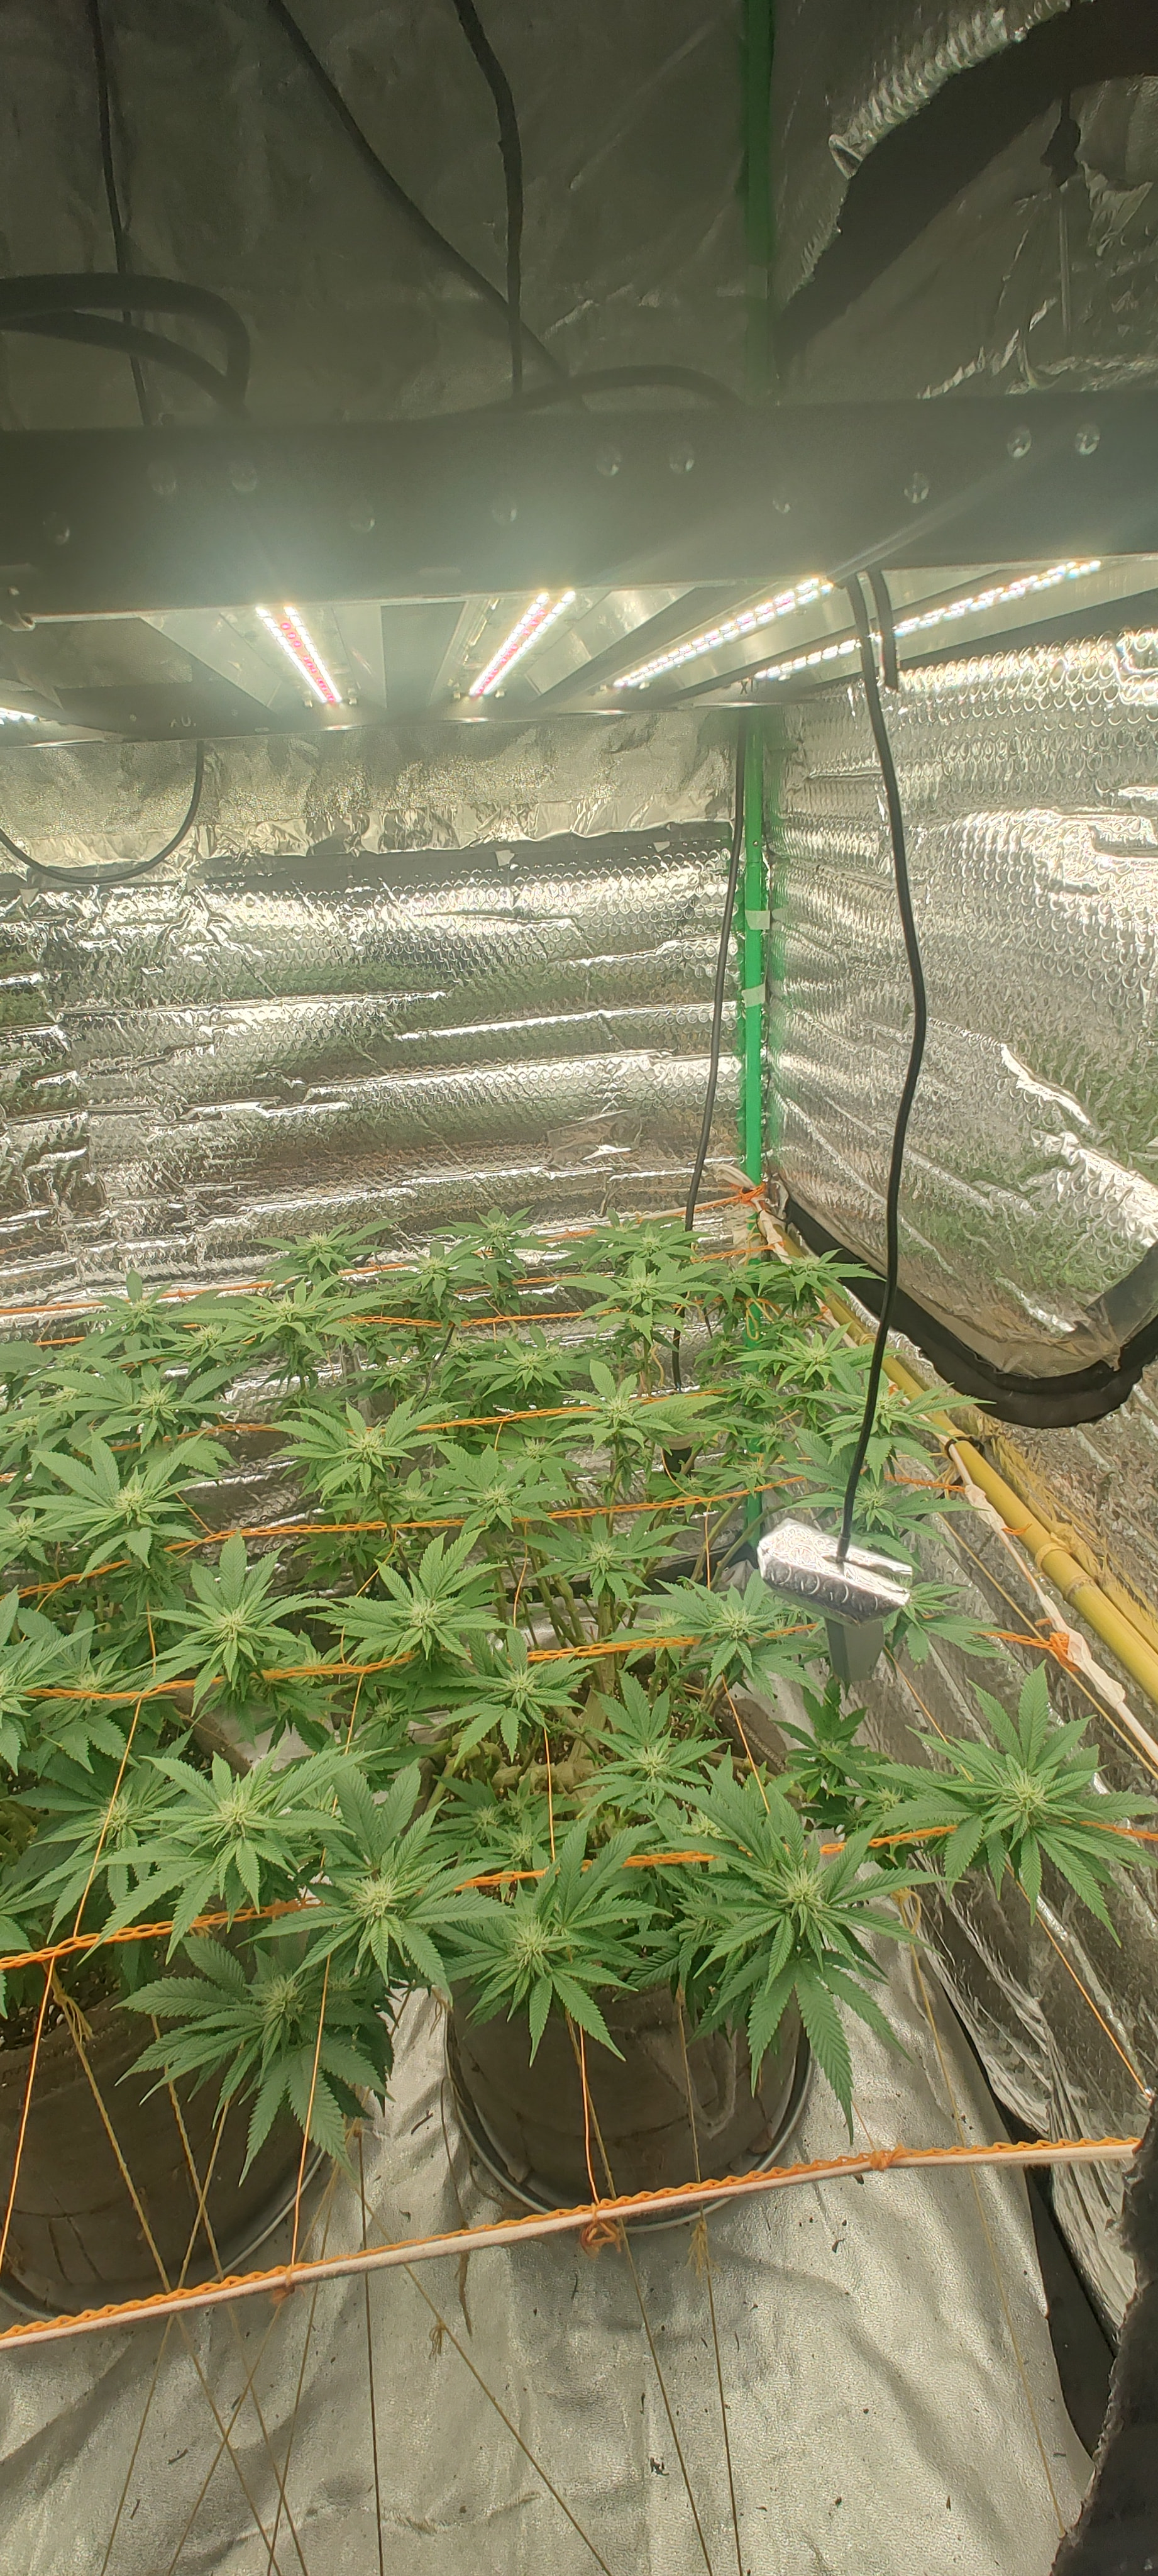
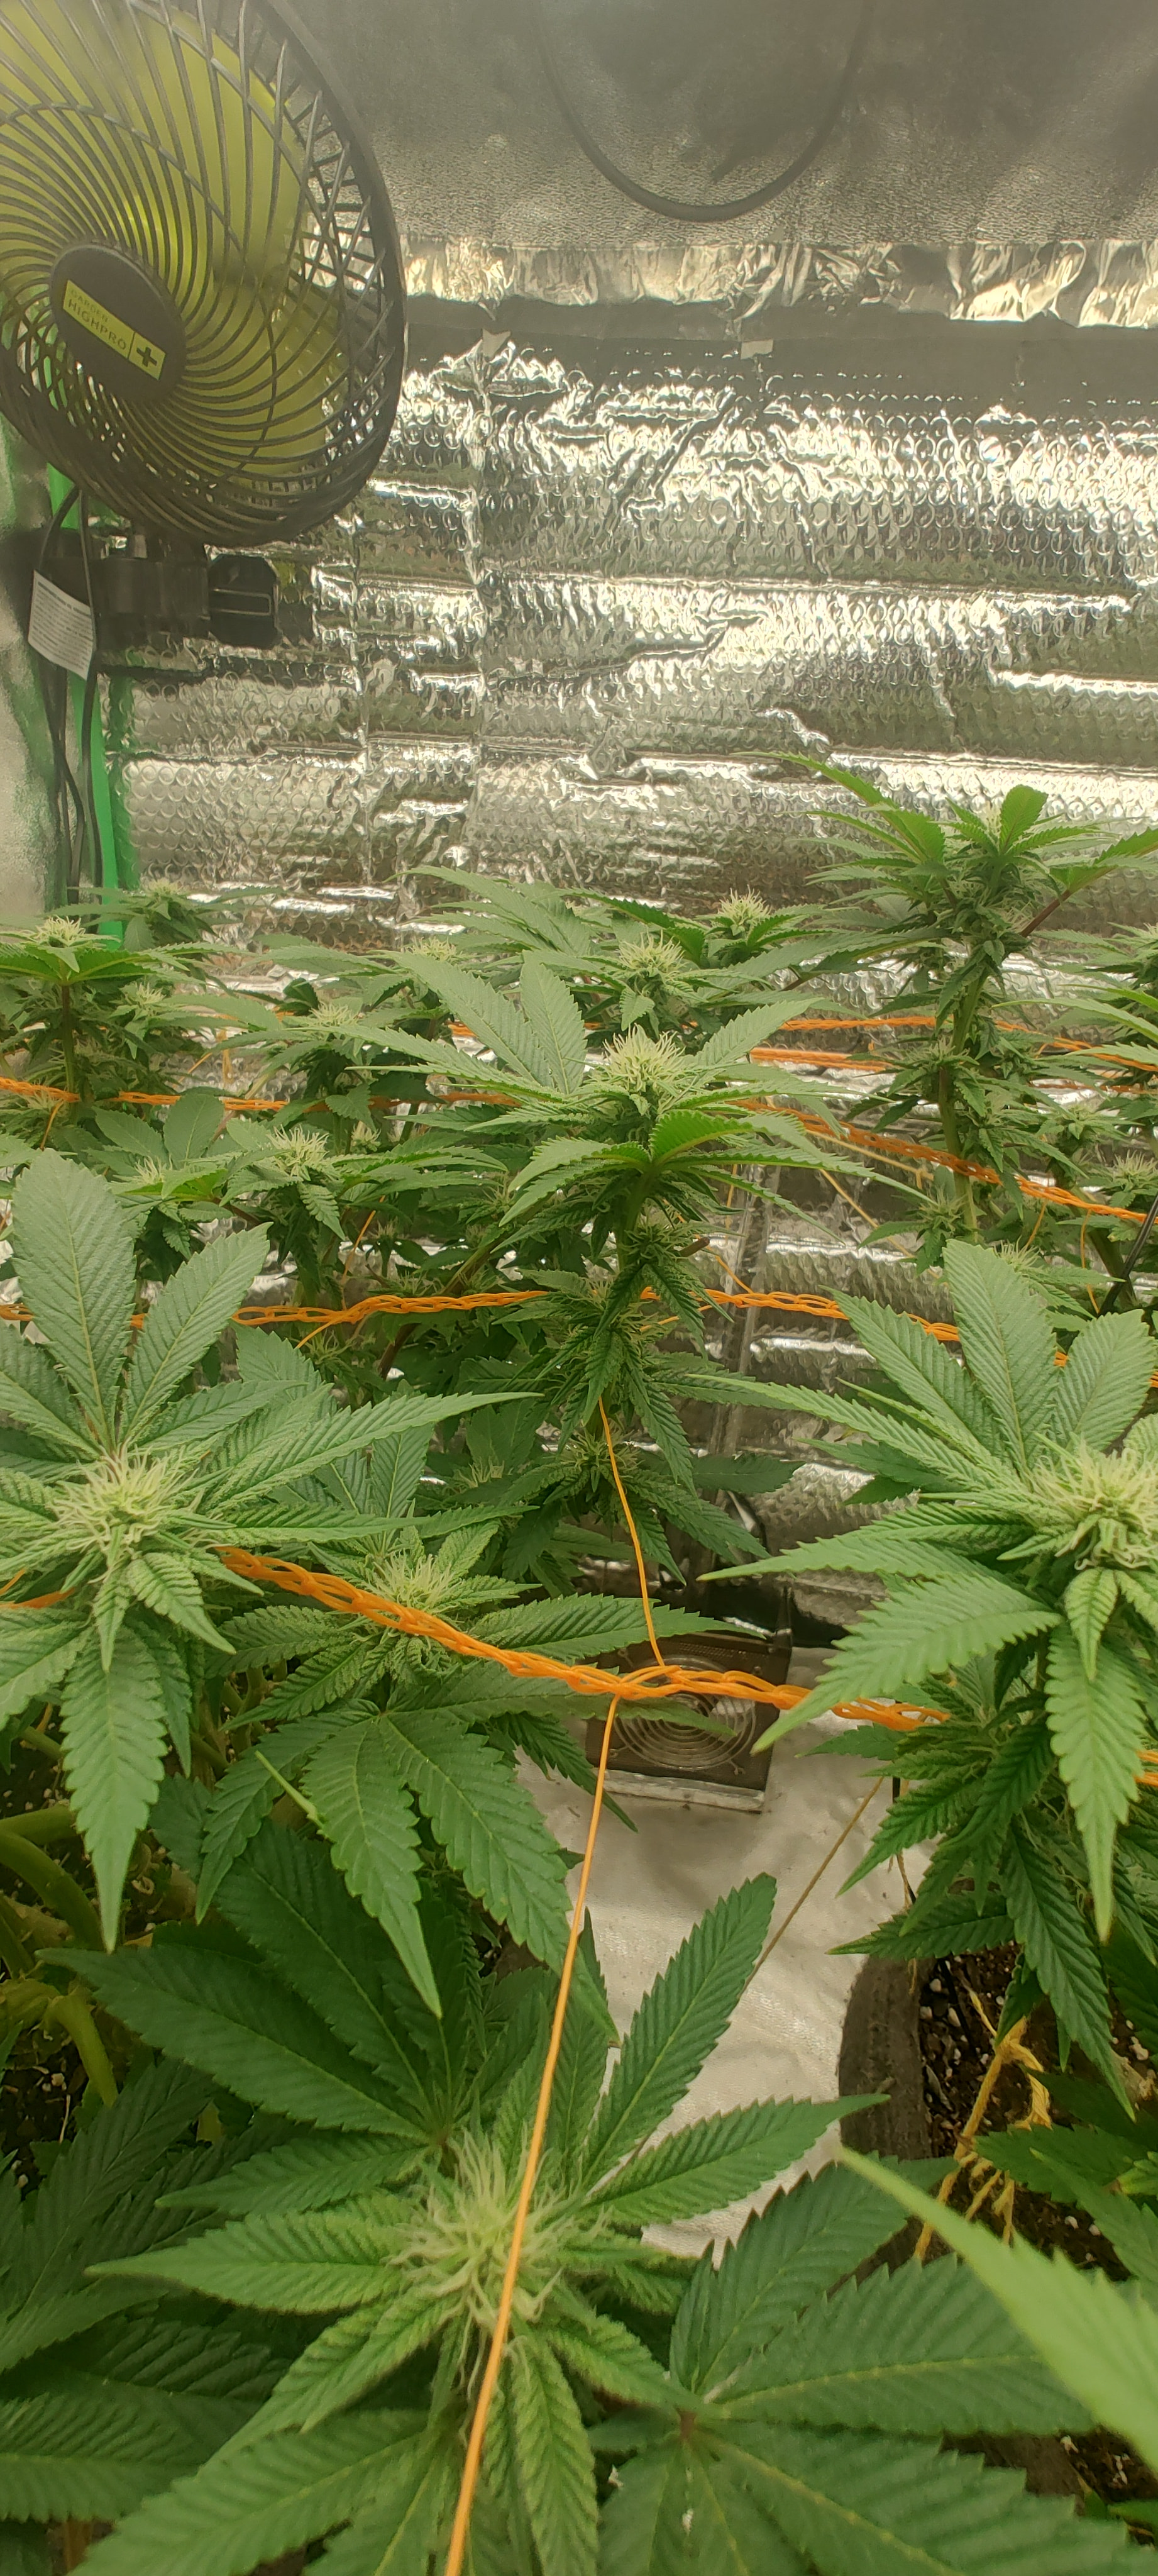
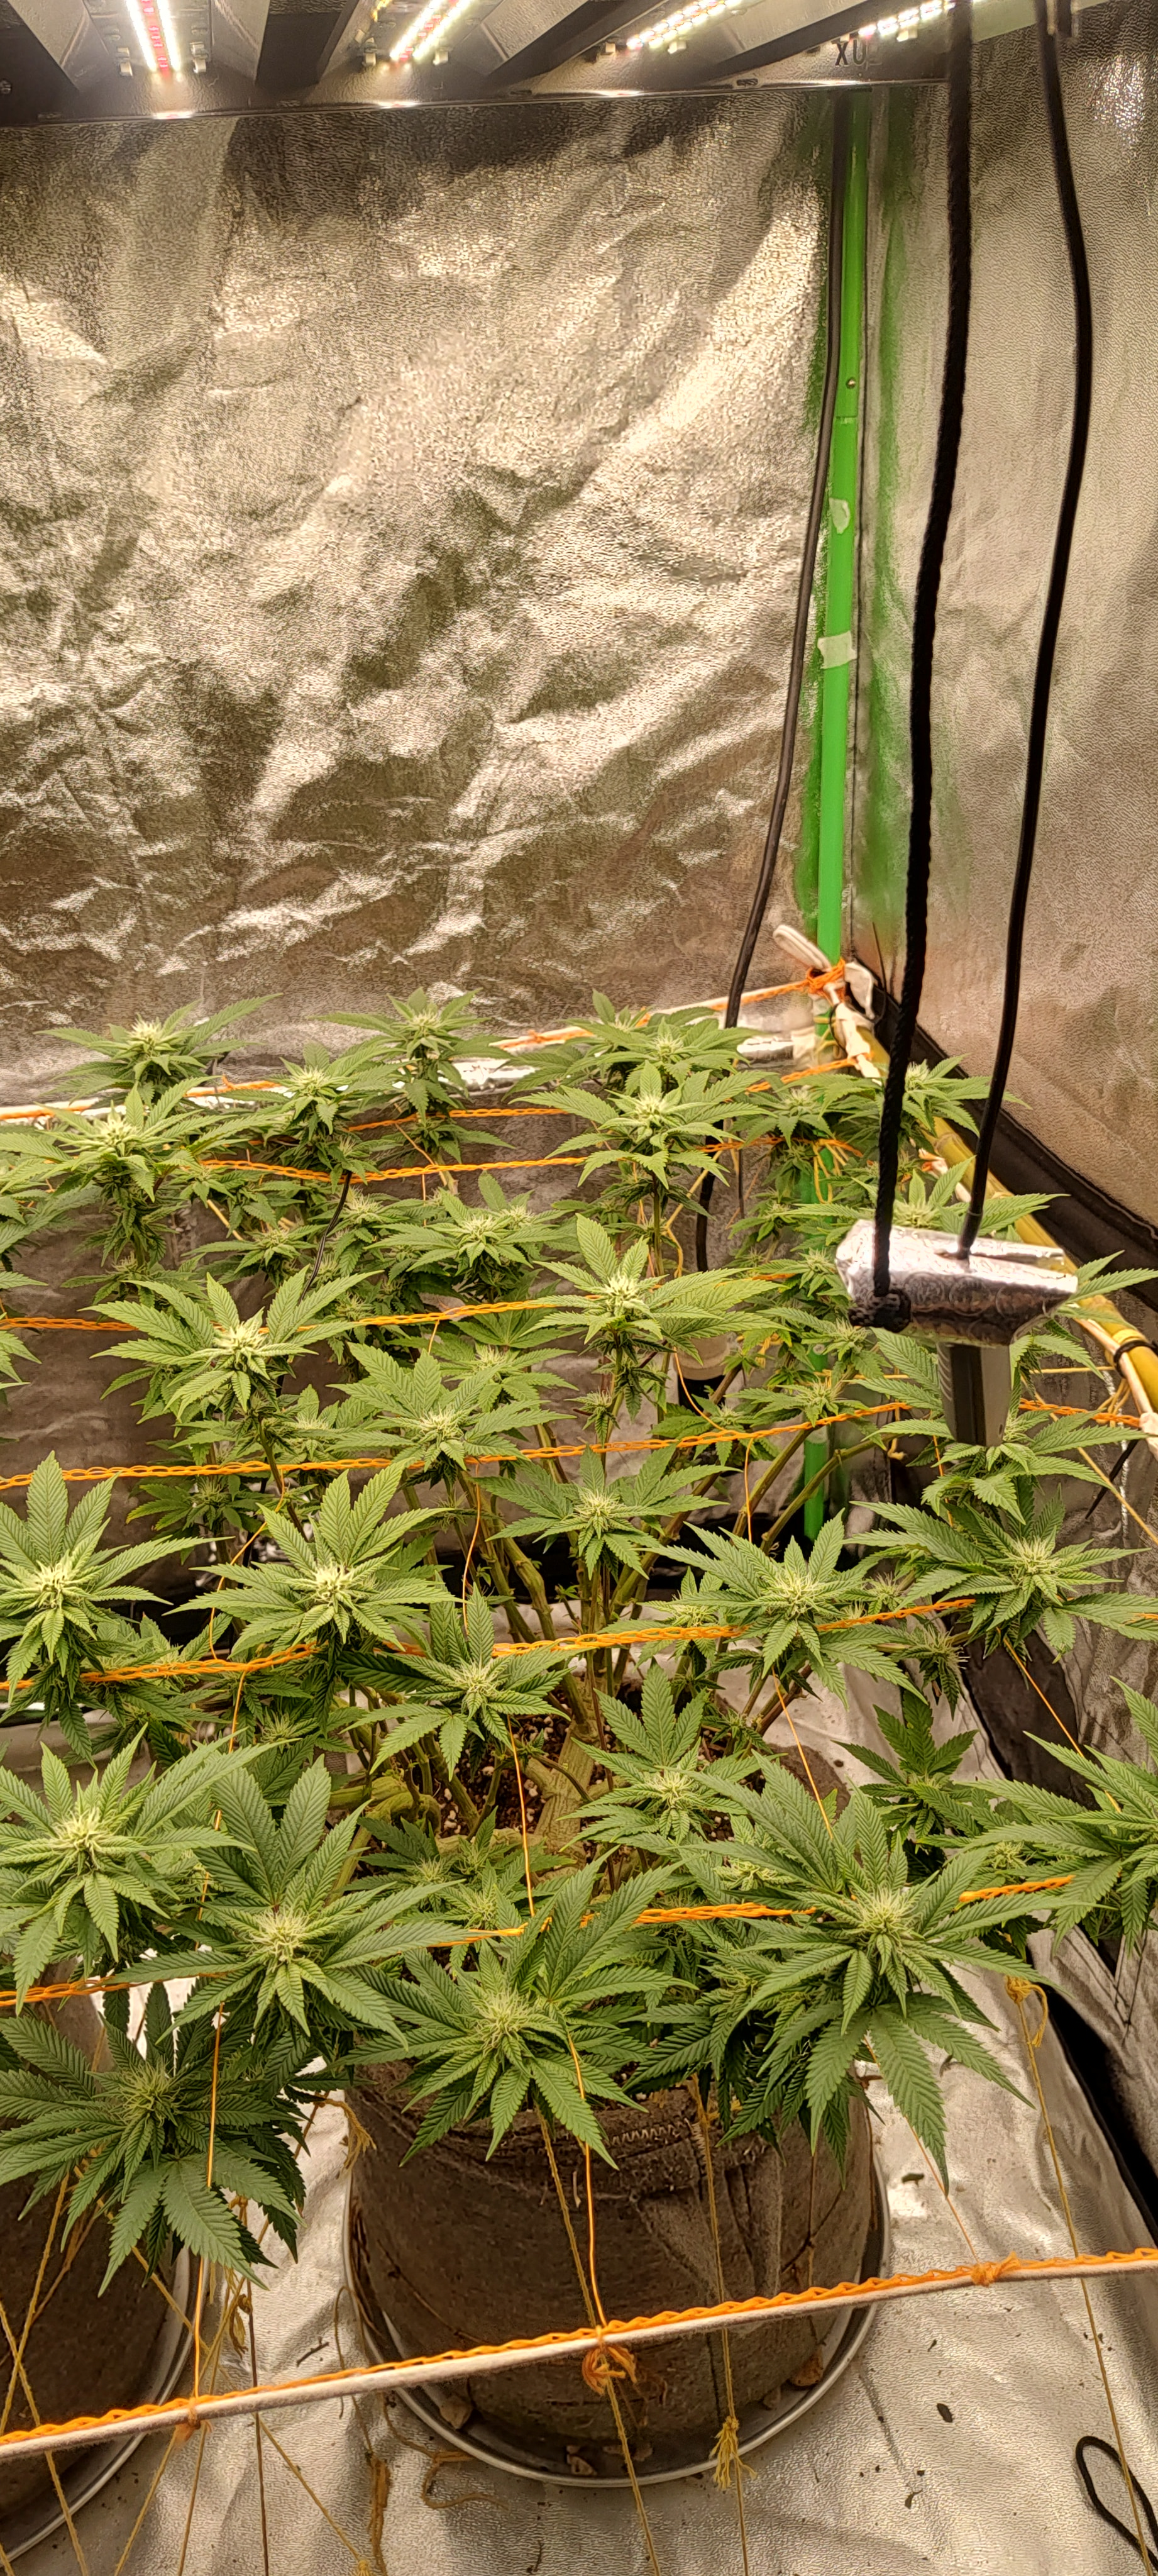
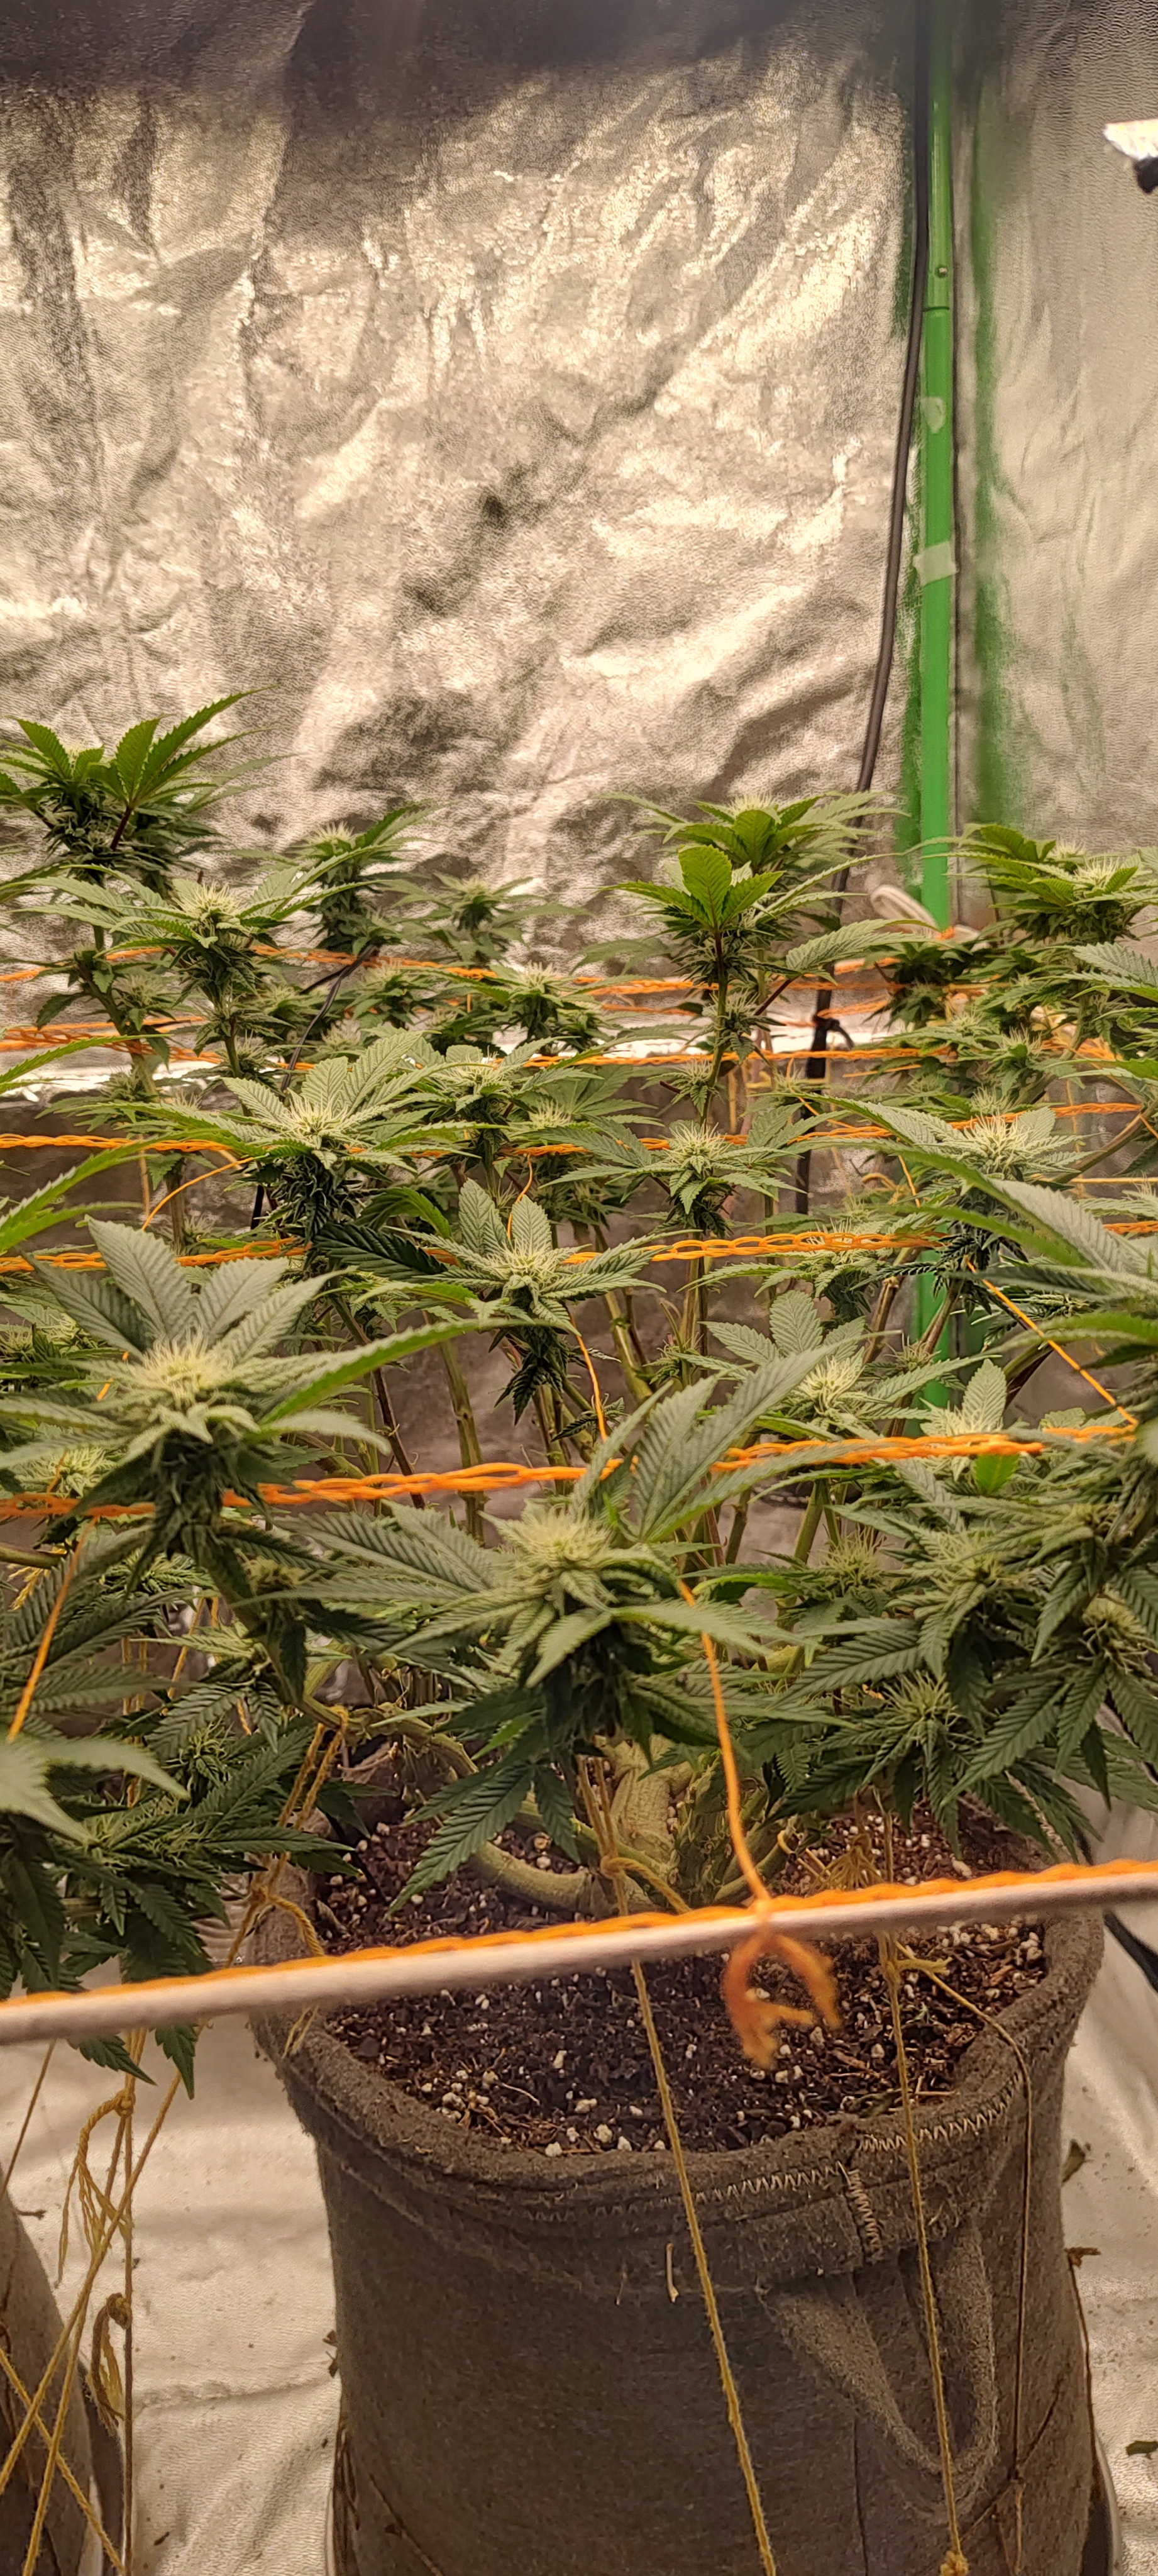
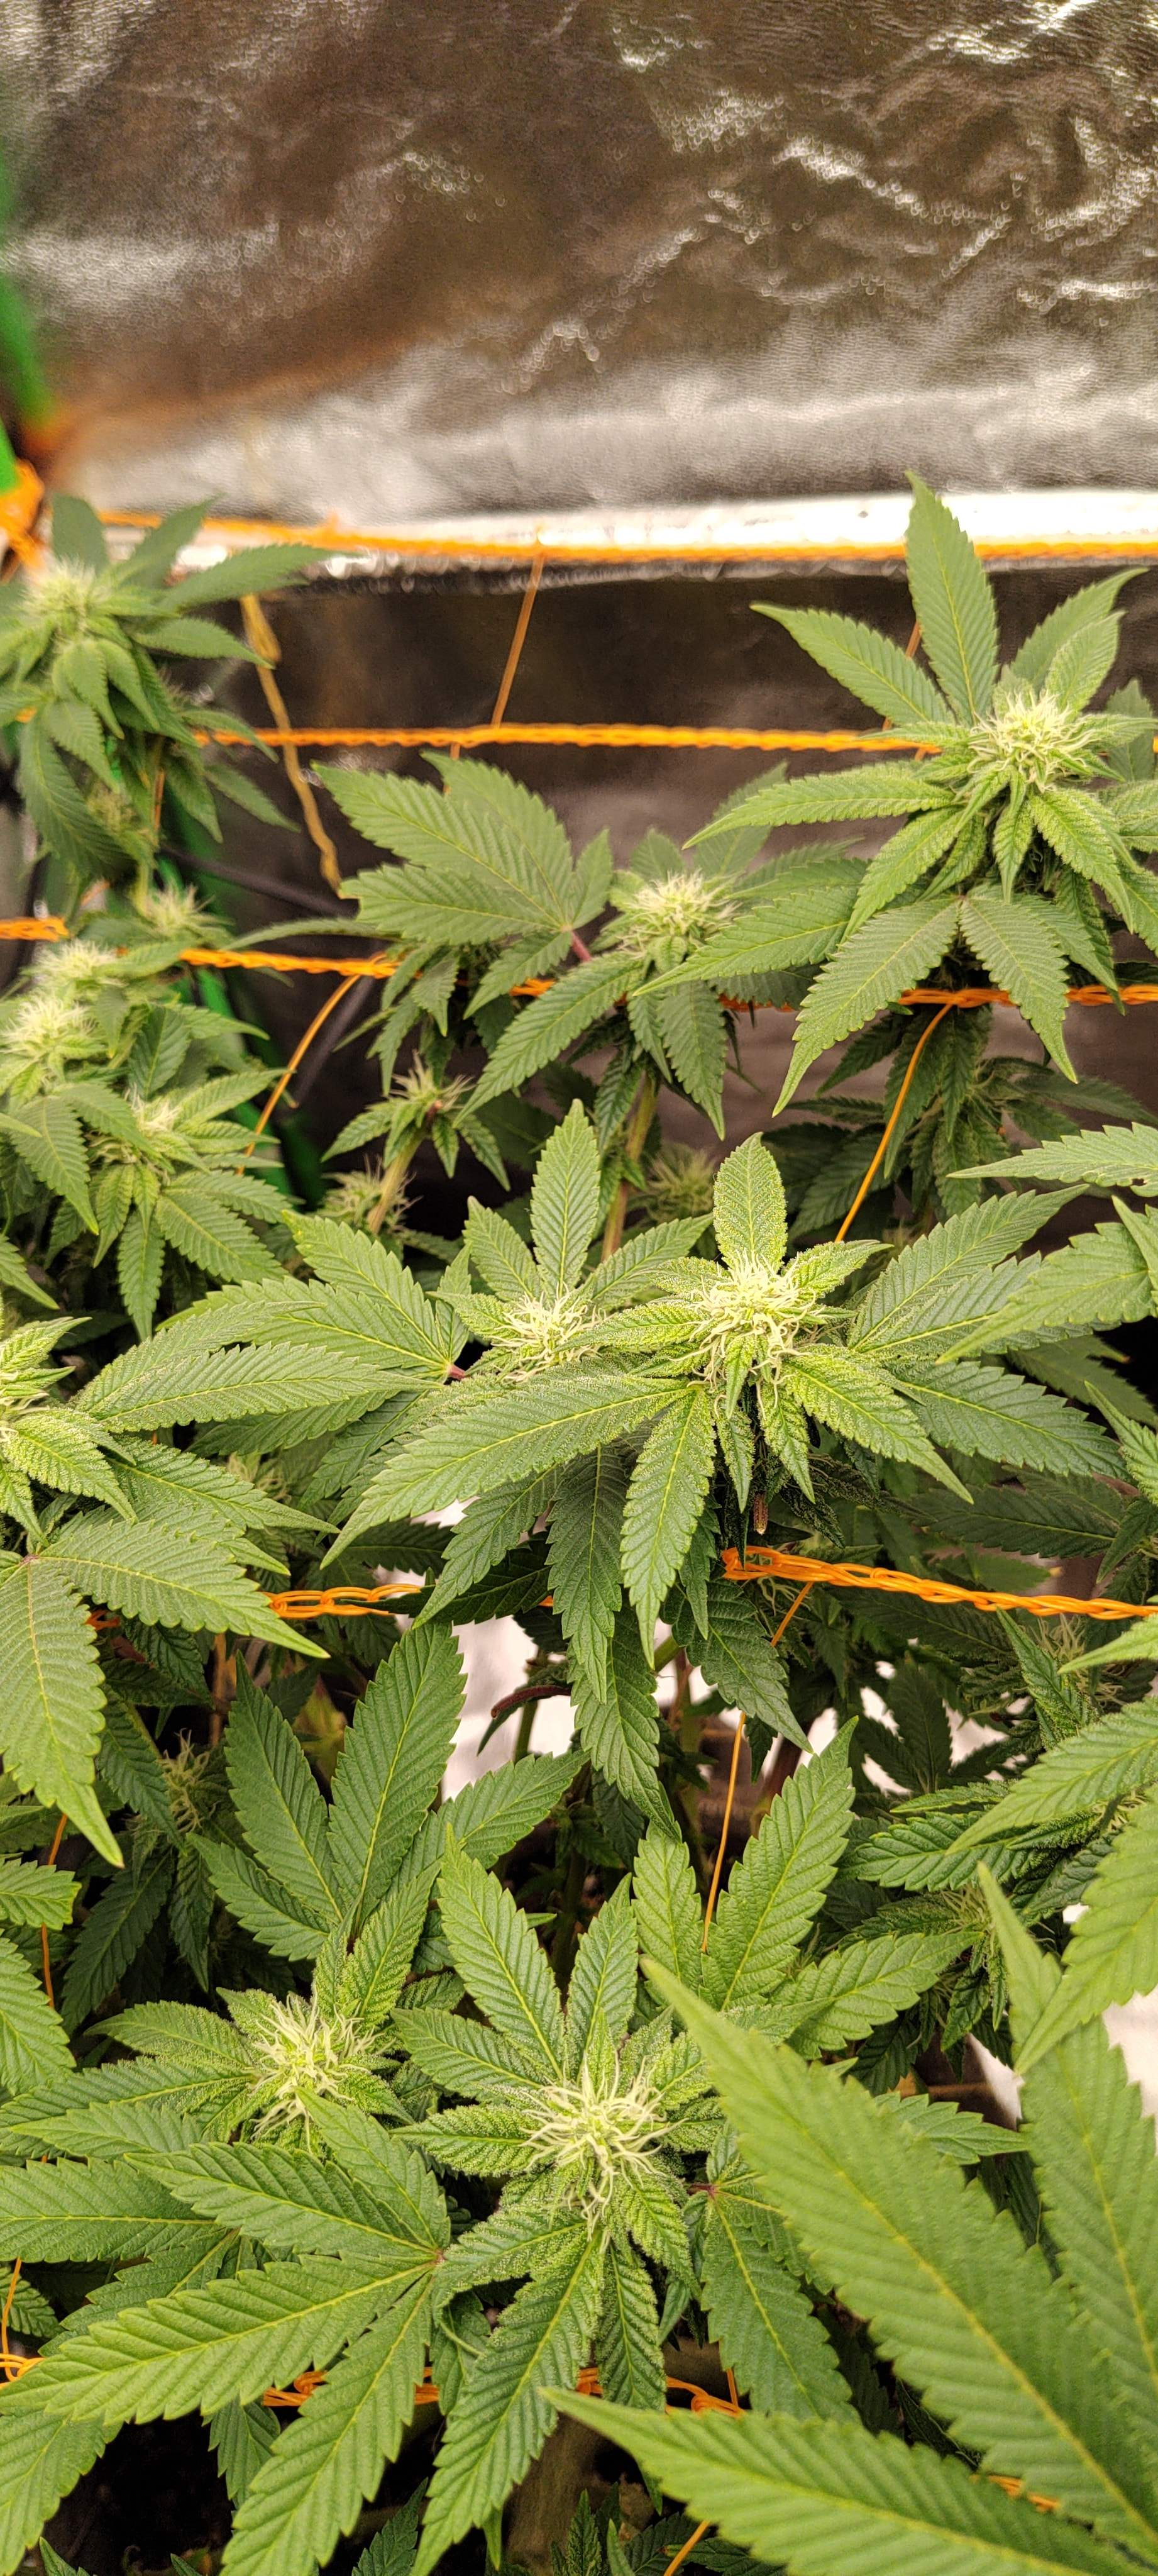
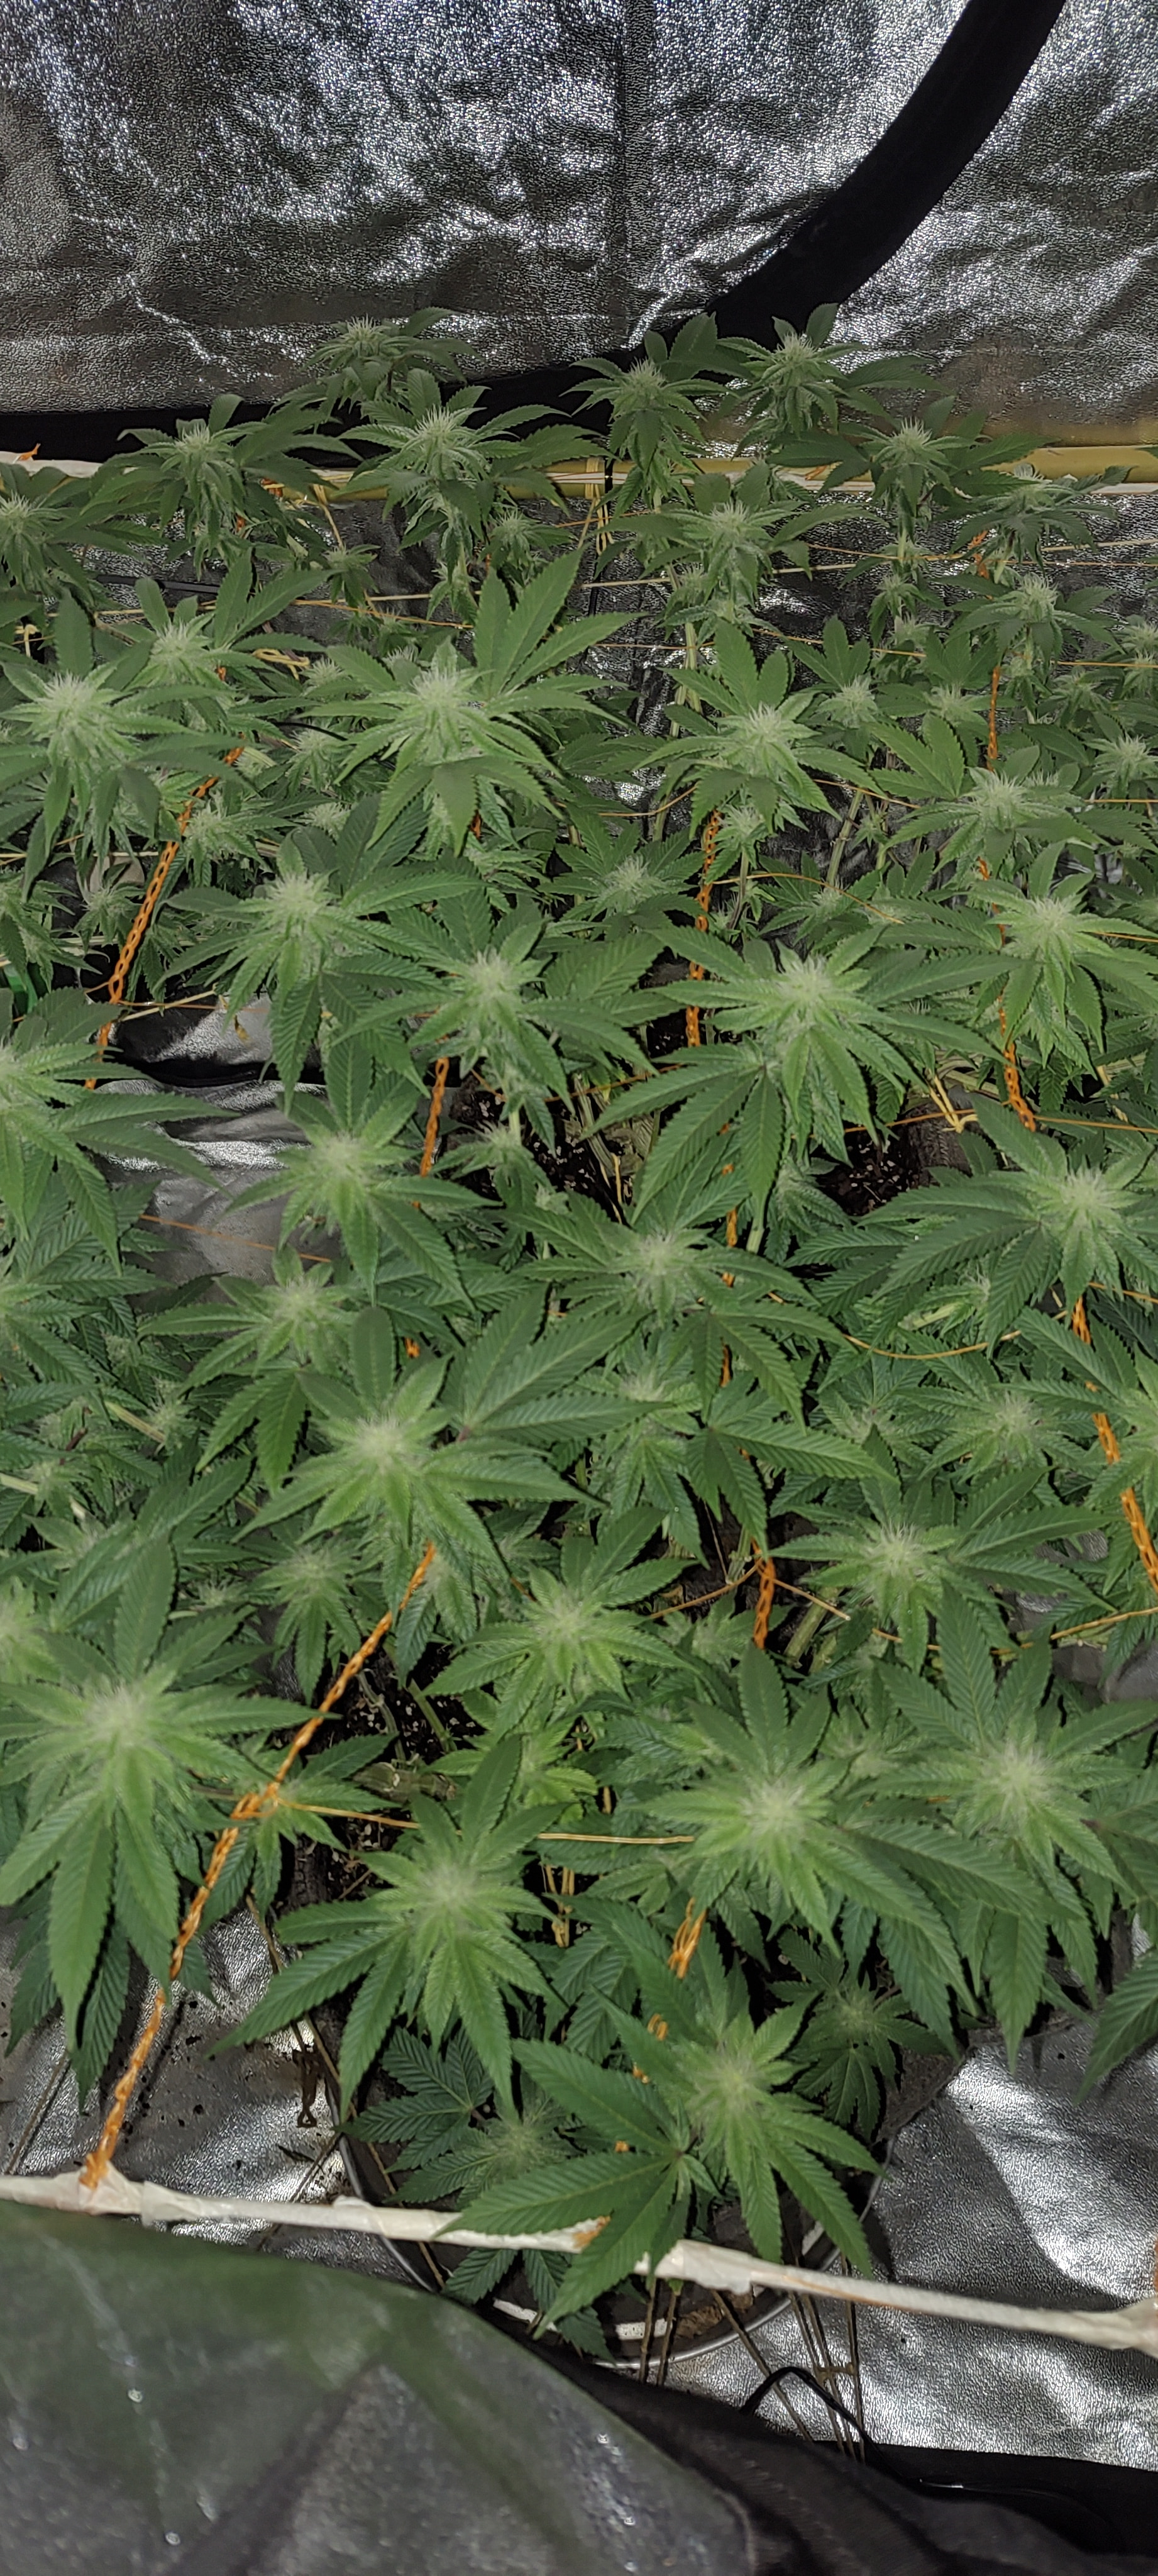
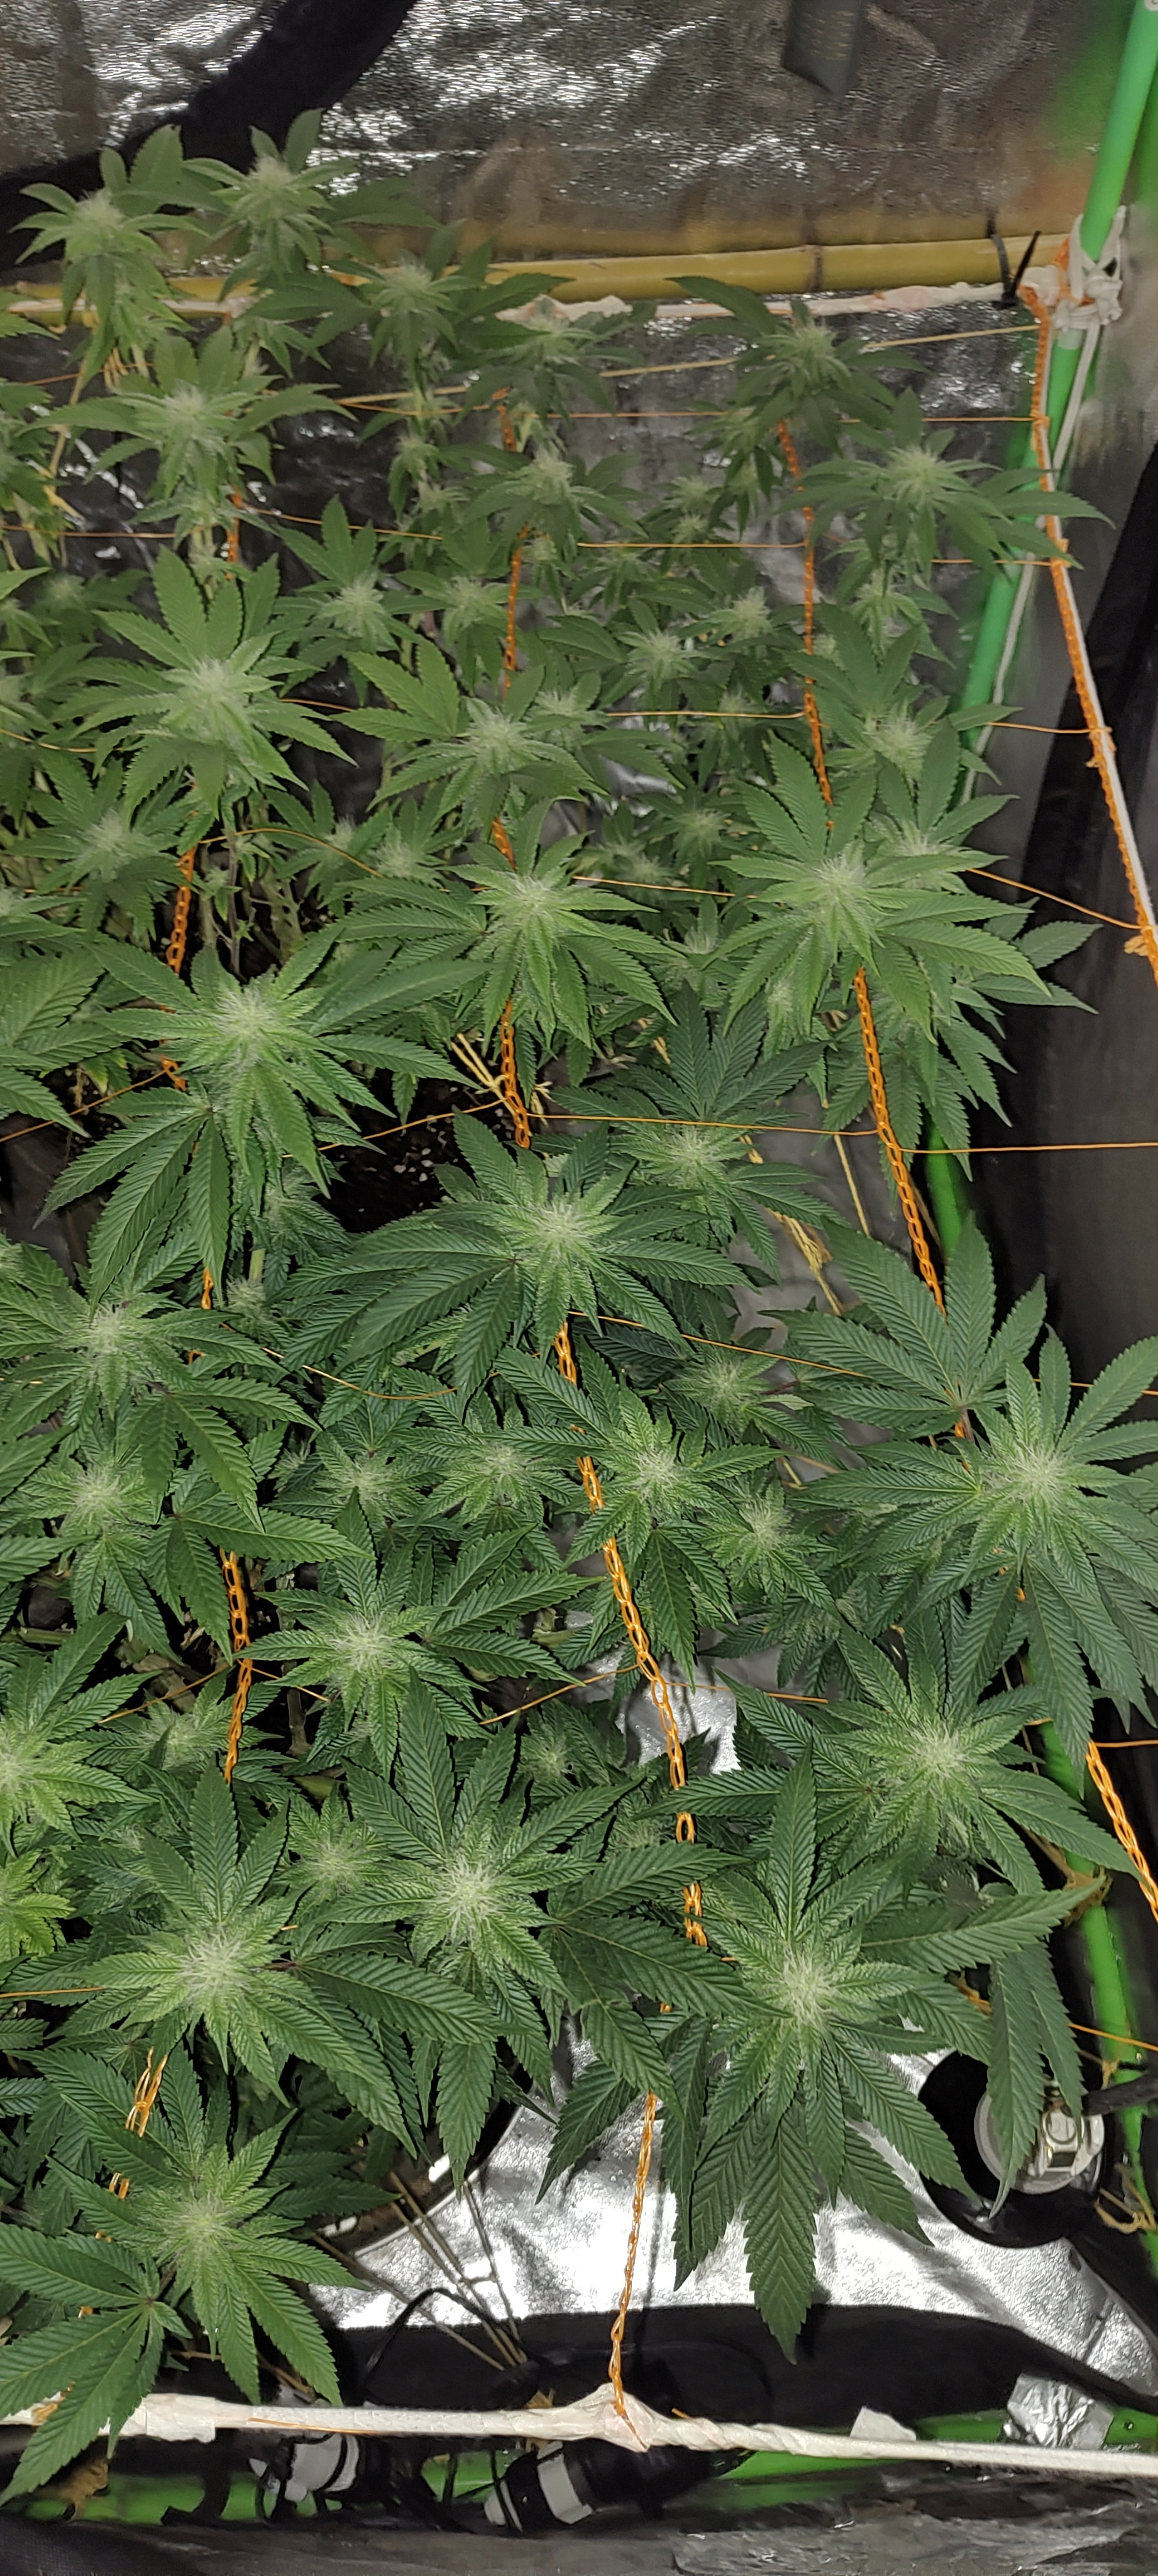
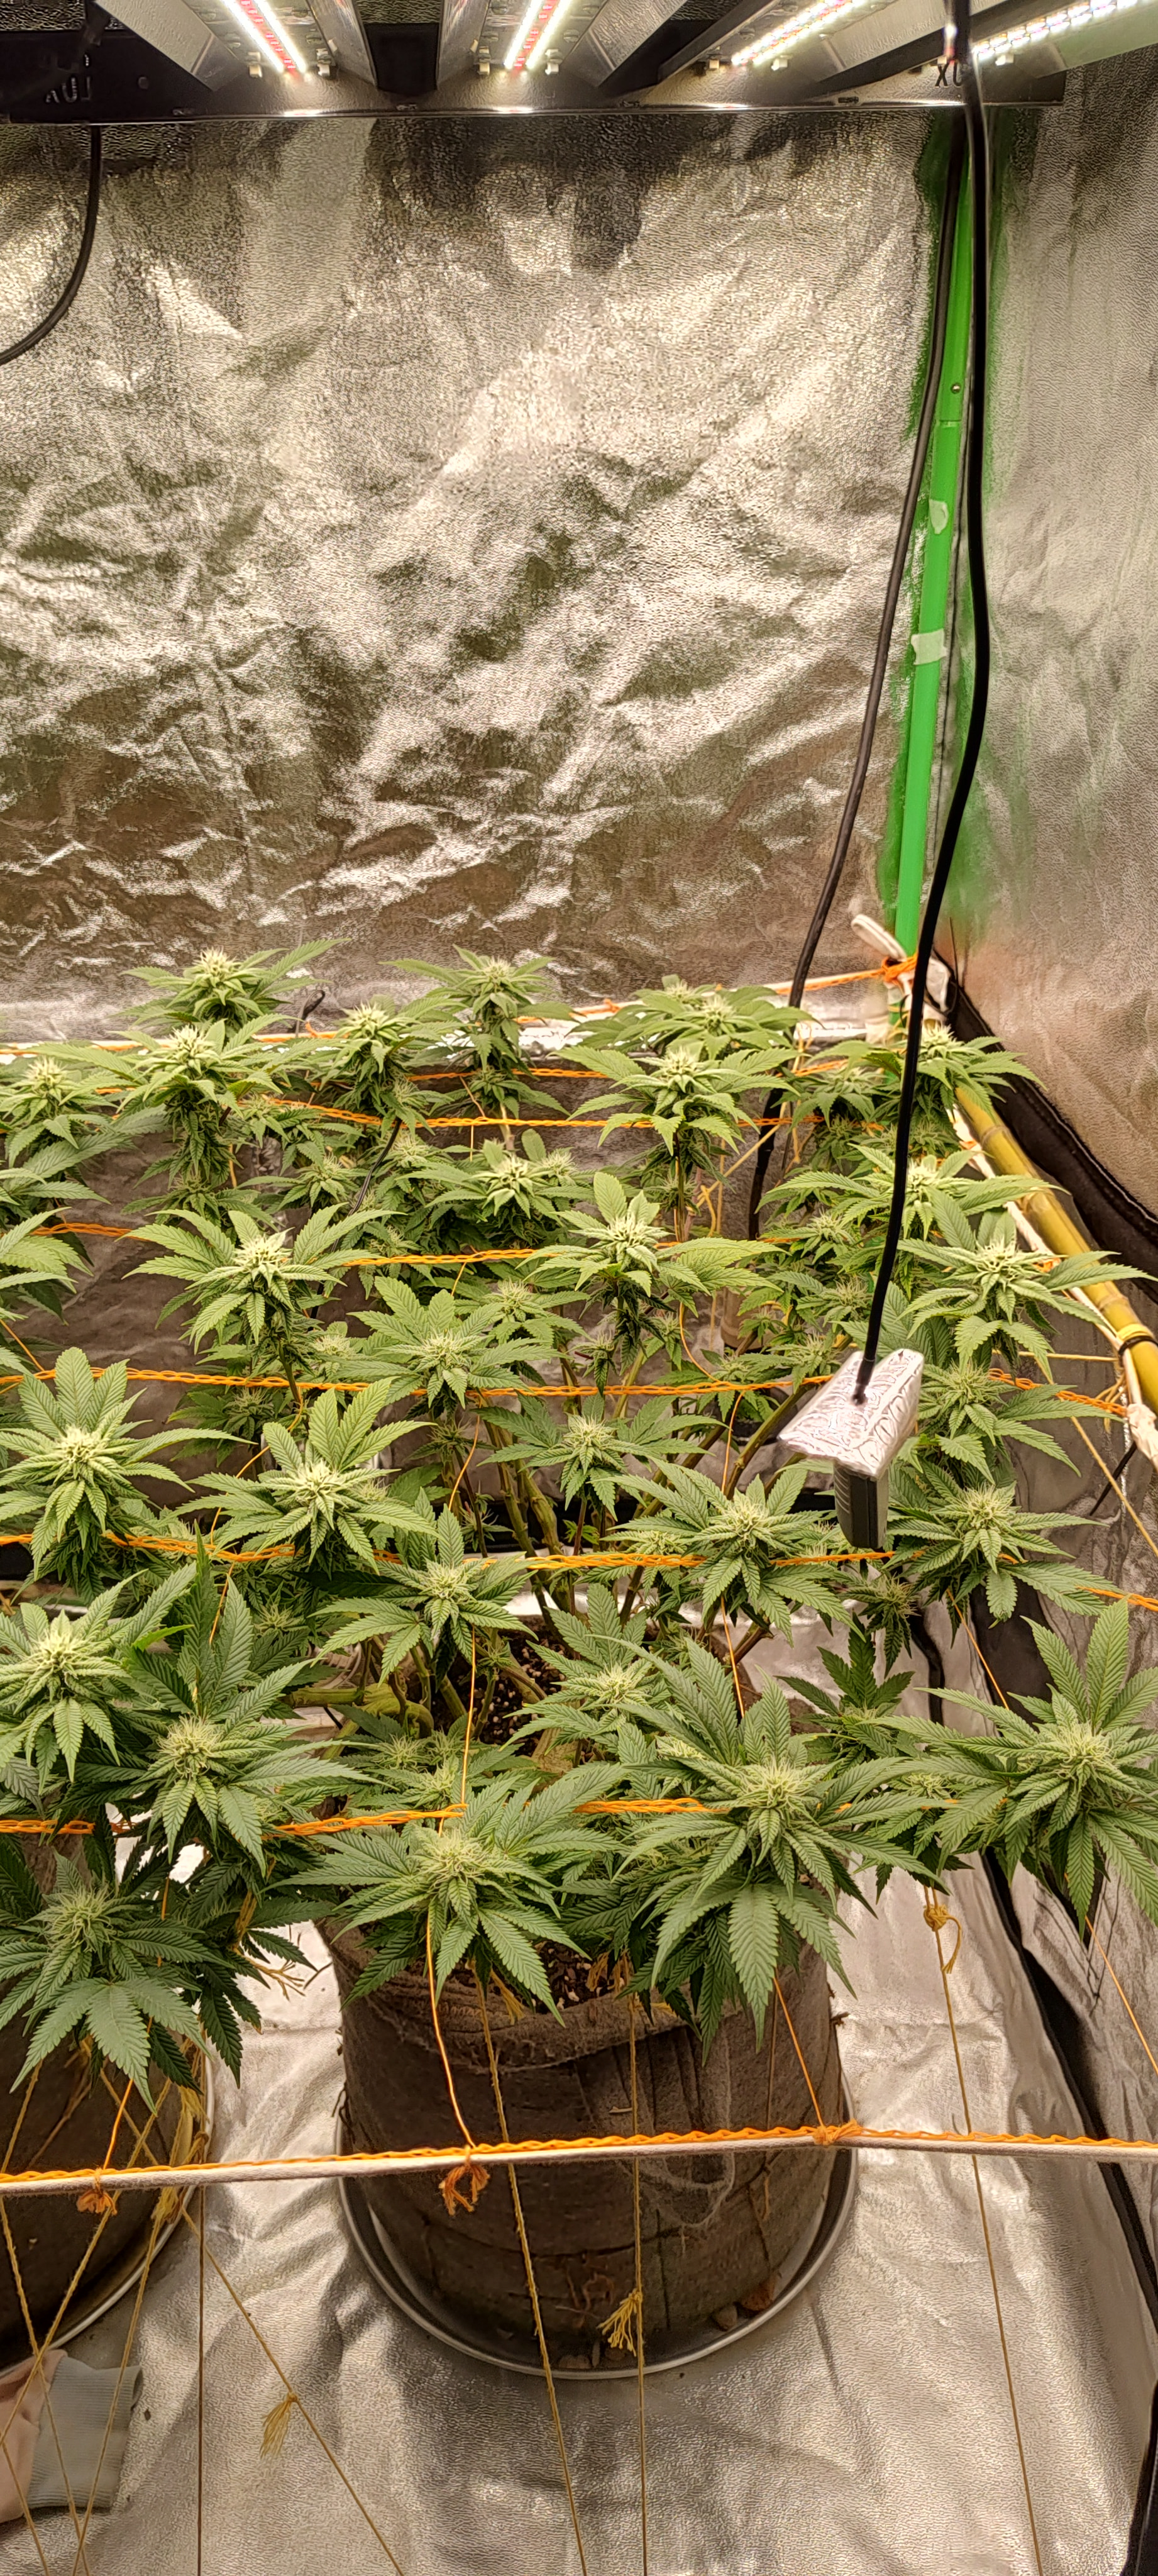
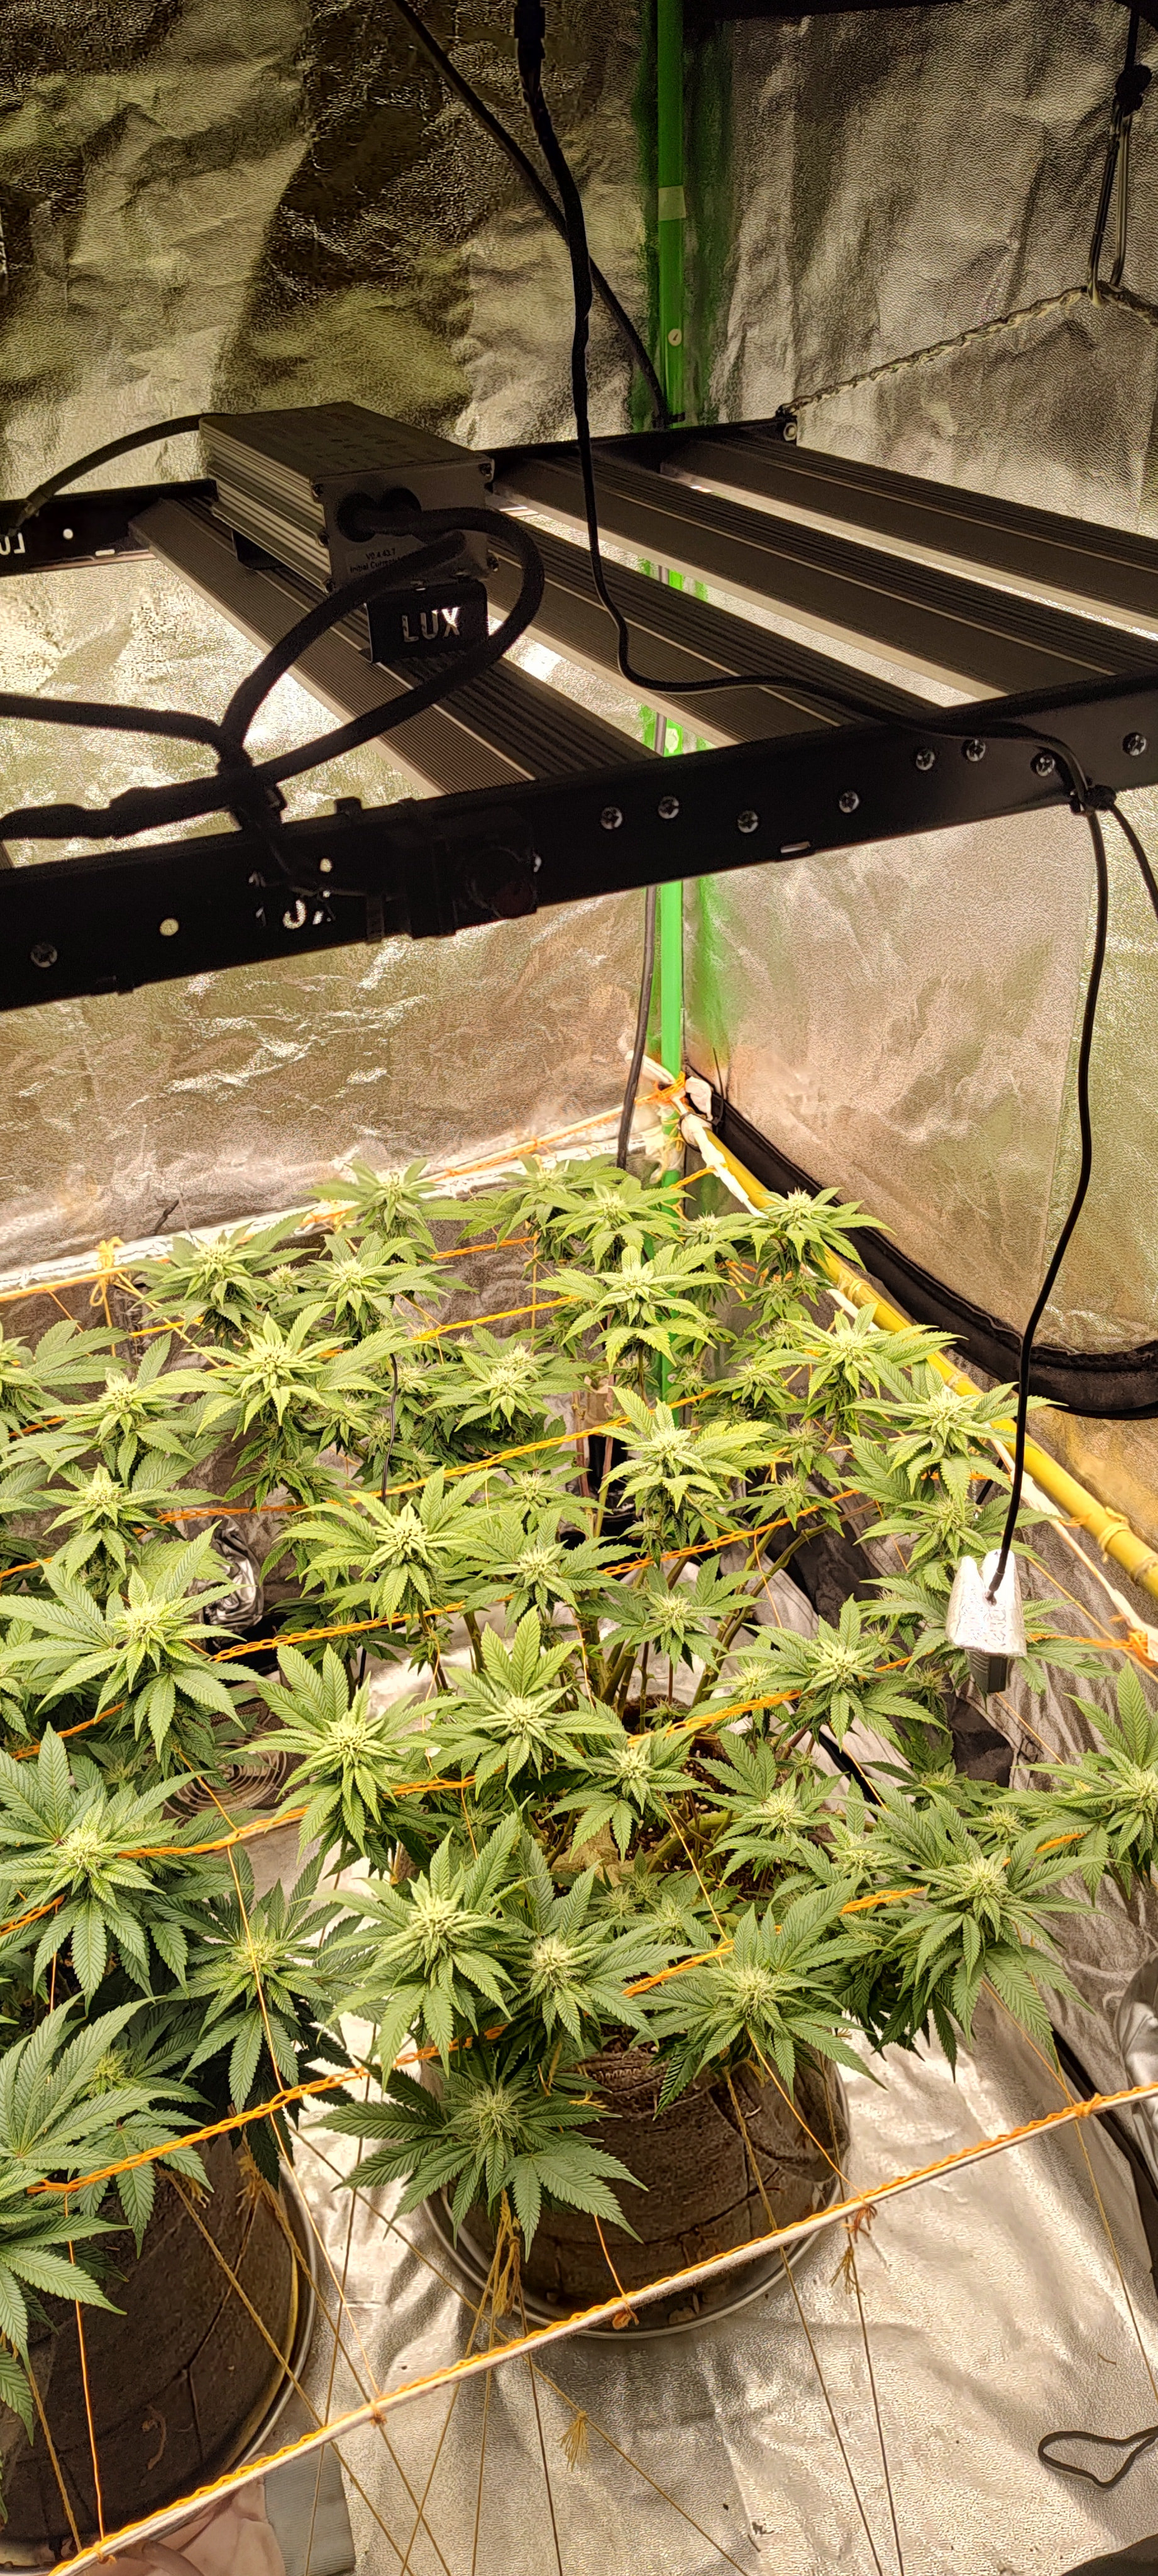
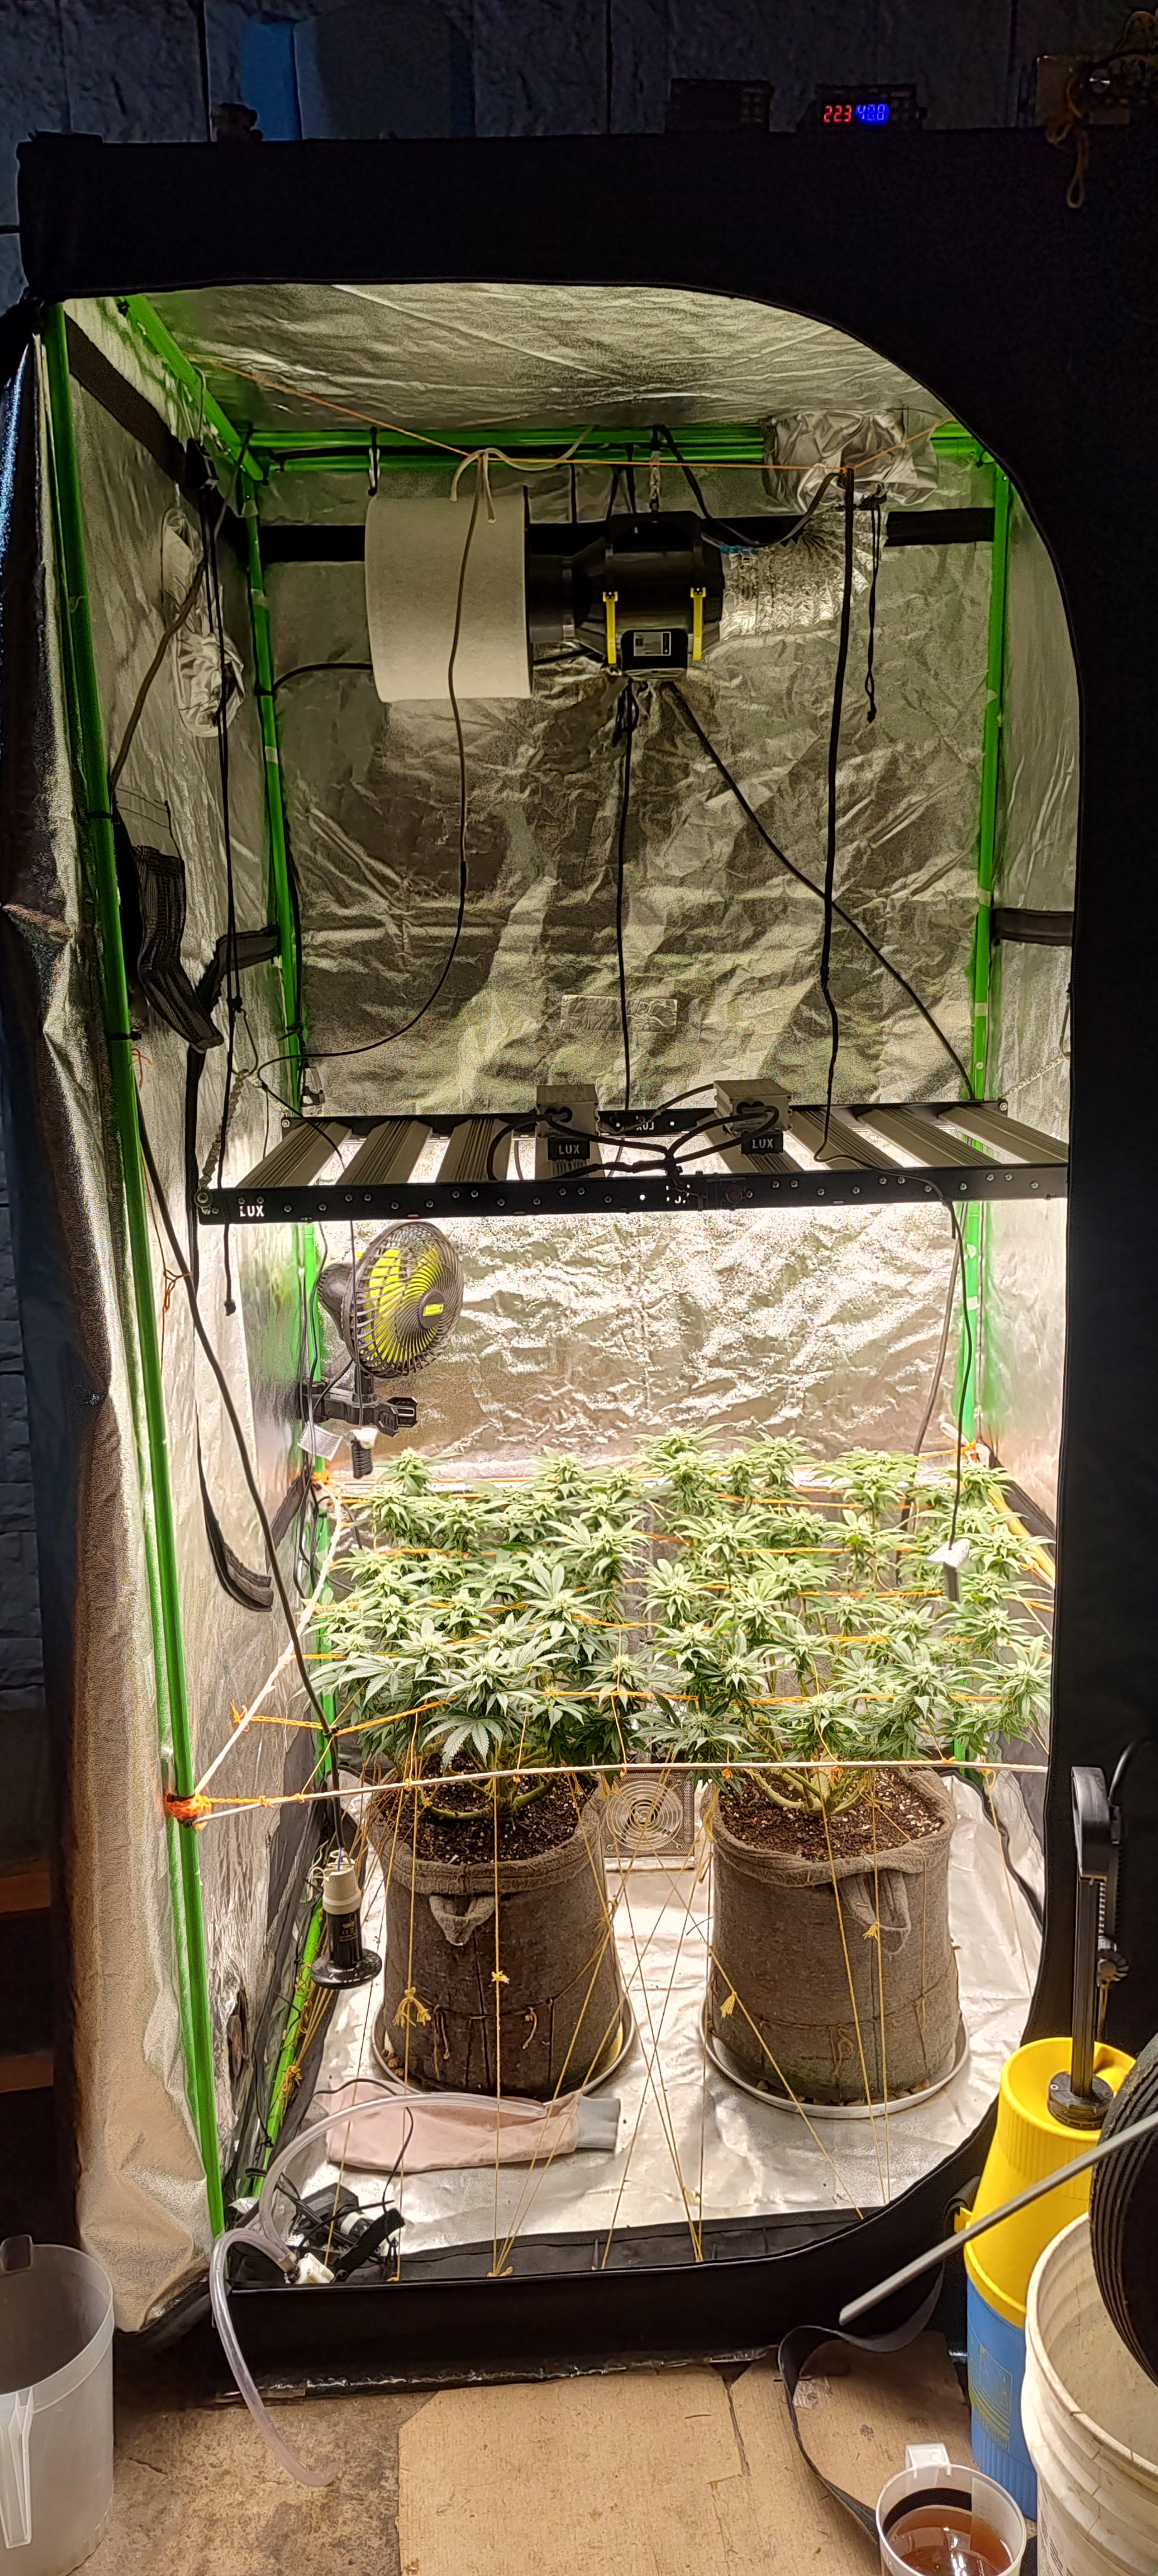
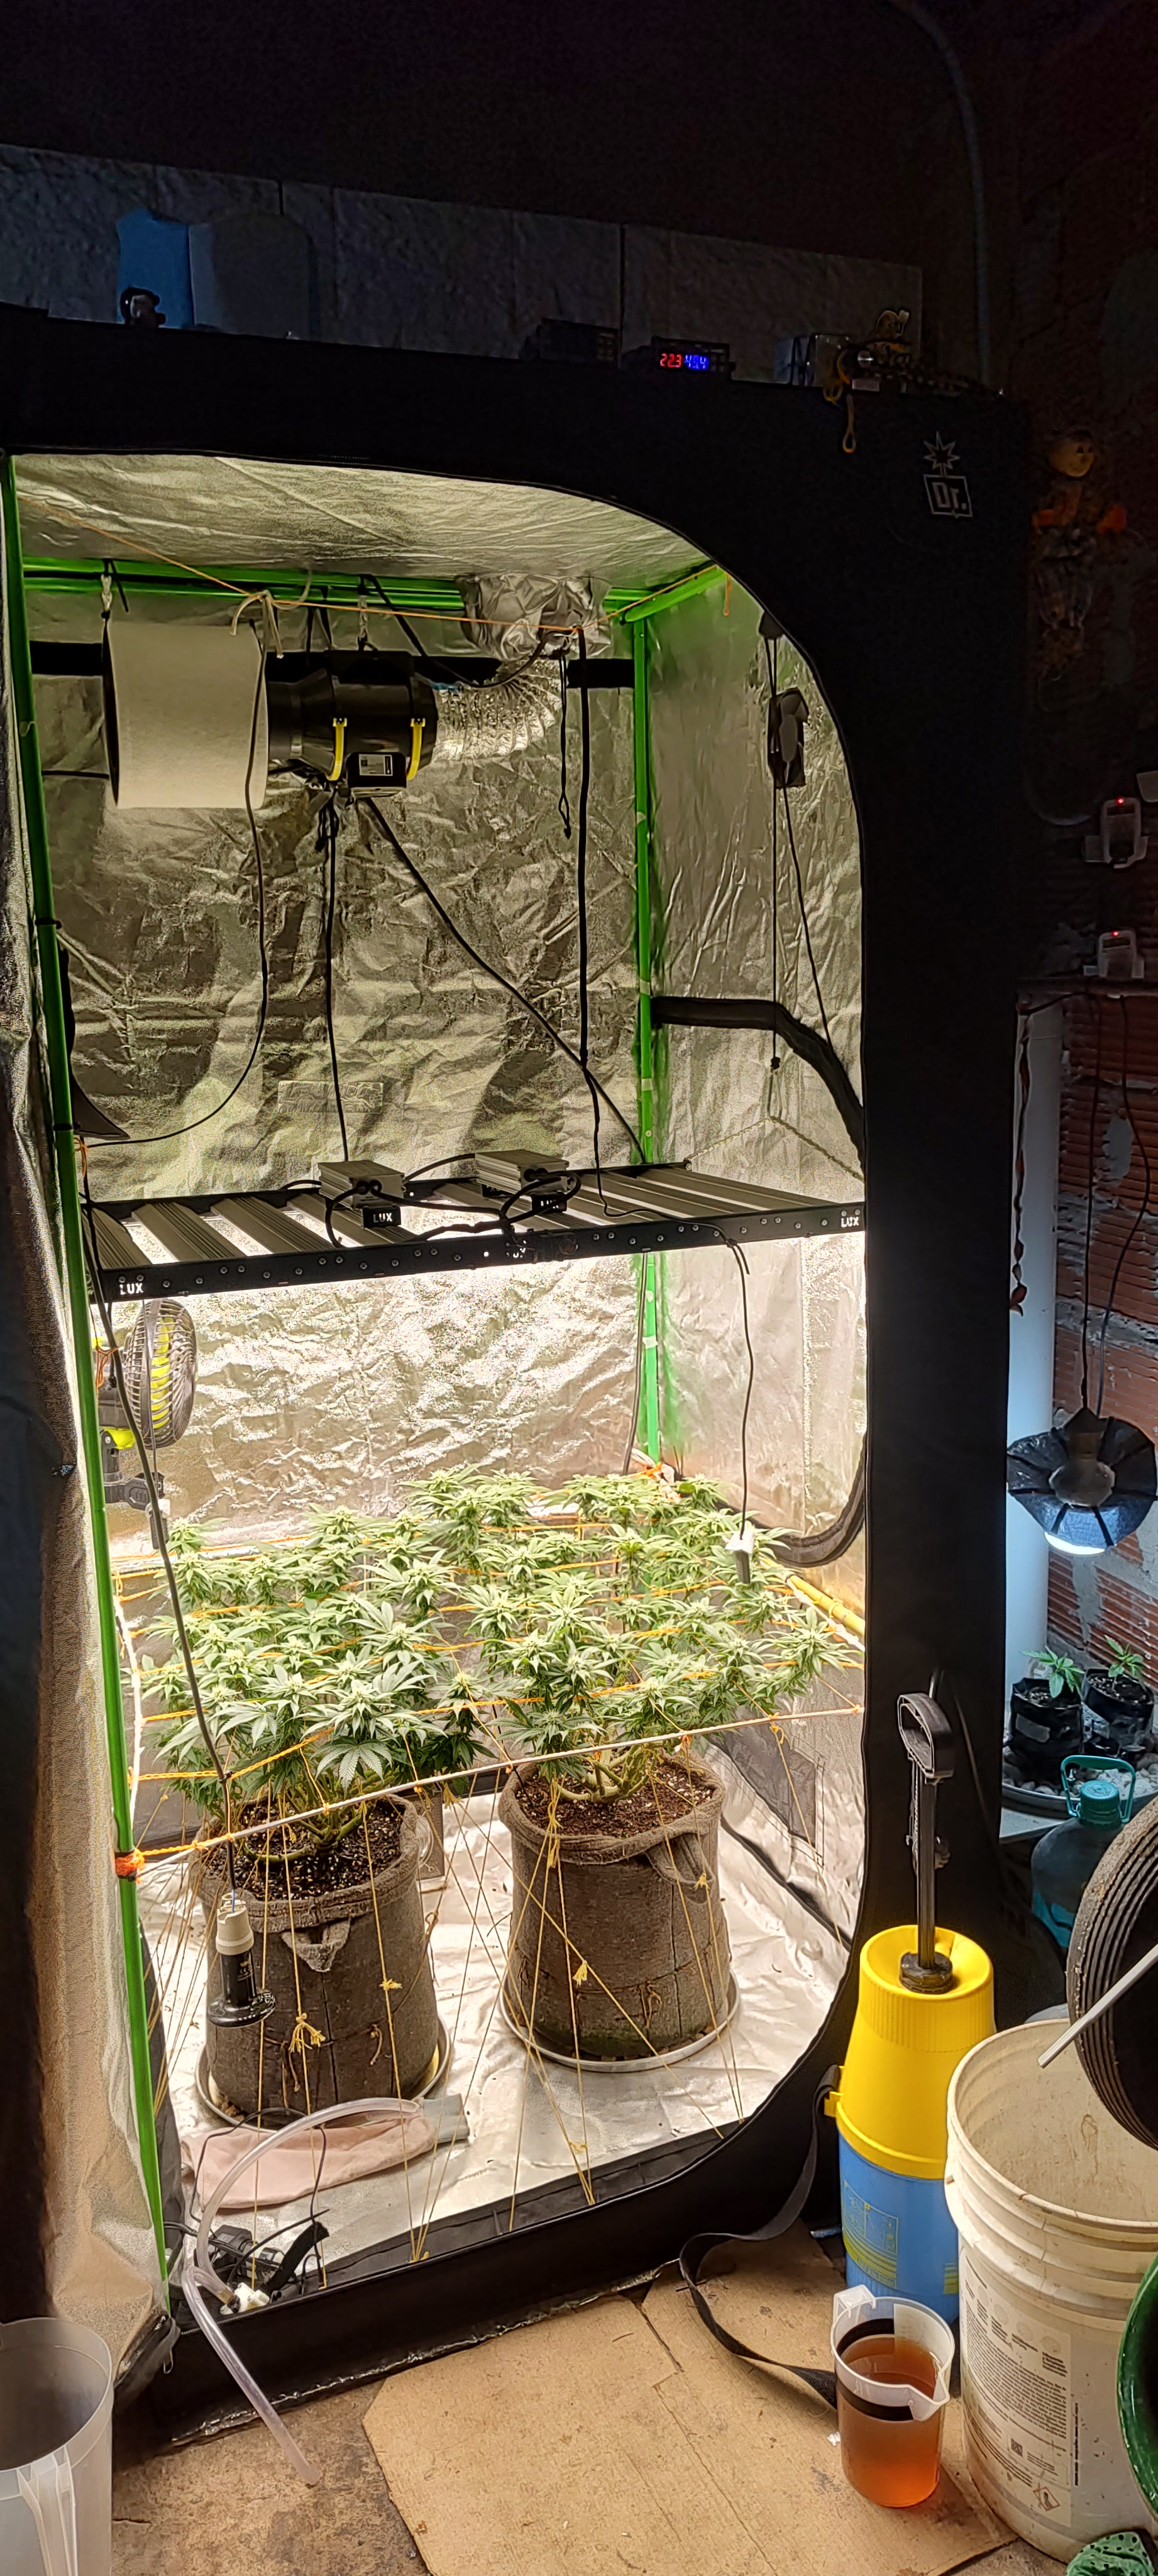
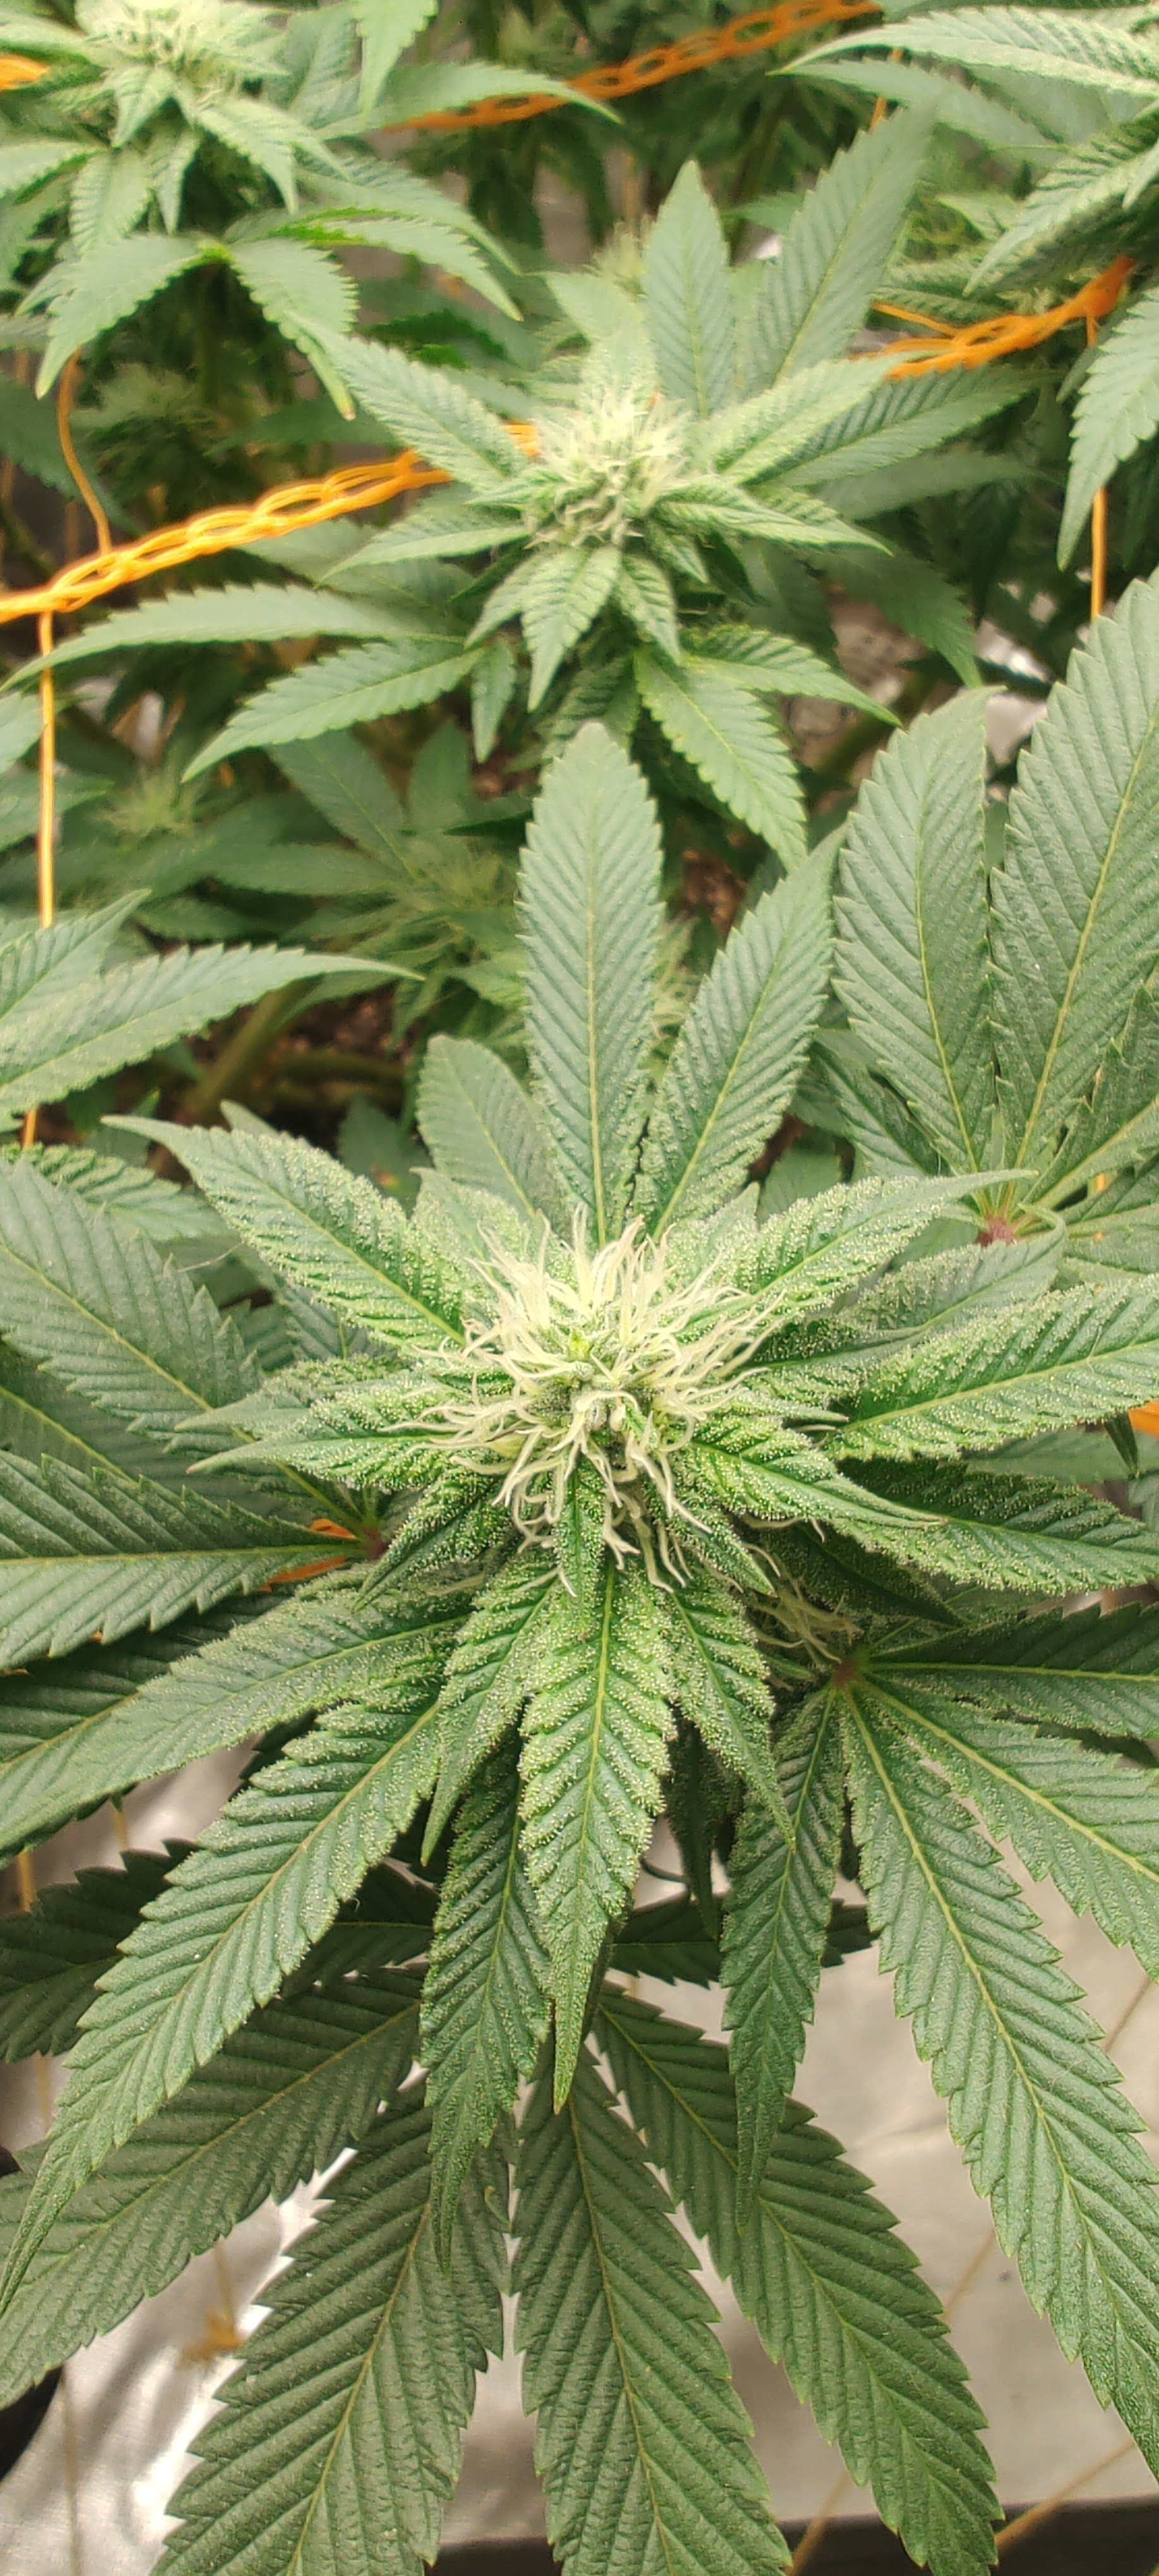
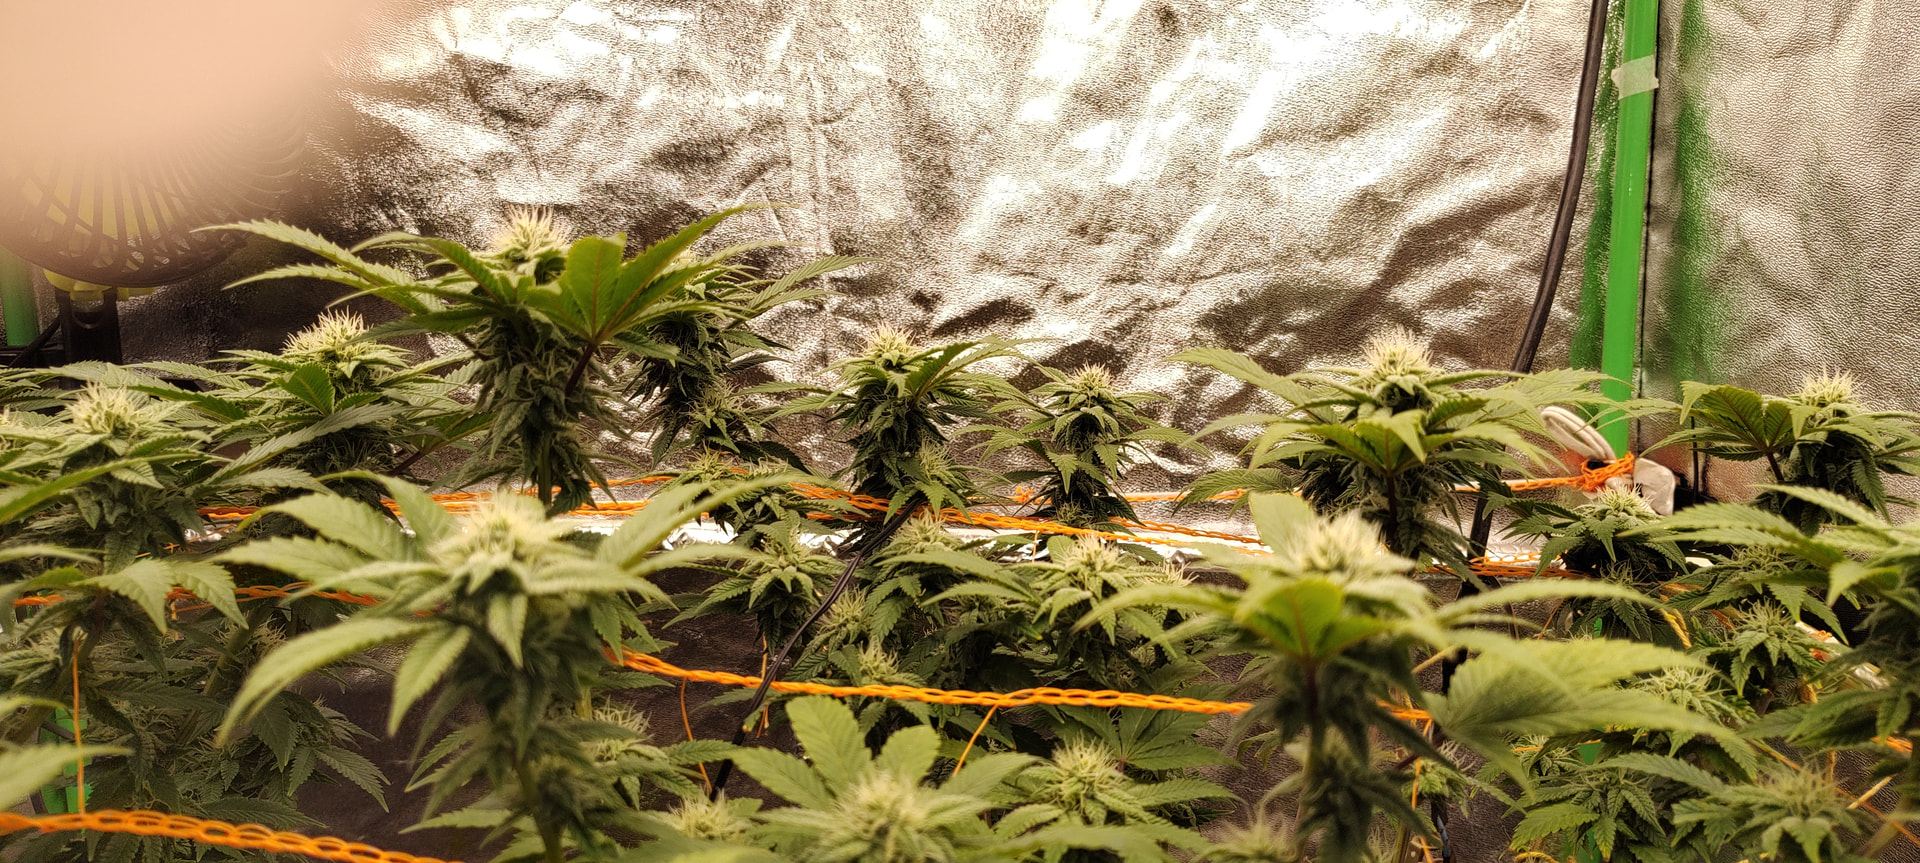
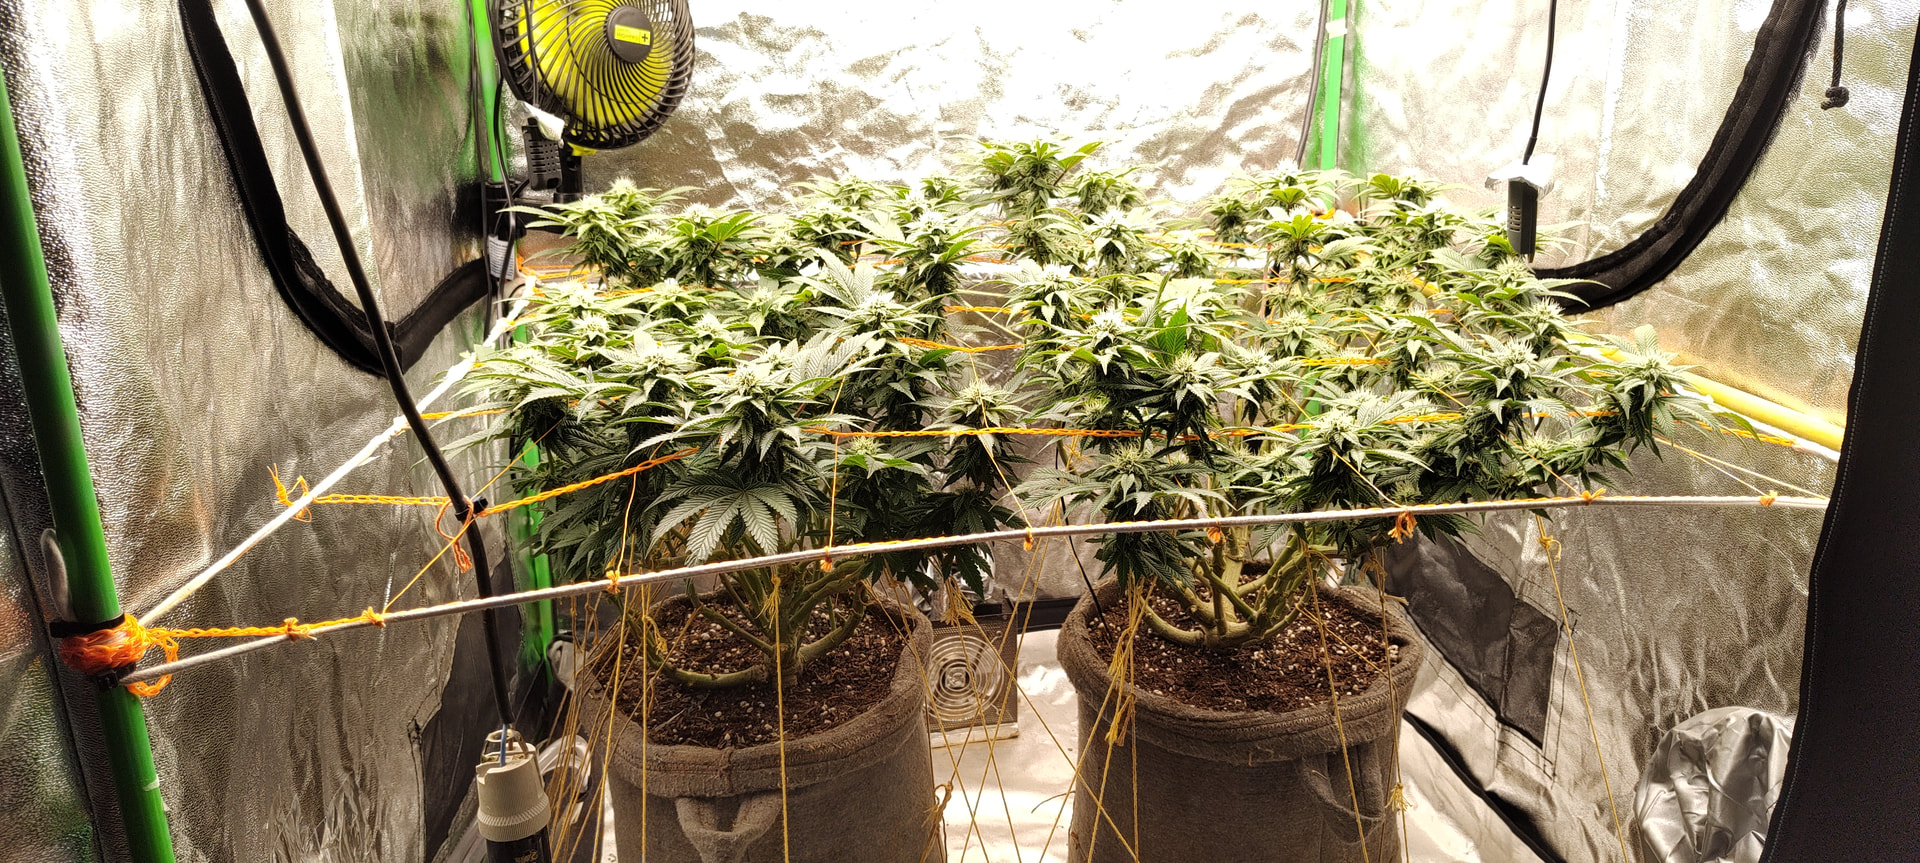
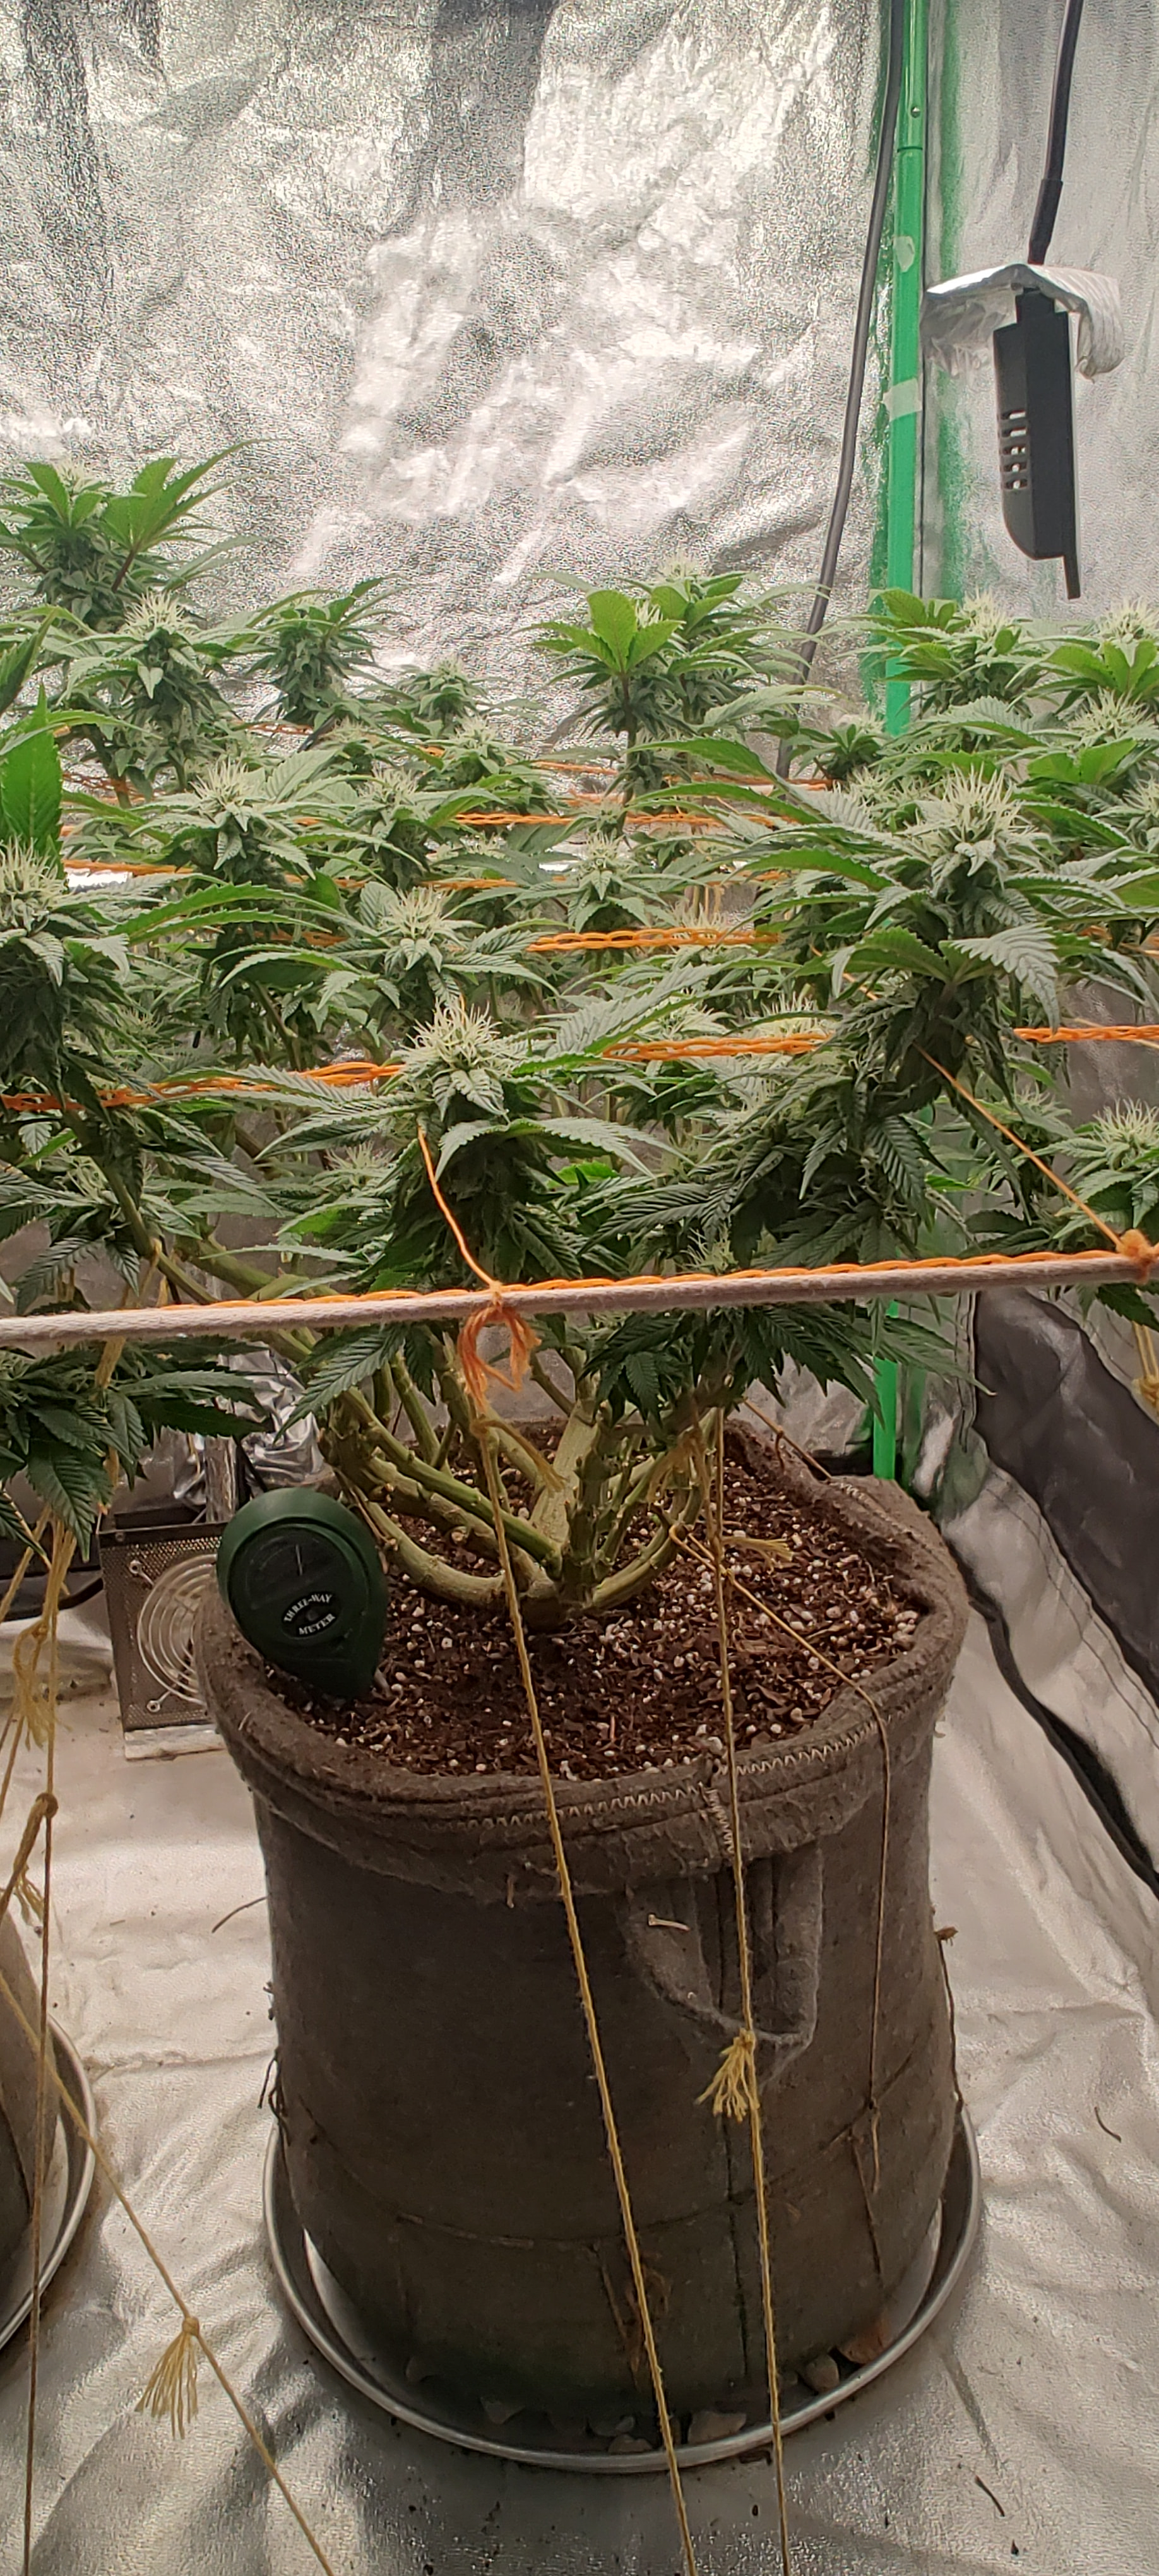
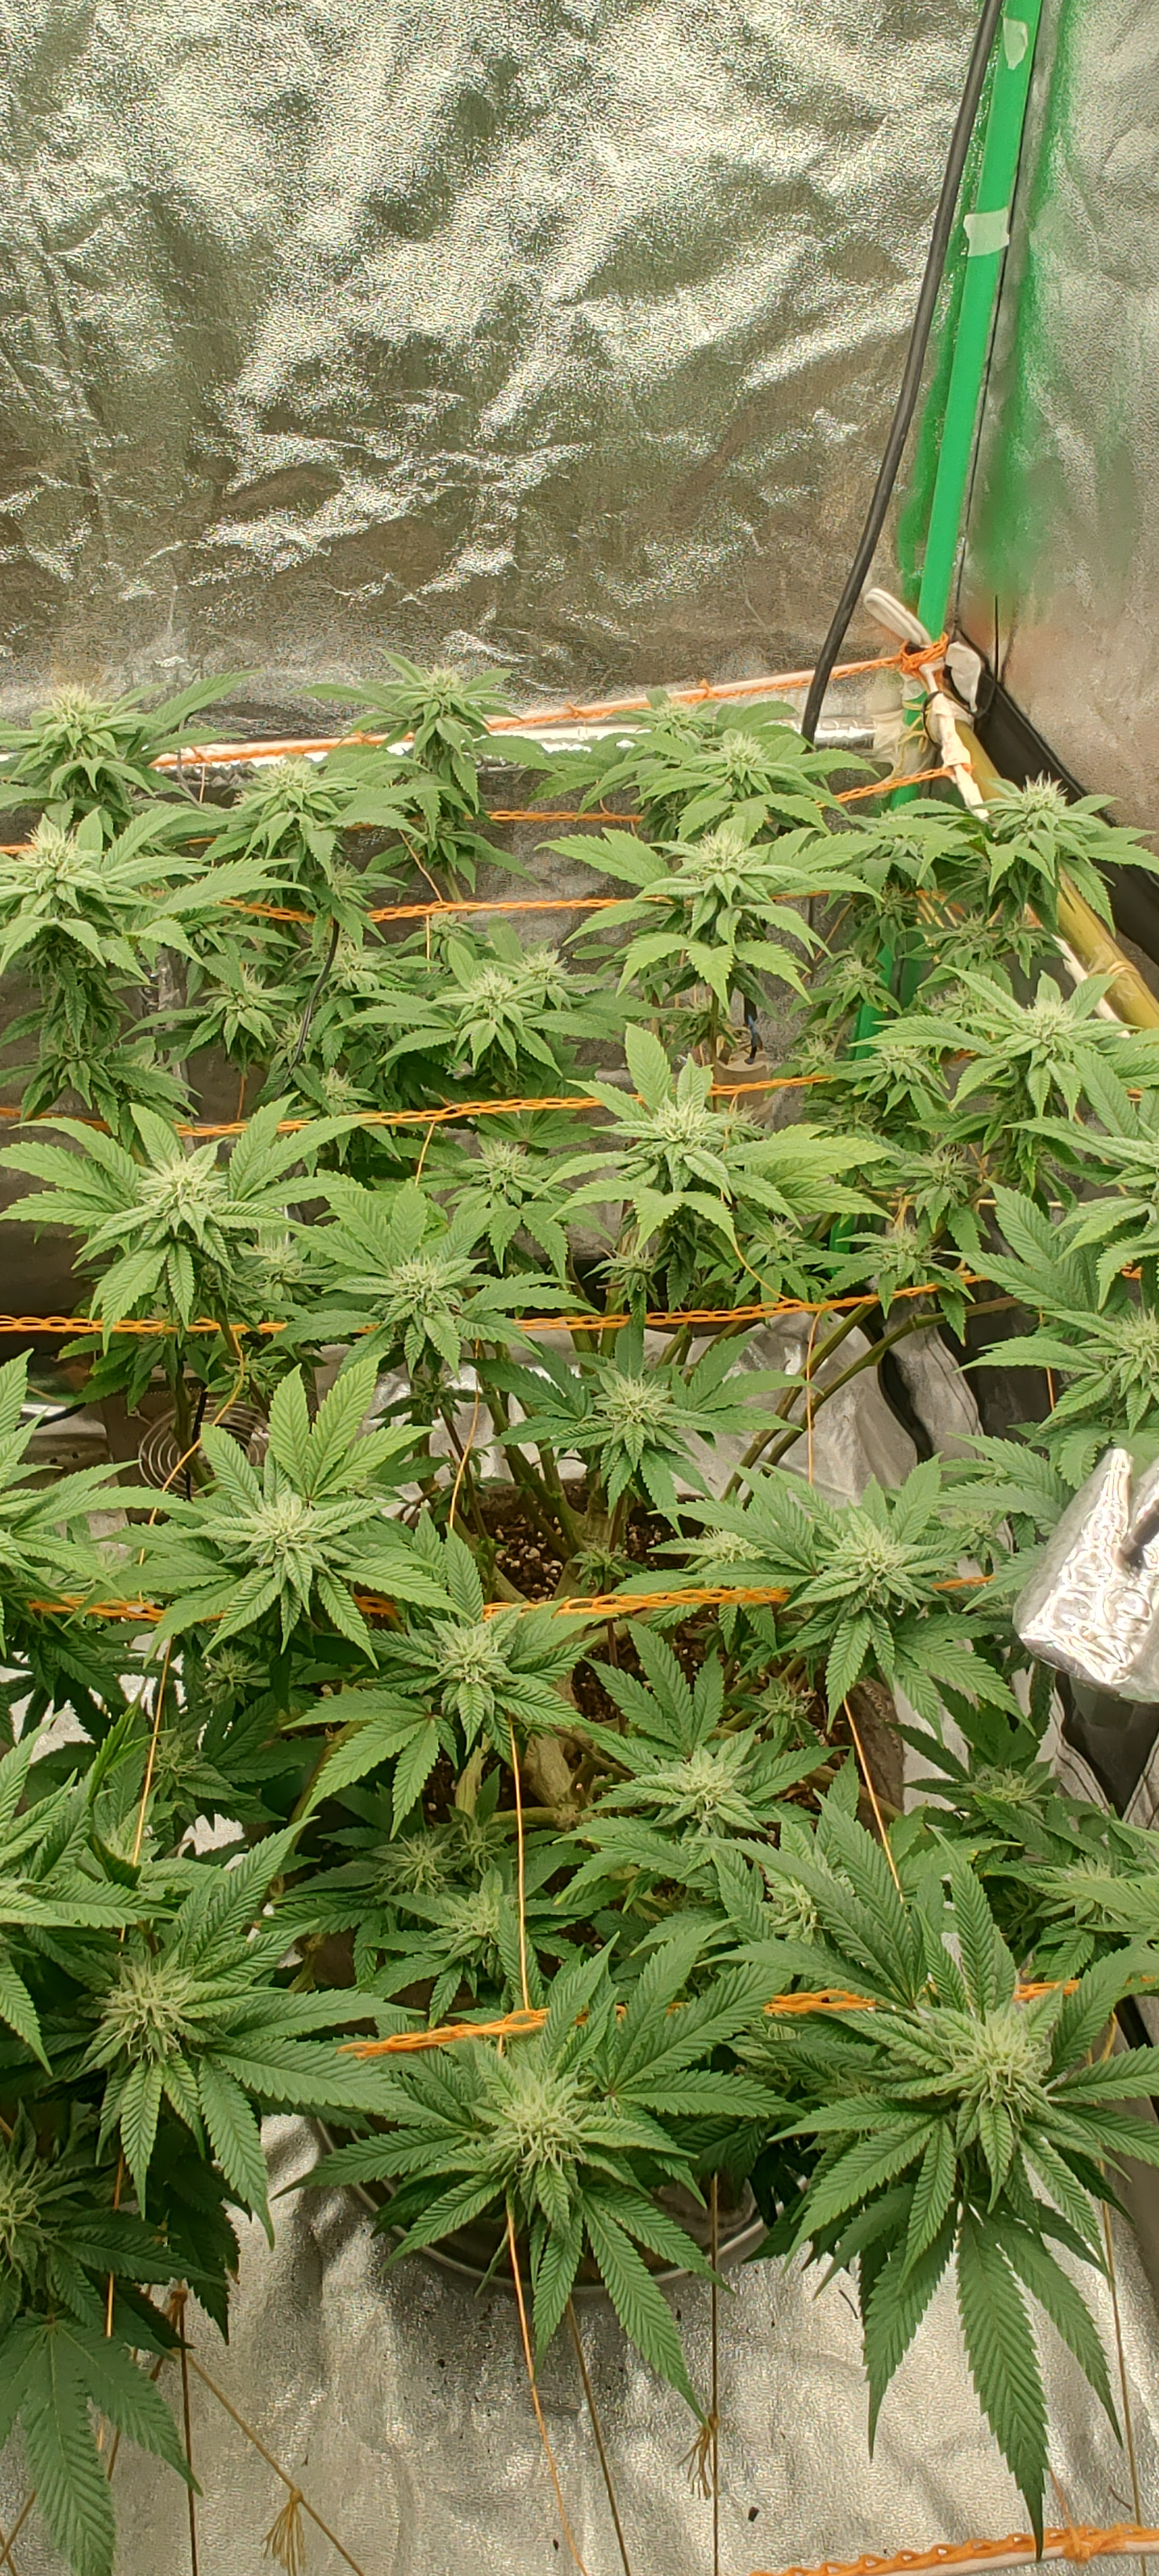
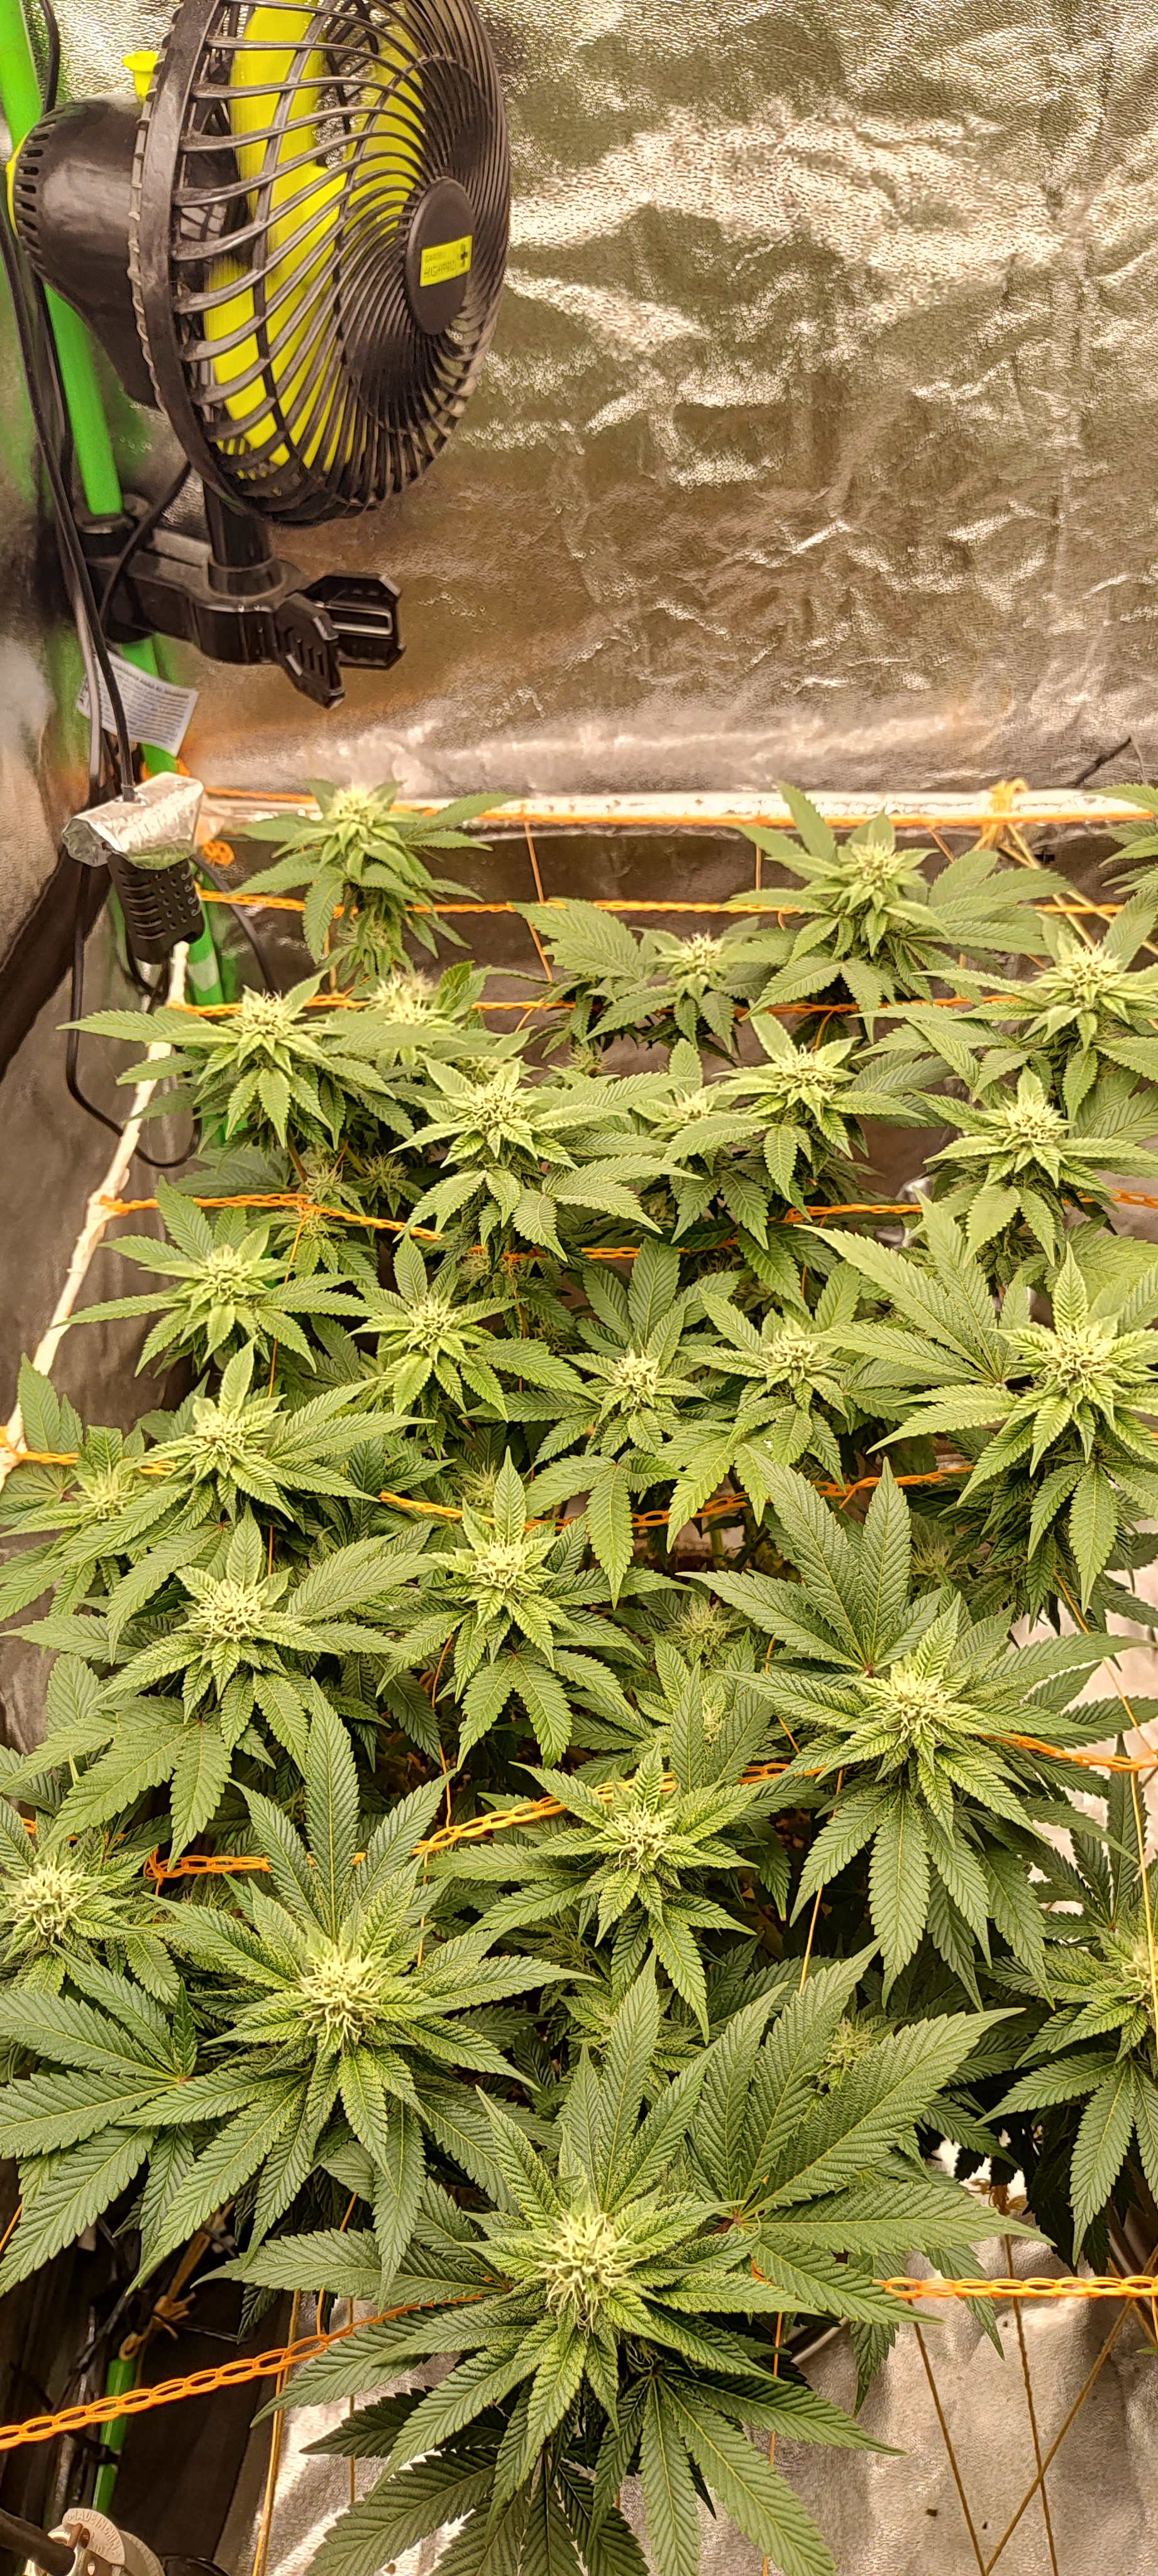
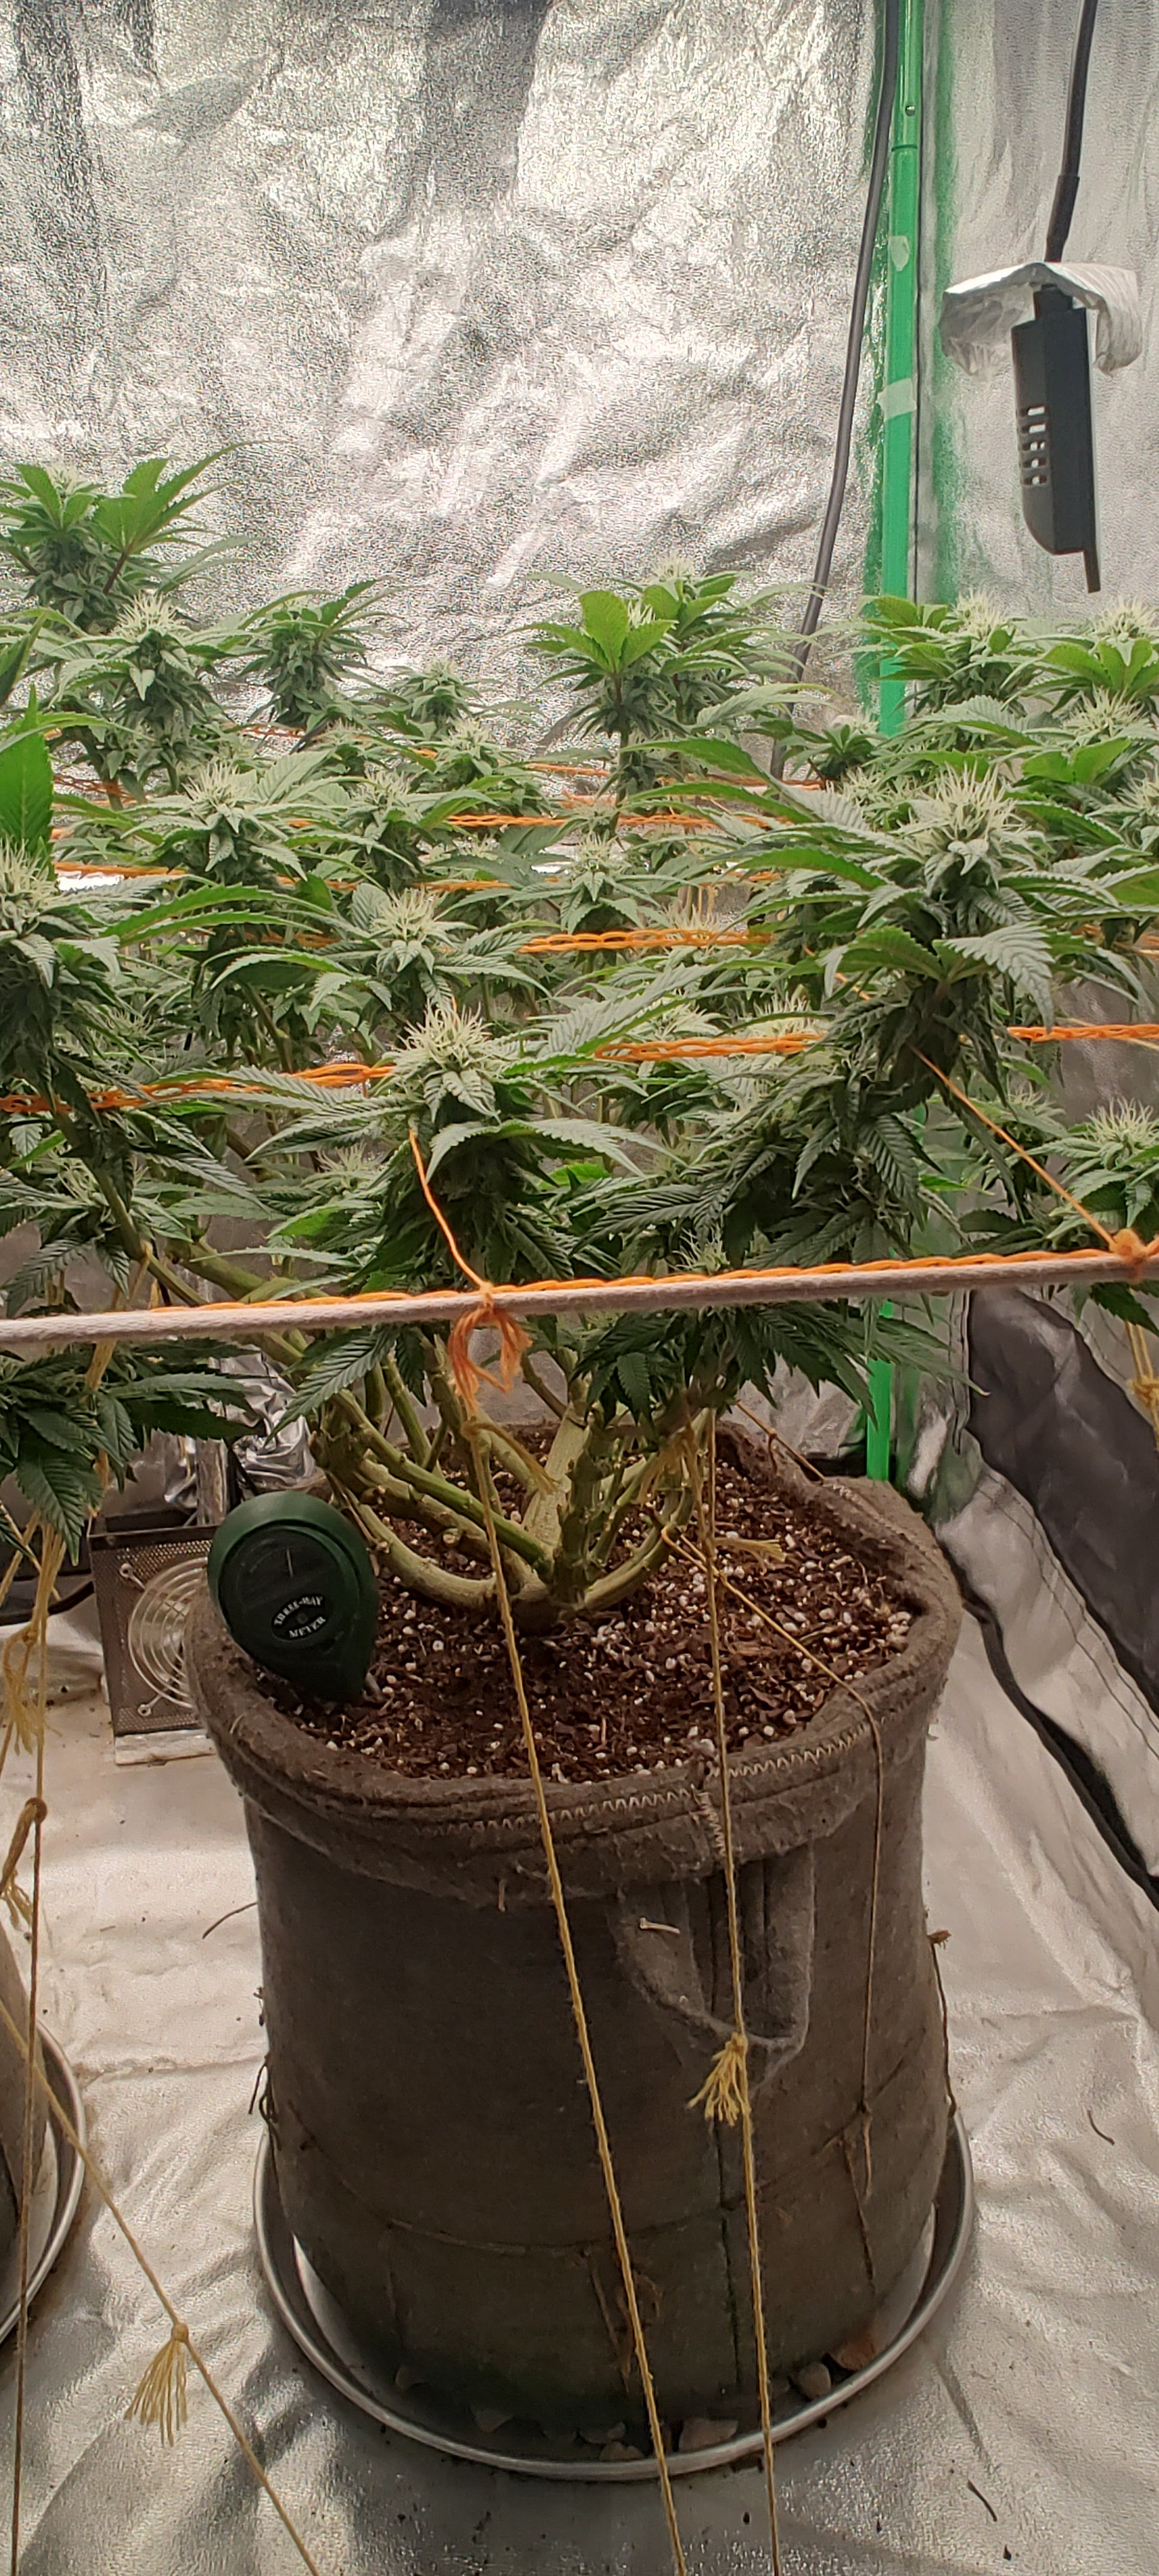
Here is a photo of the plants before the lights go off in week 4. The branches are super firm and the canopy is coming along really even with the panel at 80% at about 35 cm.
As for watering Nicole 2, I prepared a base water mix of rain and well water at 400 µS/cm and went in light with a nutrient solution at 830 µS/cm (EC) and pH 5.9. The runoff came out at 1.95 mS/cm and pH 6.0, which confirms that the pot has just the right nutrient load without overloading them.
This clearly shows what we were talking about regarding feed charts: if I gave them the 1.6 mS/cm that the Feeding chart indicates for every mineral watering, the runoff would shoot up to over 3.0 mS/cm and I’d burn them. By reading the runoff, you keep the perfect load without causing lockout.
To close out this stage, I’m going to add the LX-FAR RED 20W (730 nm) board mounted directly to the panel frame. With the Emerson Effect and the 15-minute shutdown, I unlock the photosynthetic ceiling to turn the panel up to 100% power without needing CO_2.
Good morning everyone !!! Here is a bit more info and experiences from my first grow, in case someone starting out like me is looking for information. In the previous post, we had considered adding a Far Red (730 nm) booster board with the intention of speeding up the flowering rate through the Emerson effect and stimulating a controlled stretch to open up the canopy.
In the end, we completely ruled out buying and installing that board. The technical reason is that our 480W CREE J Series LED panel already has a high-efficacy full spectrum that delivers the photosynthetically active radiation (PAR) needed for this phase. Light penetration at 40 cm is excellent, and the red ratio gives the plant the morphogenetic signal needed to fatten up the buds. Adding the little Far Red board would mean an unnecessary expense, adding extra wiring to the space, and generating additional heat that would force us to strain the extraction system.
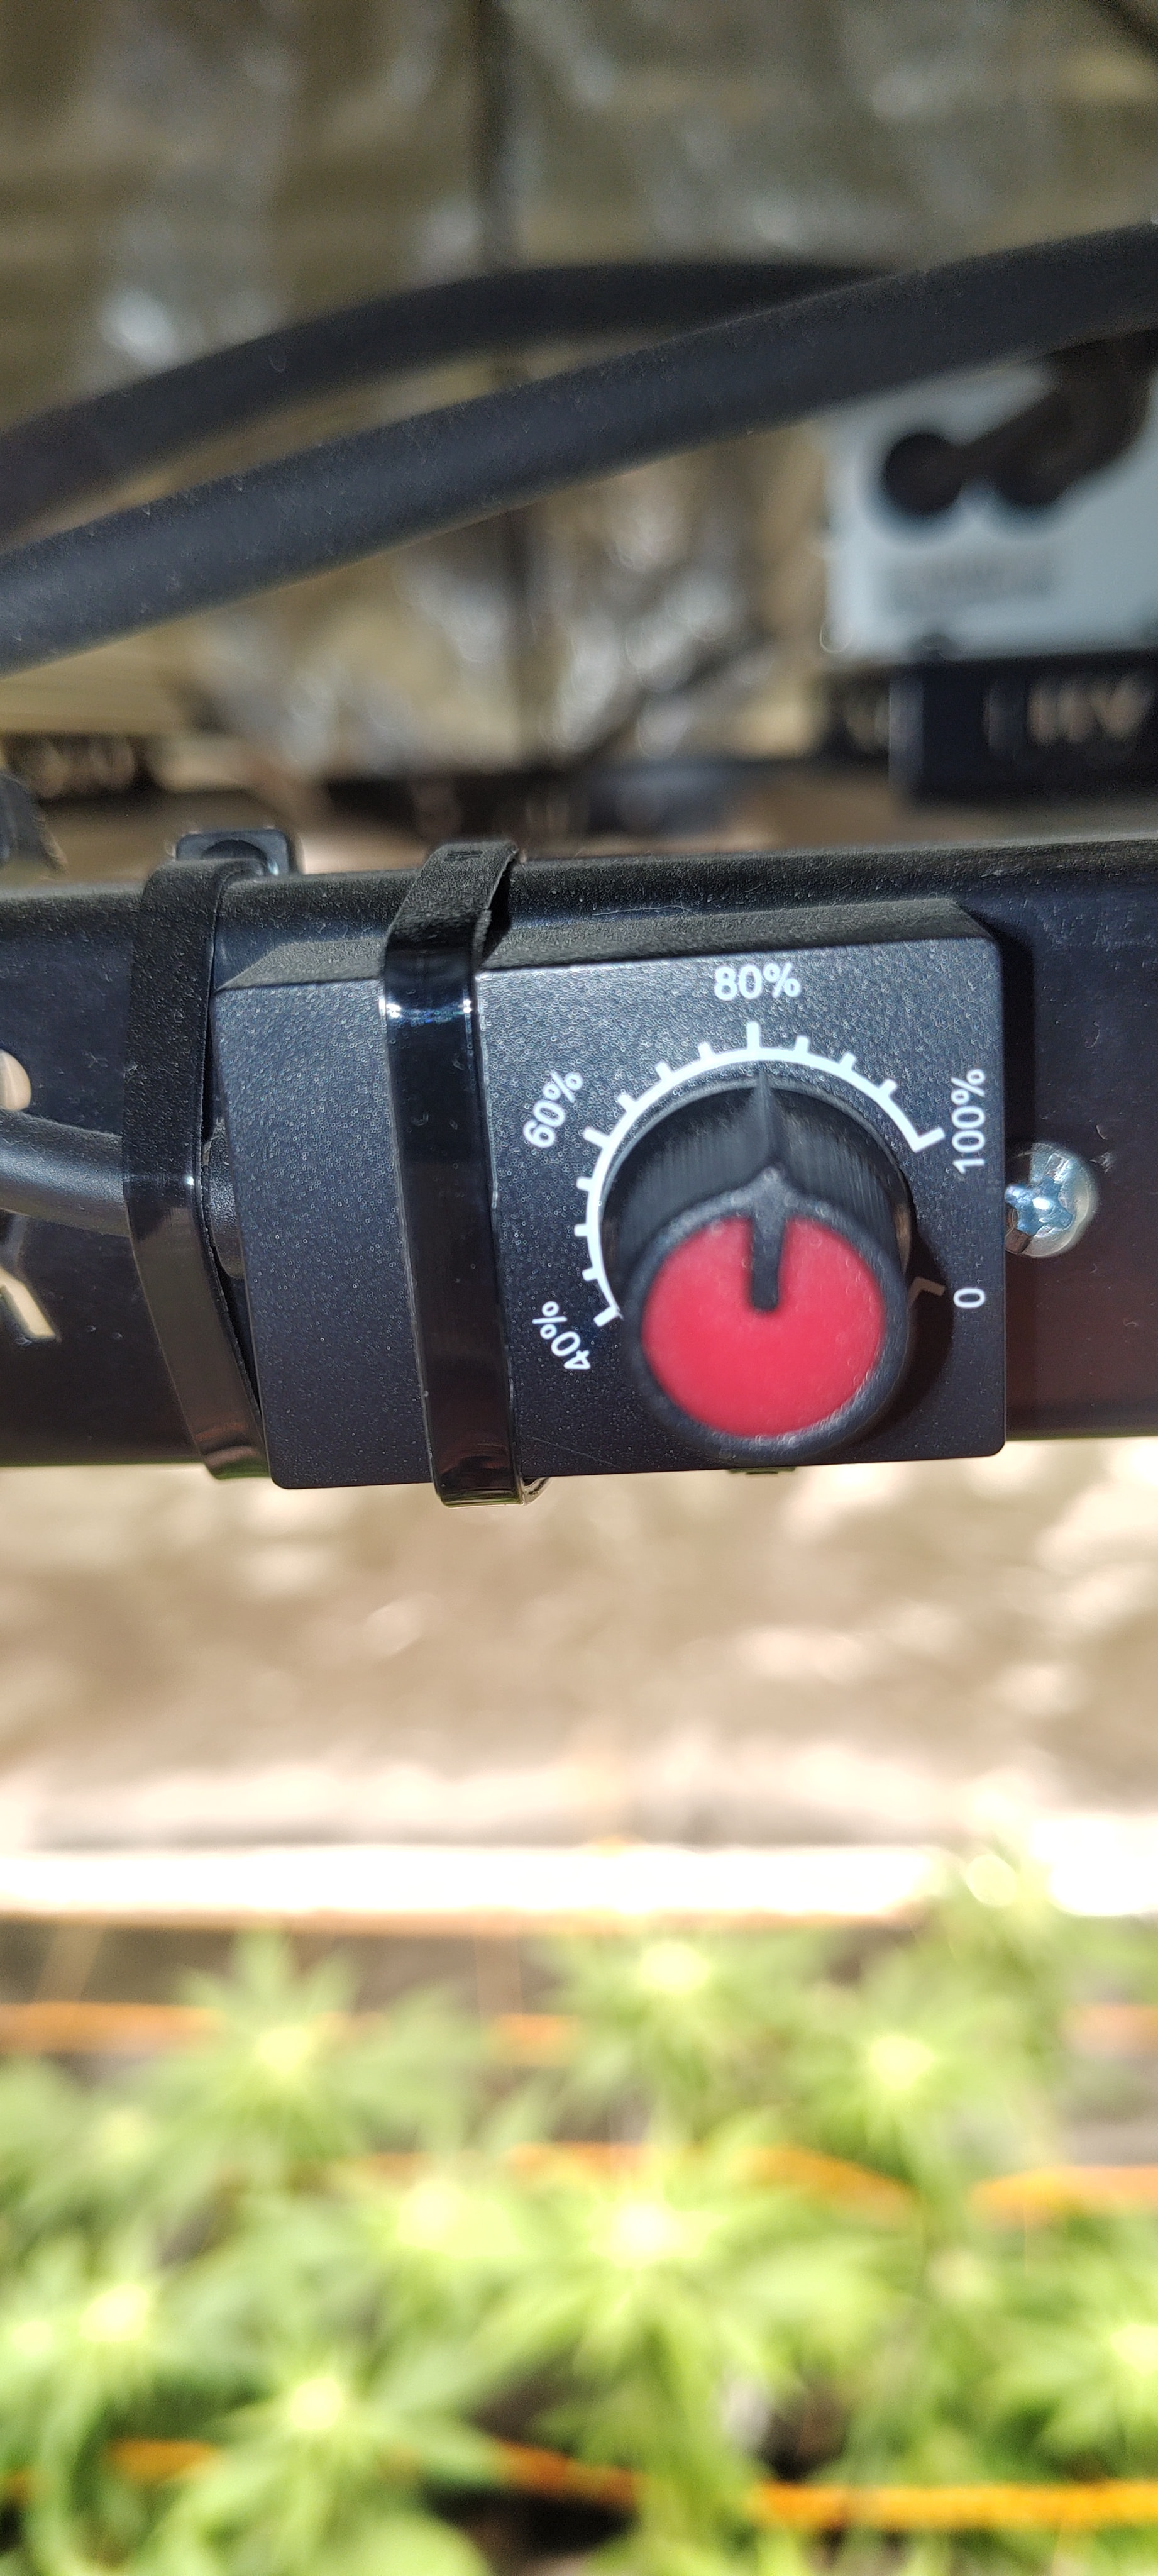
As for current management, we switched the photoperiod to 11 hours of light and 13 of darkness to speed up resin biosynthesis. The panel remains at 80% power at 40 cm from the tops. Checking the potentiometer, we saw that we only have 4 notches left until 100%, so we will keep it at this power for a few days, evaluating the leaf response before making the fine adjustment straight to full 480W at the peak of flowering.
The canopy is responding with upright leaves and pom-poms gaining density. The climate is holding at 25.4 °C and 48% relative humidity, with automated extraction set to trigger if the temperature exceeds 26.5 °C.
Yesterday it was time to open the main tent and the surprise was great: the plants are growing with tremendous vigor and an upright leaf posture (“happy”) that is a joy to see.
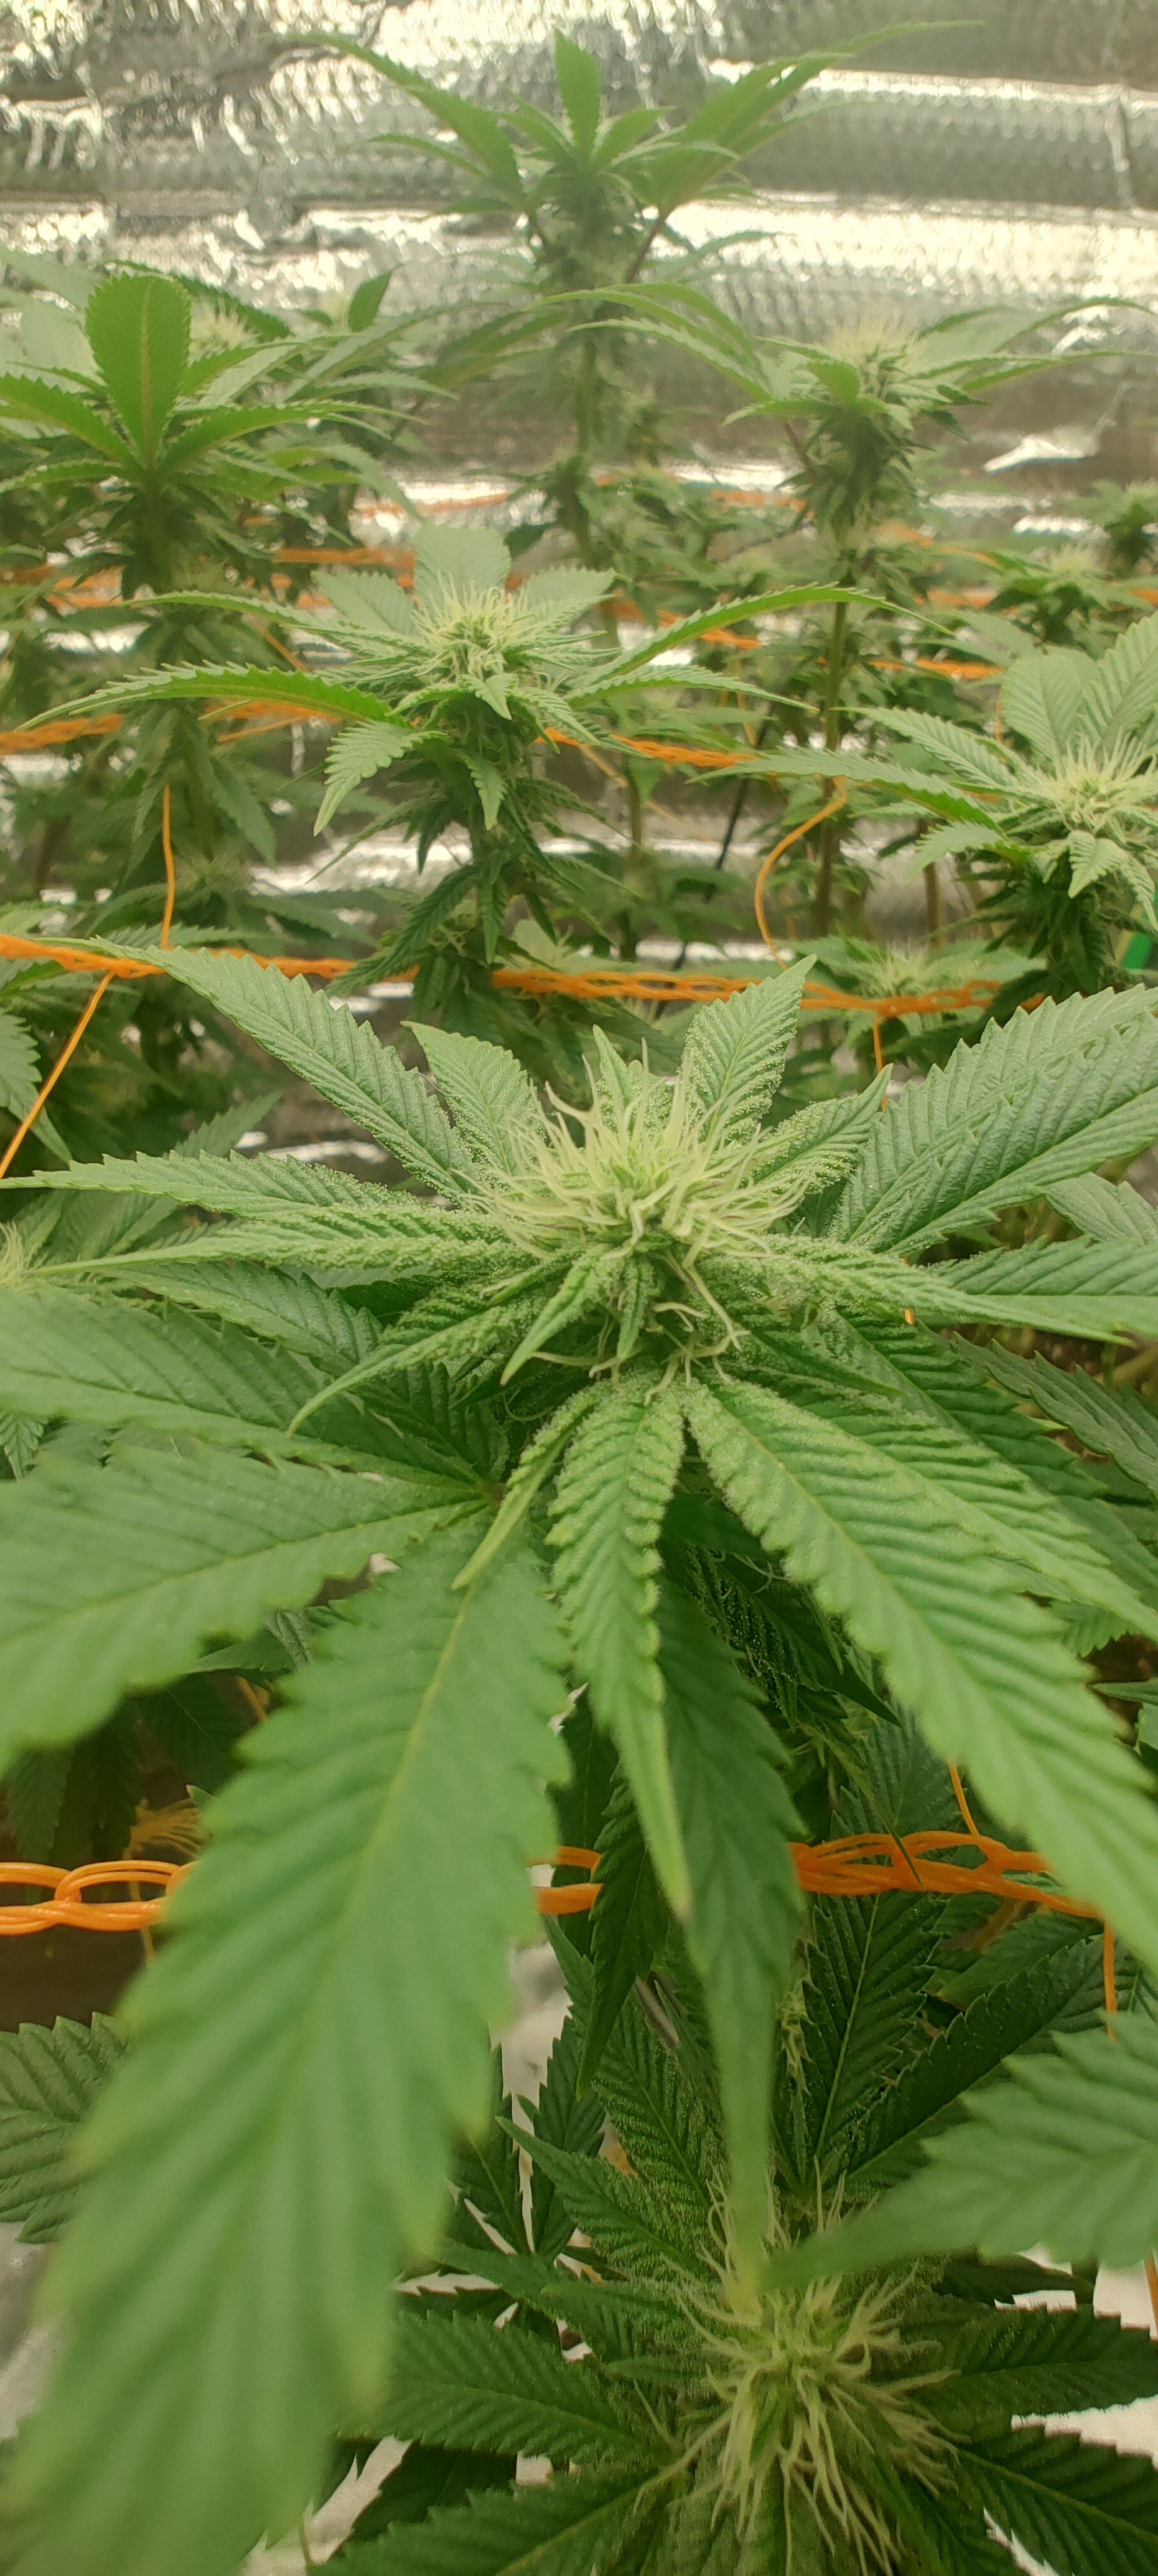
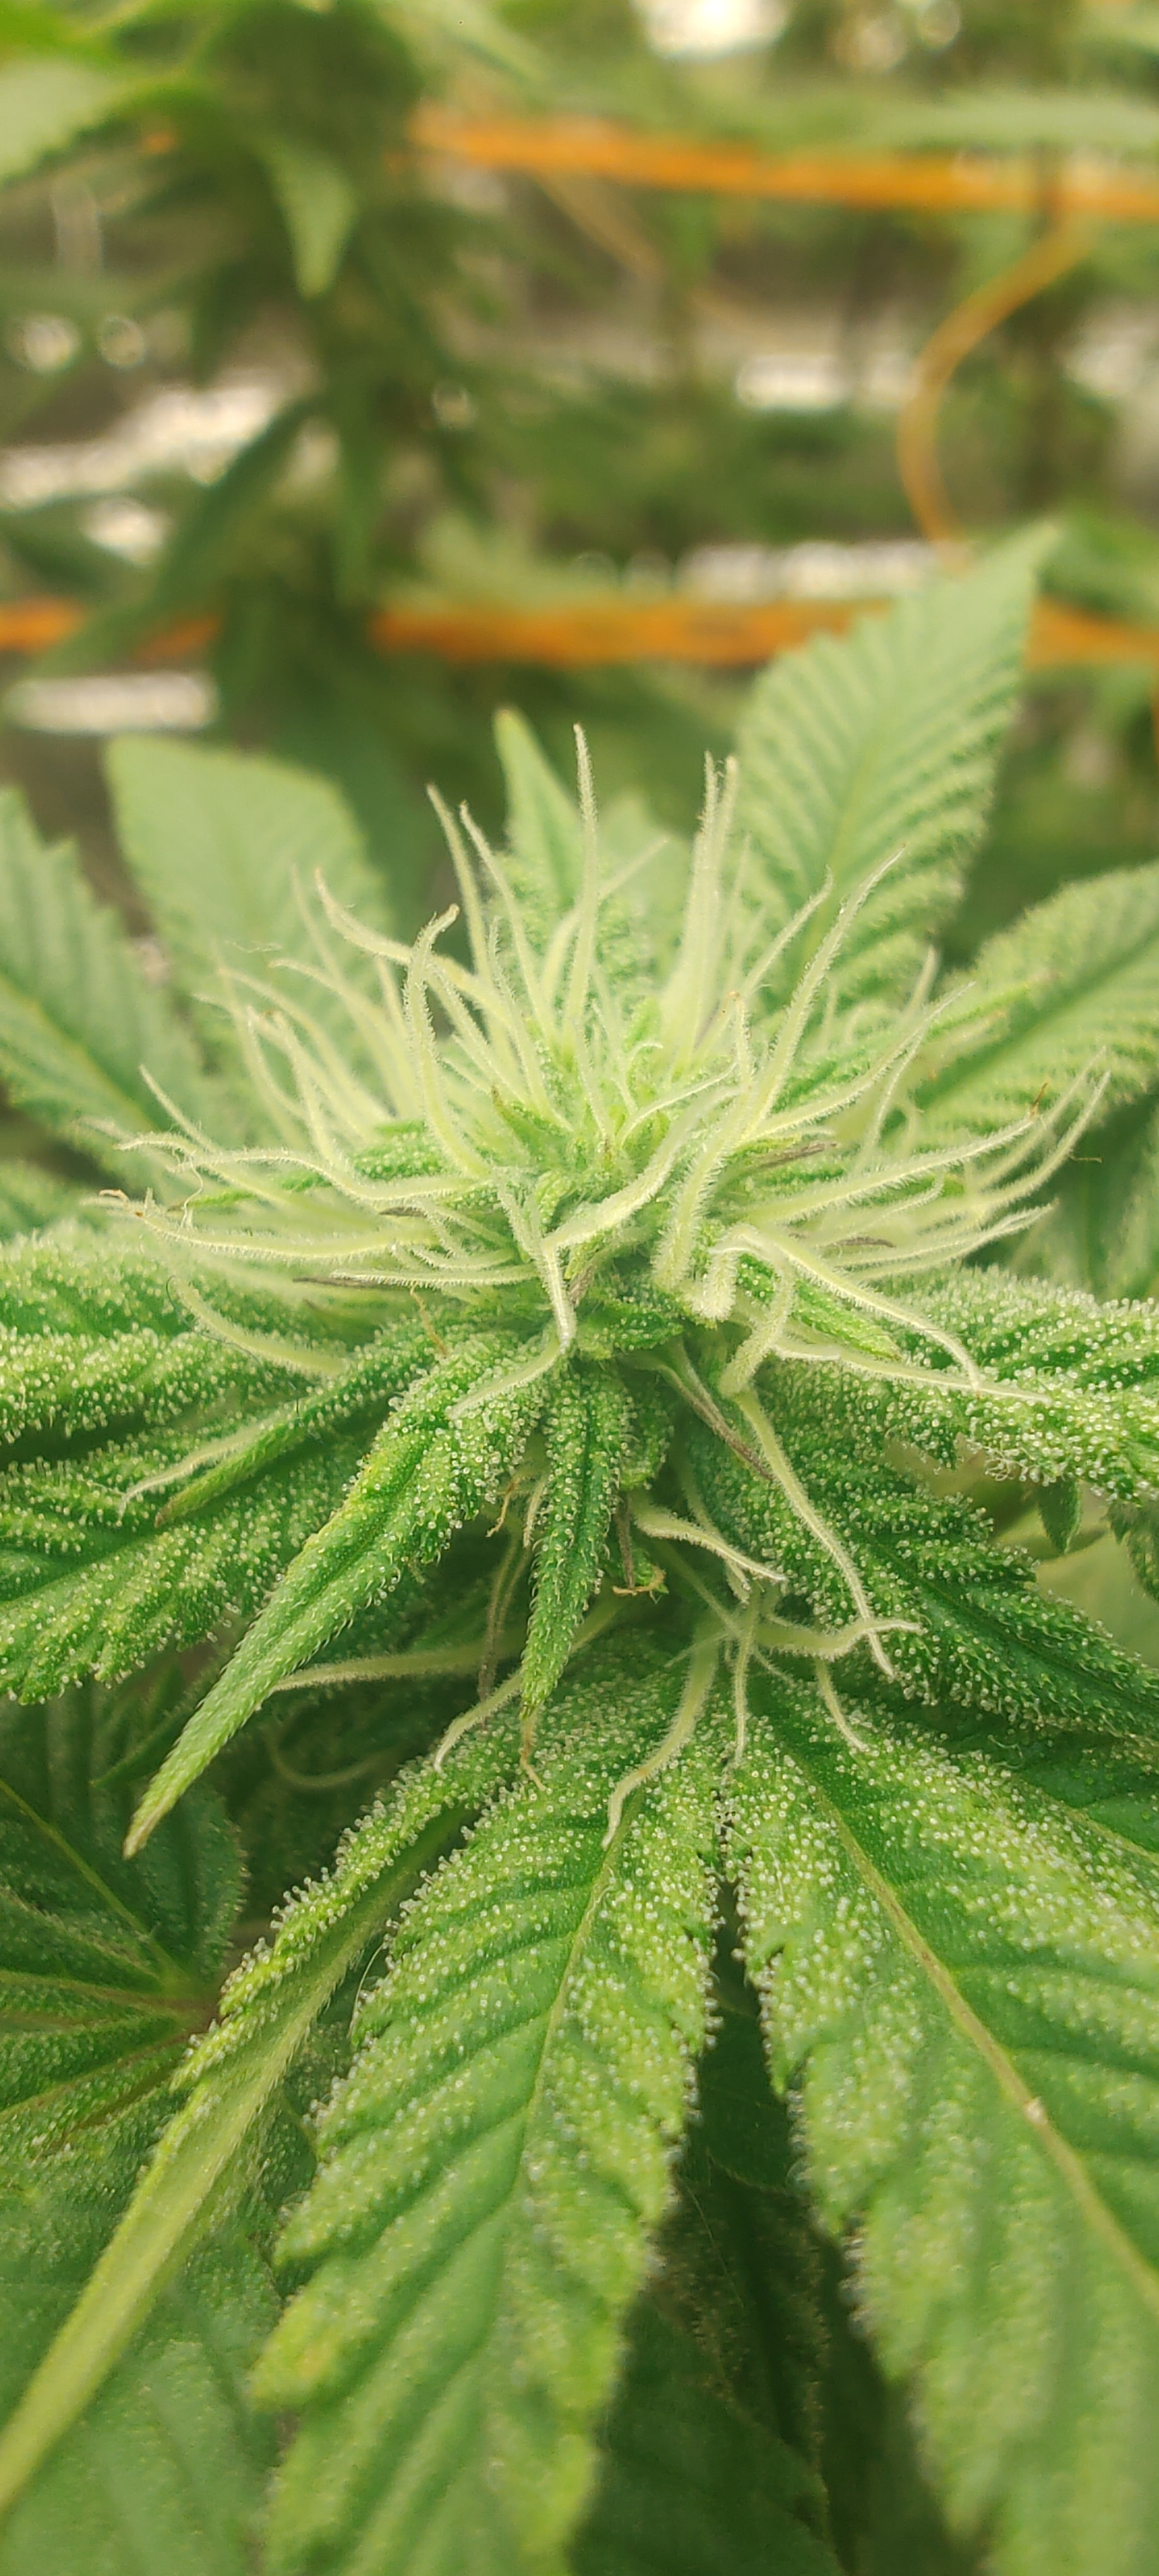
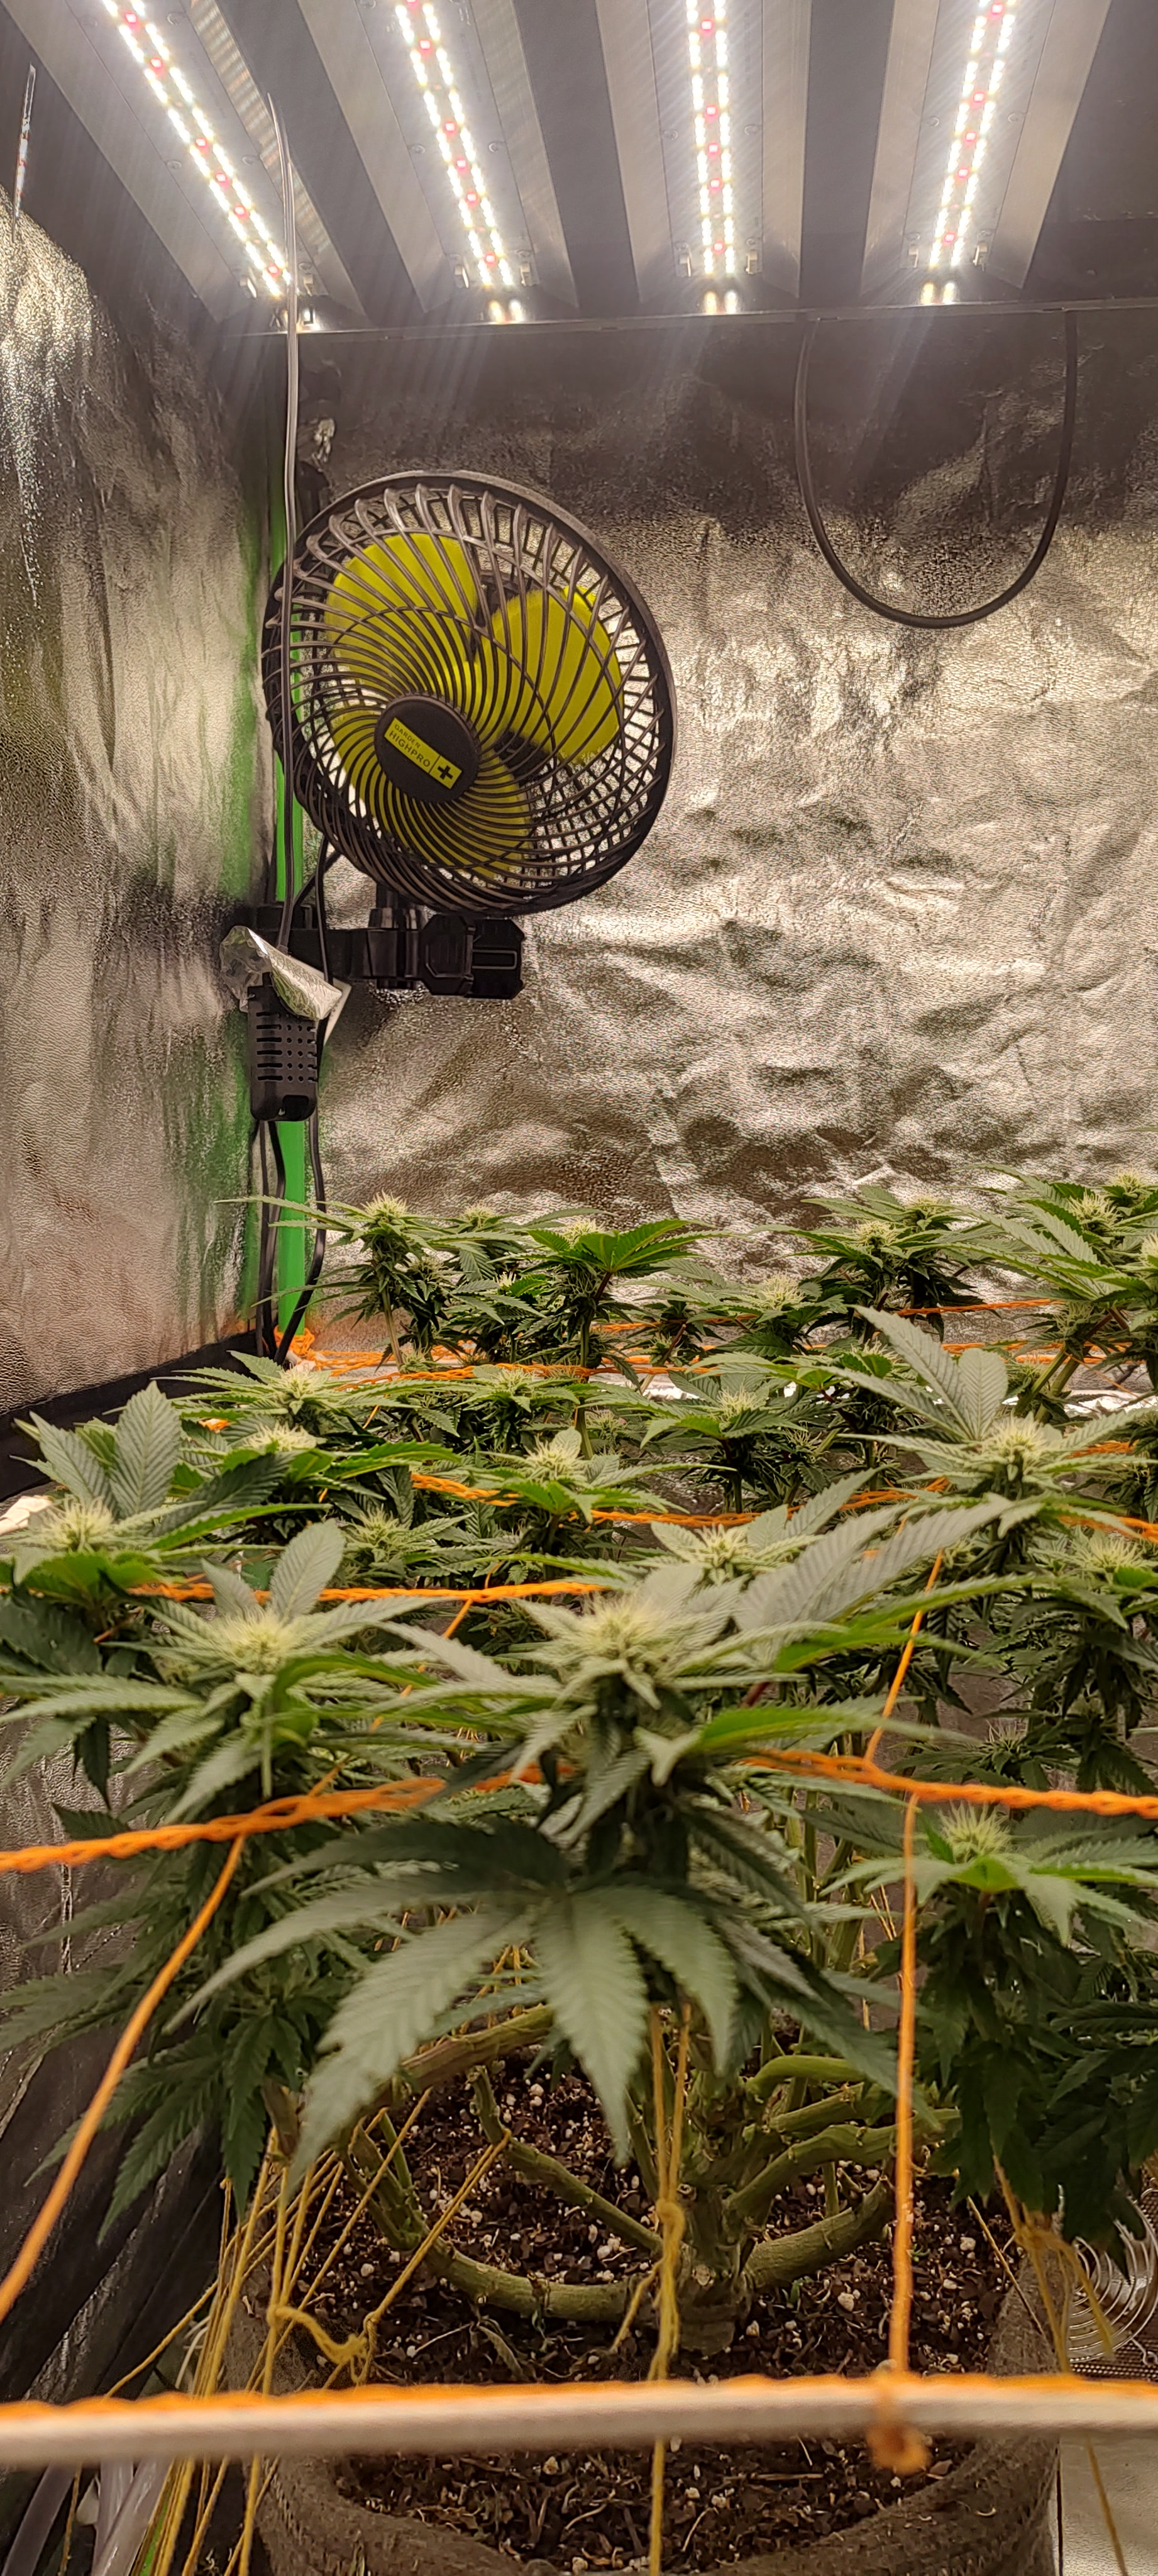
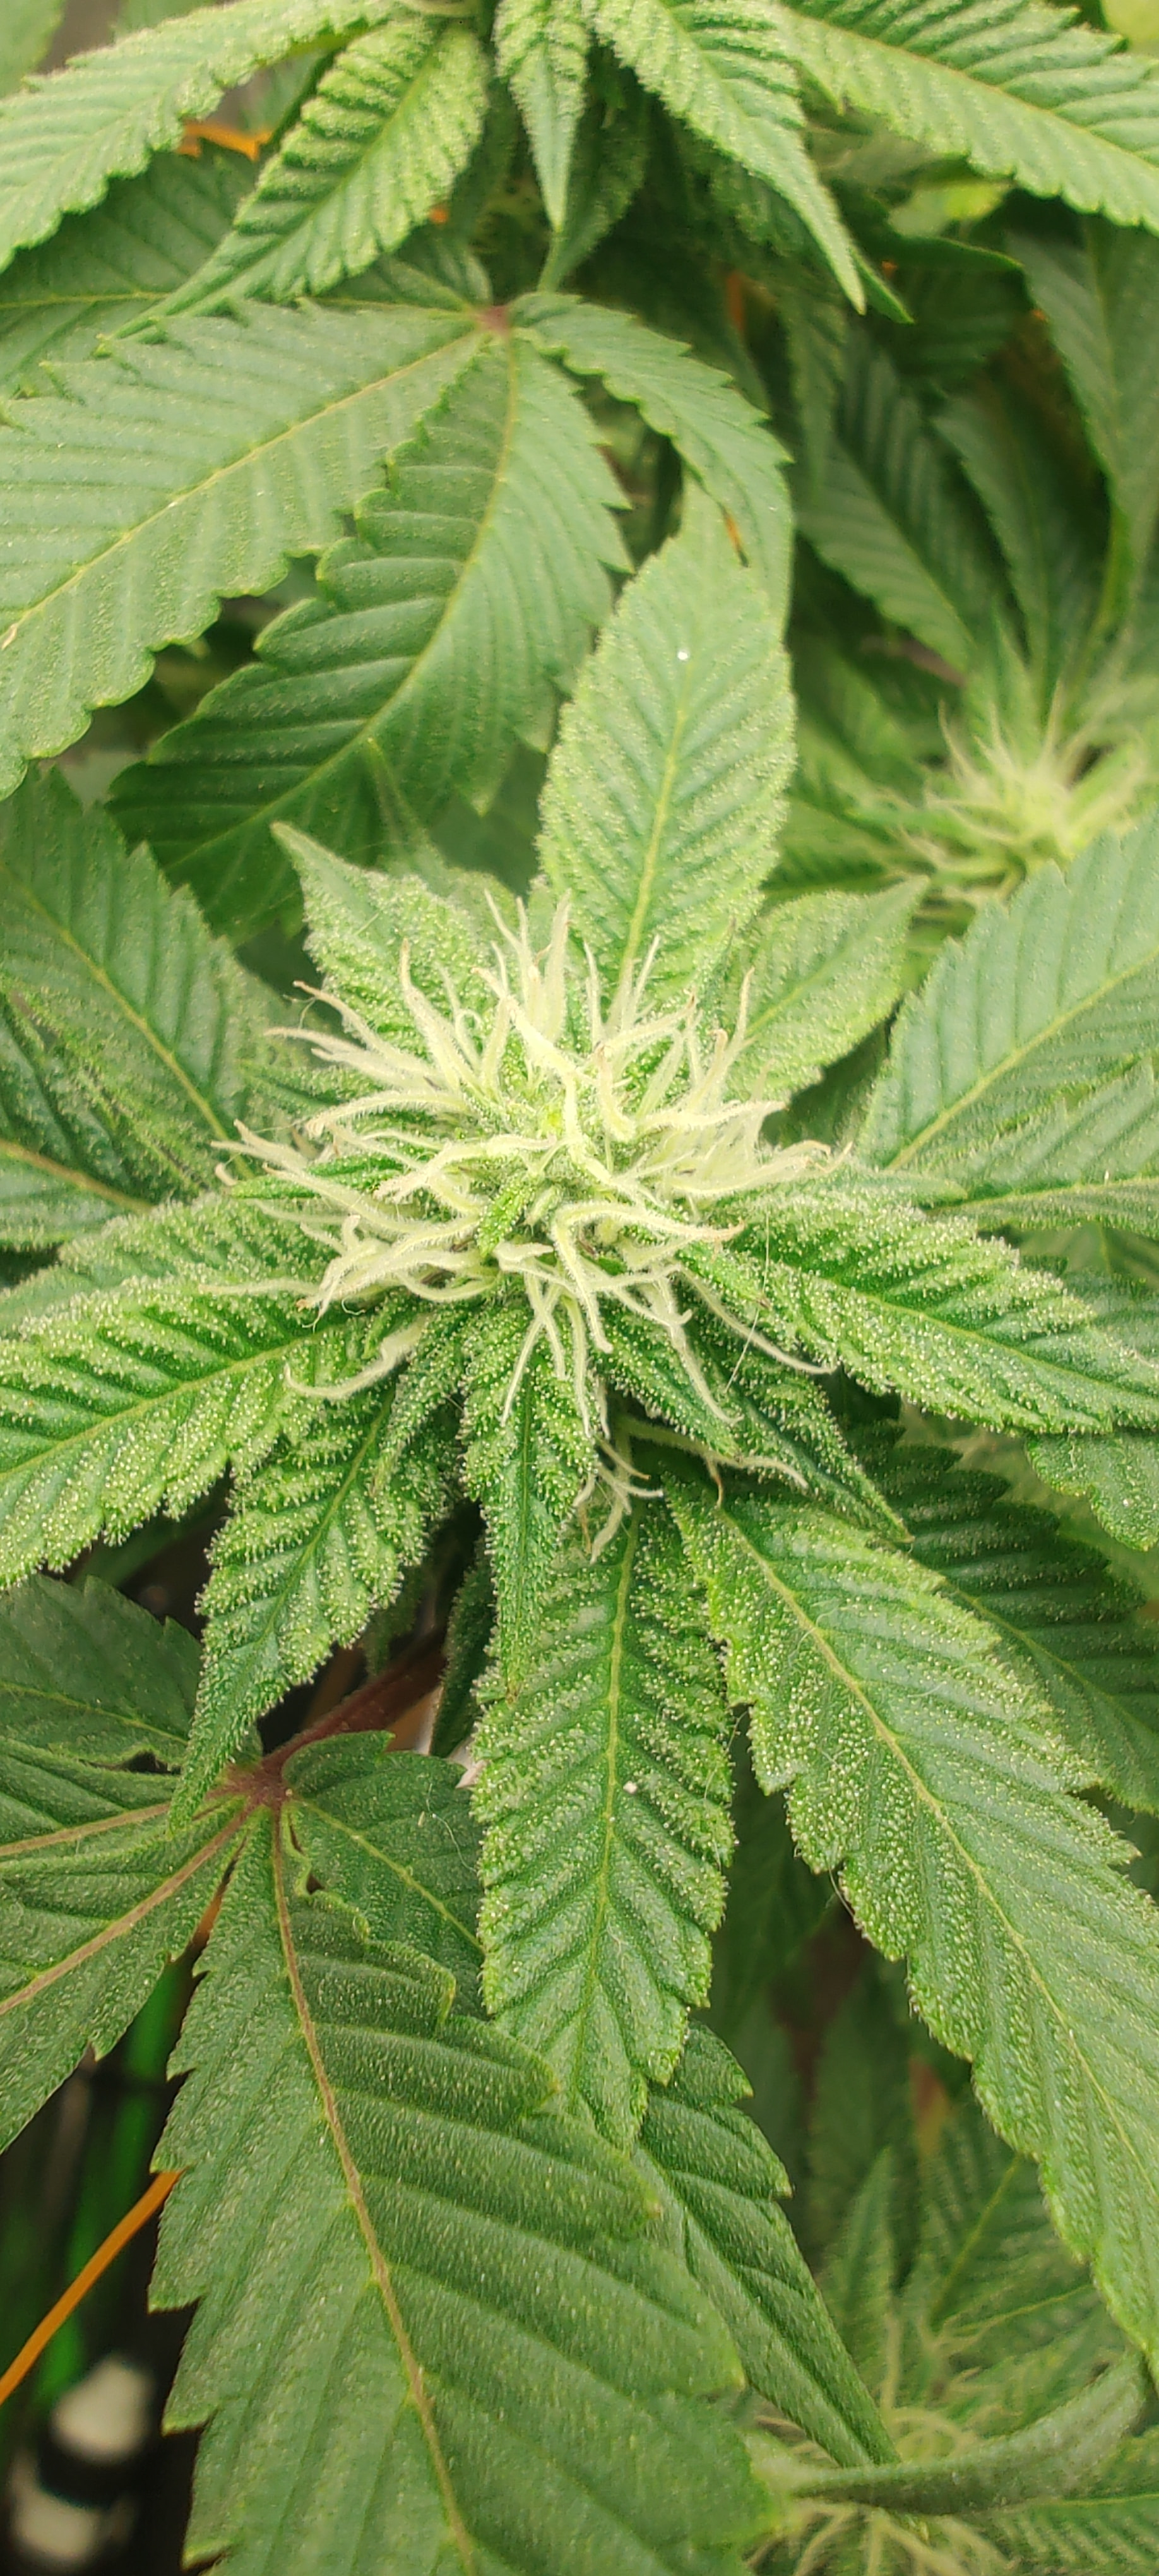
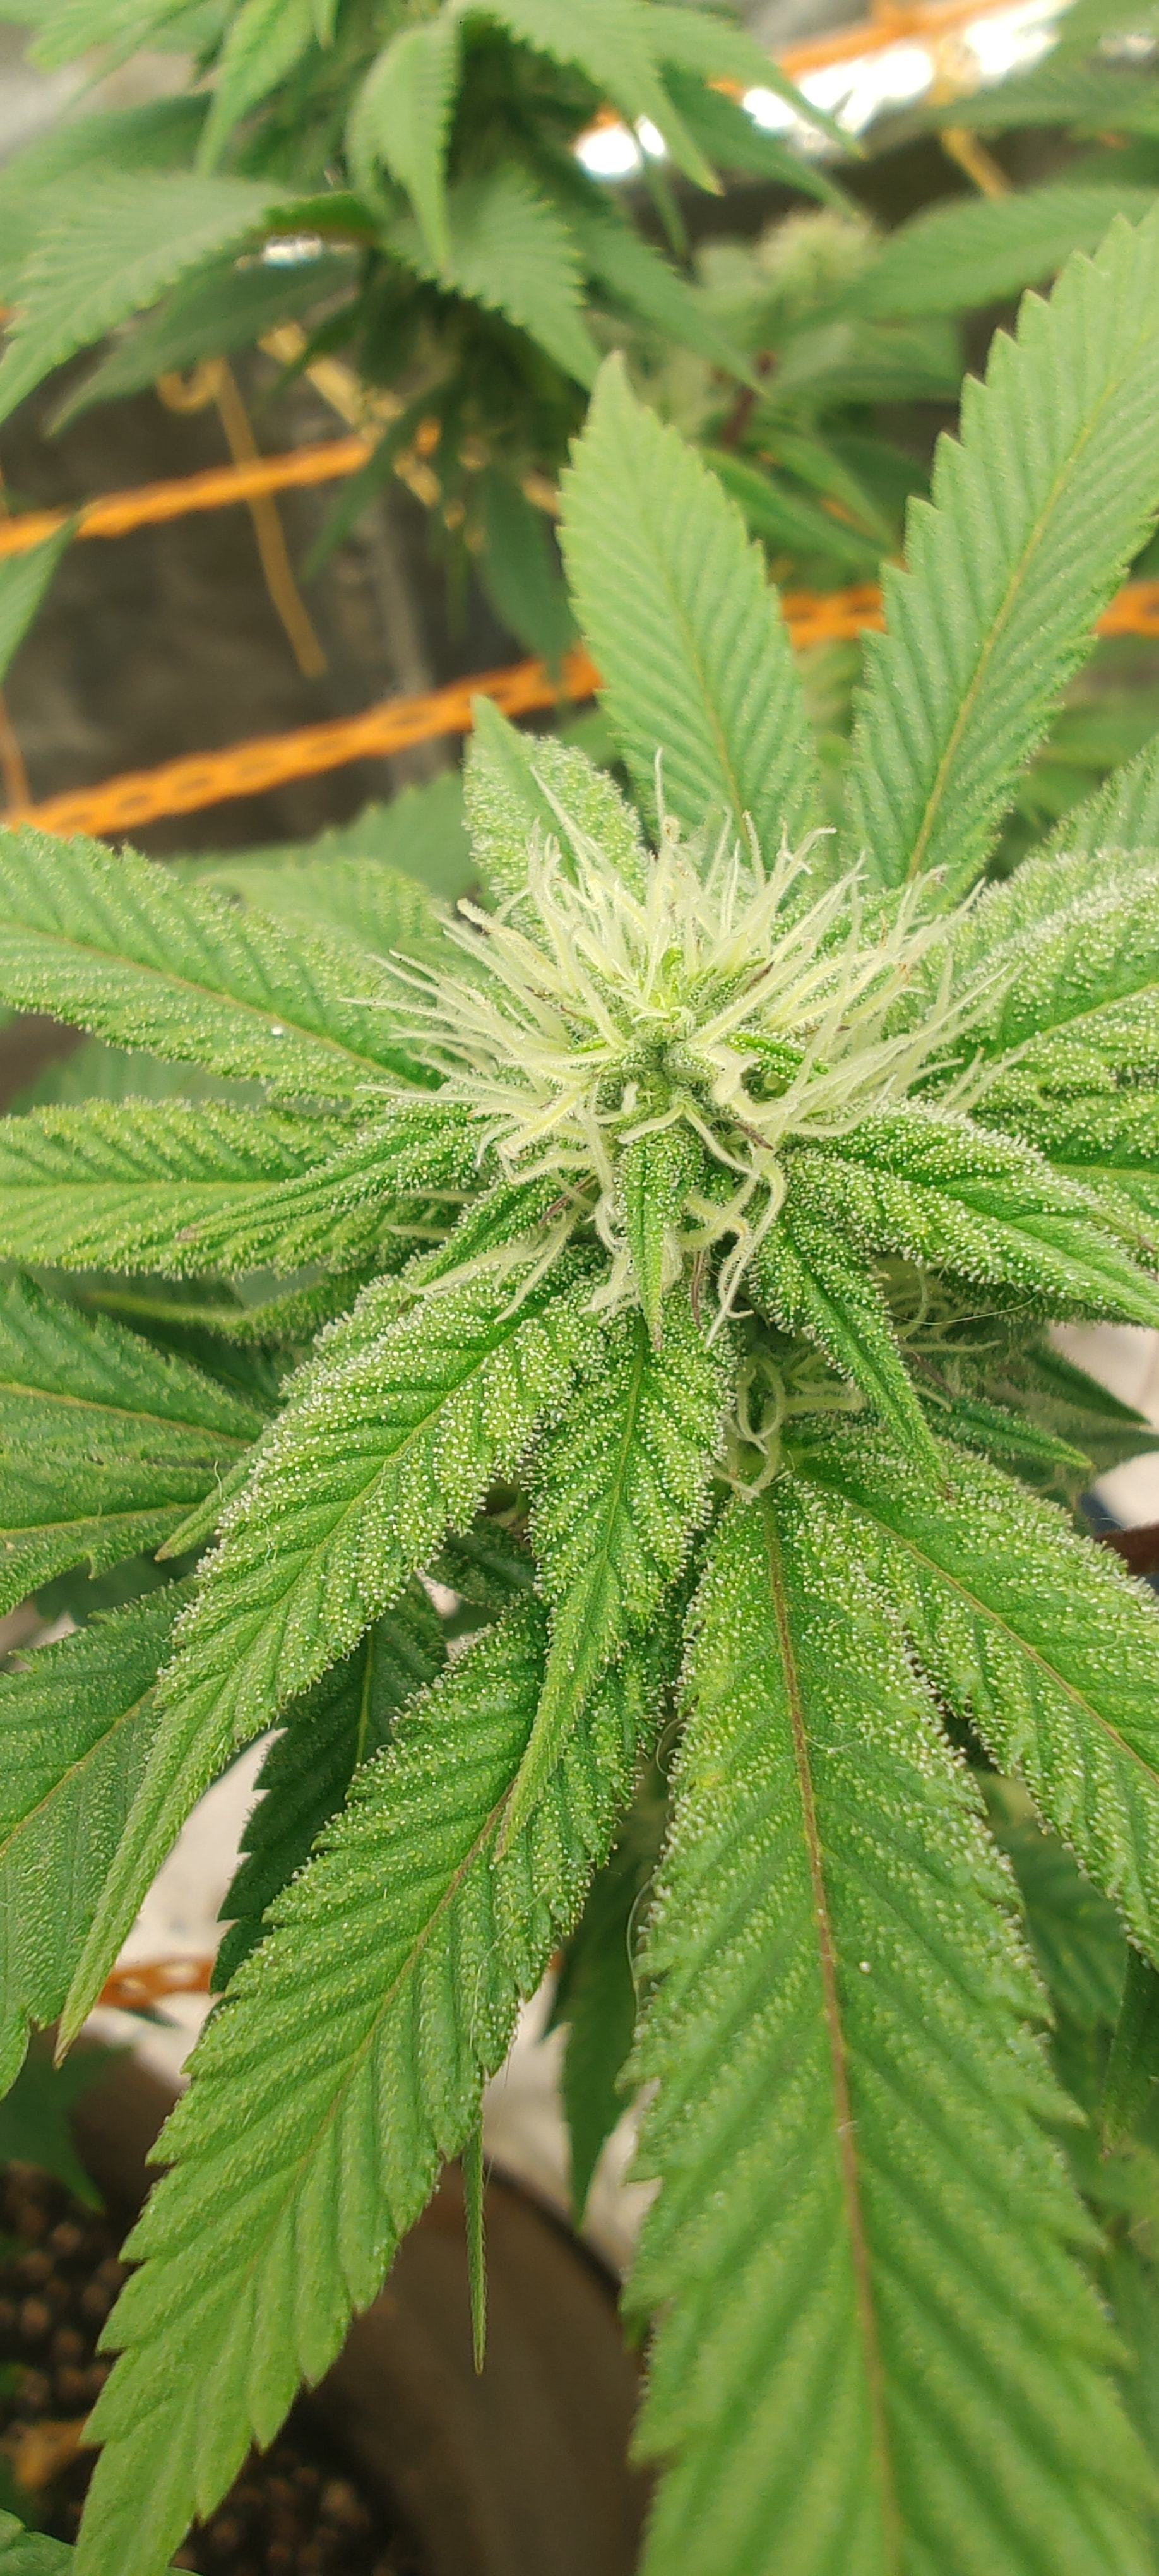
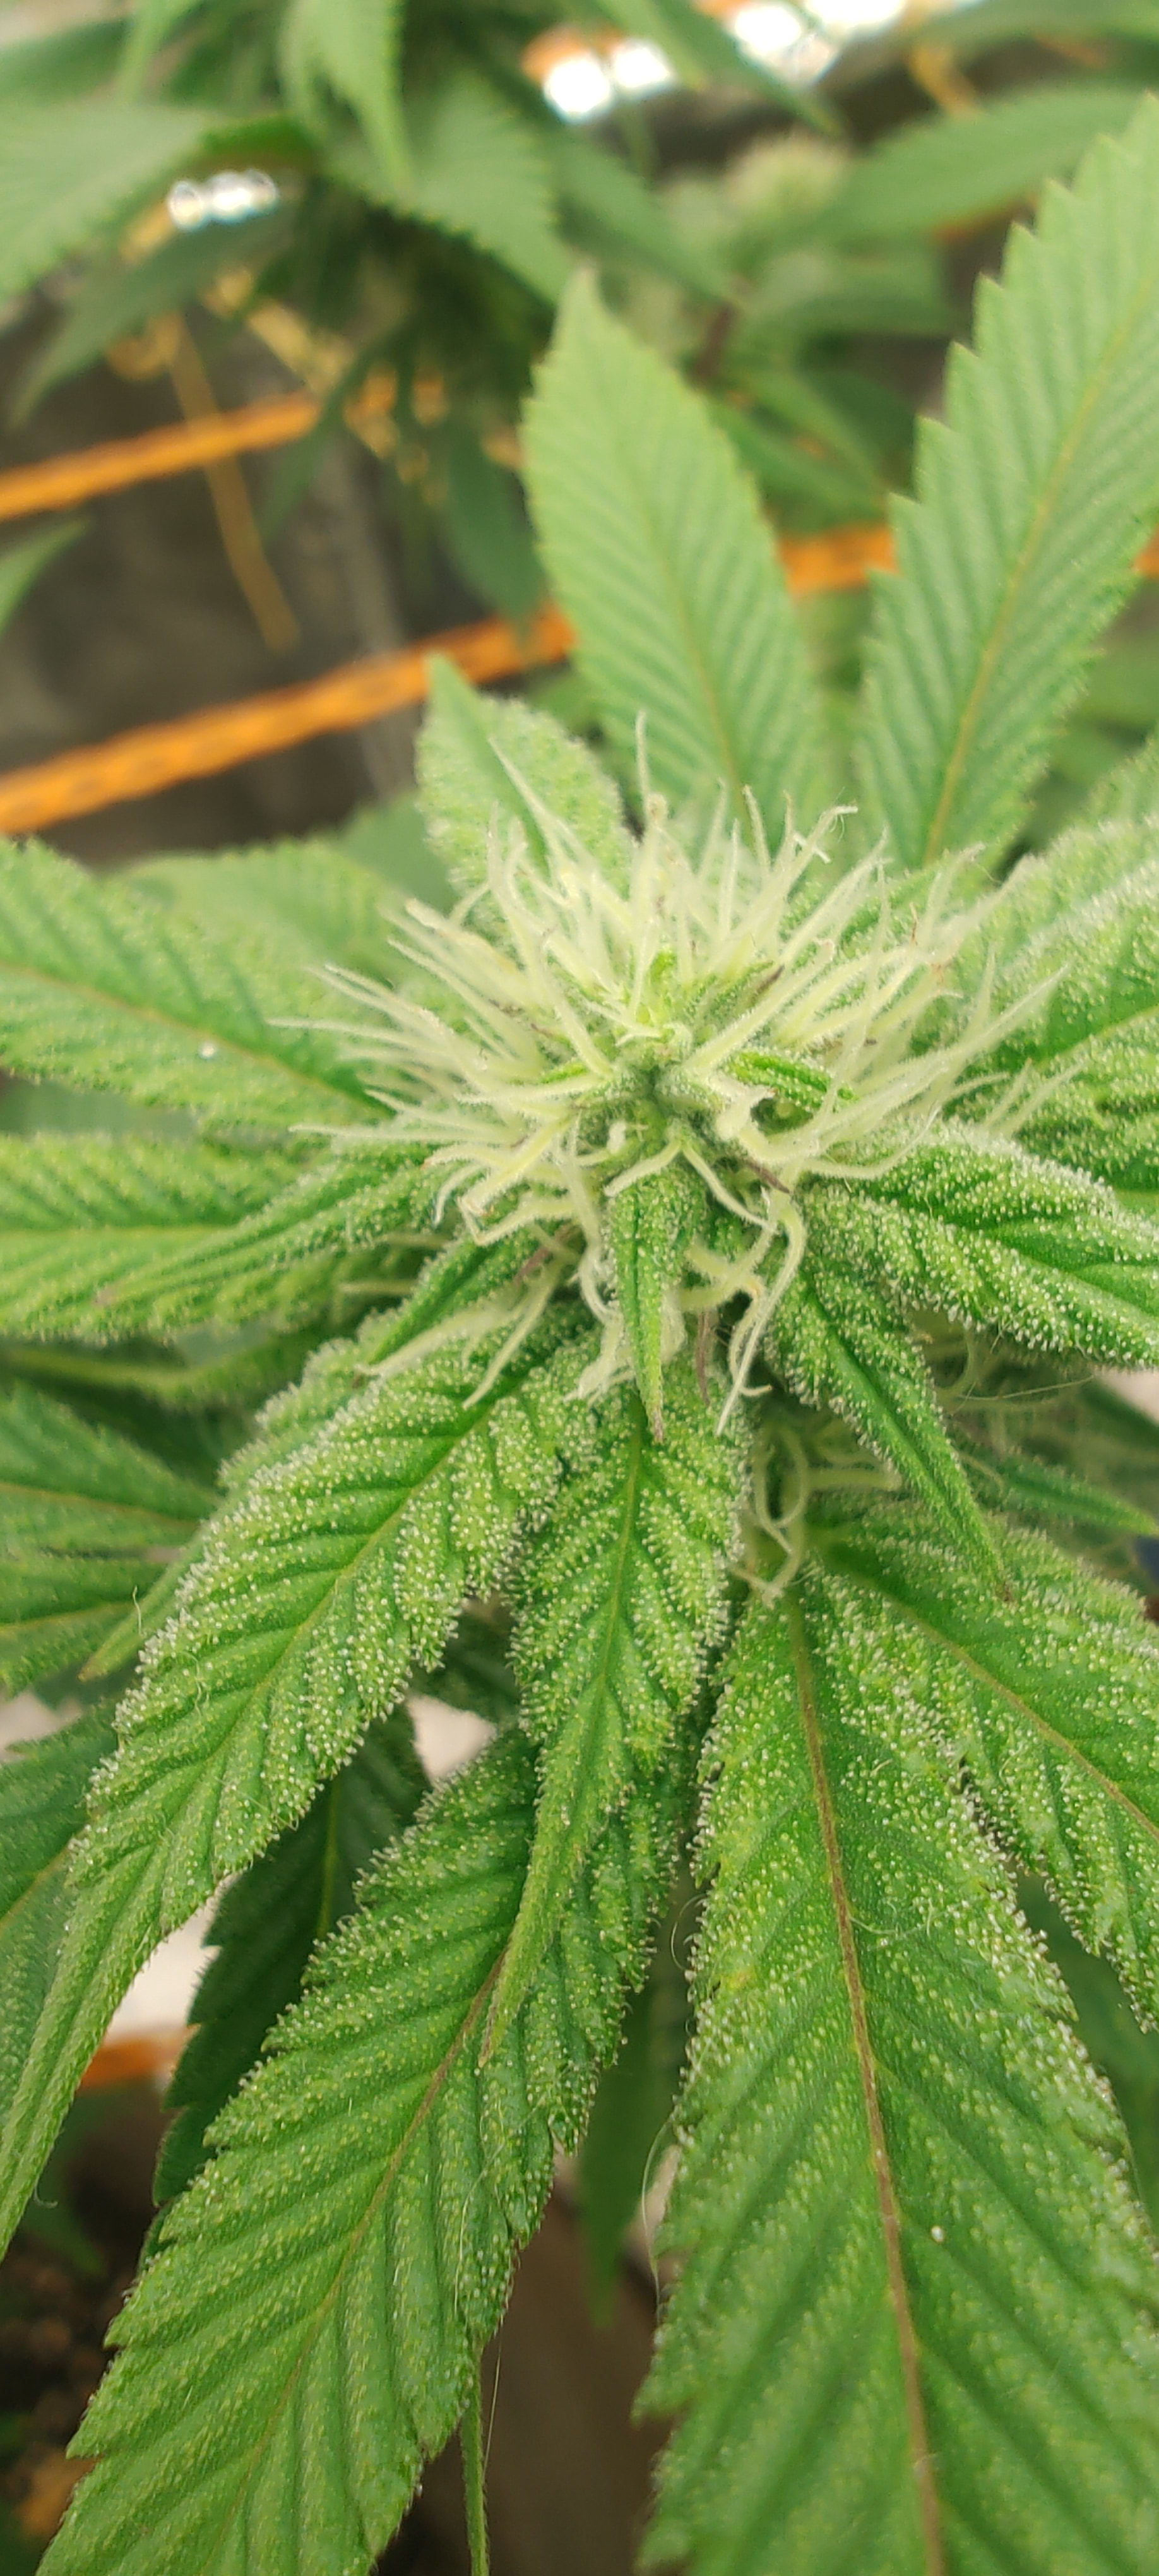
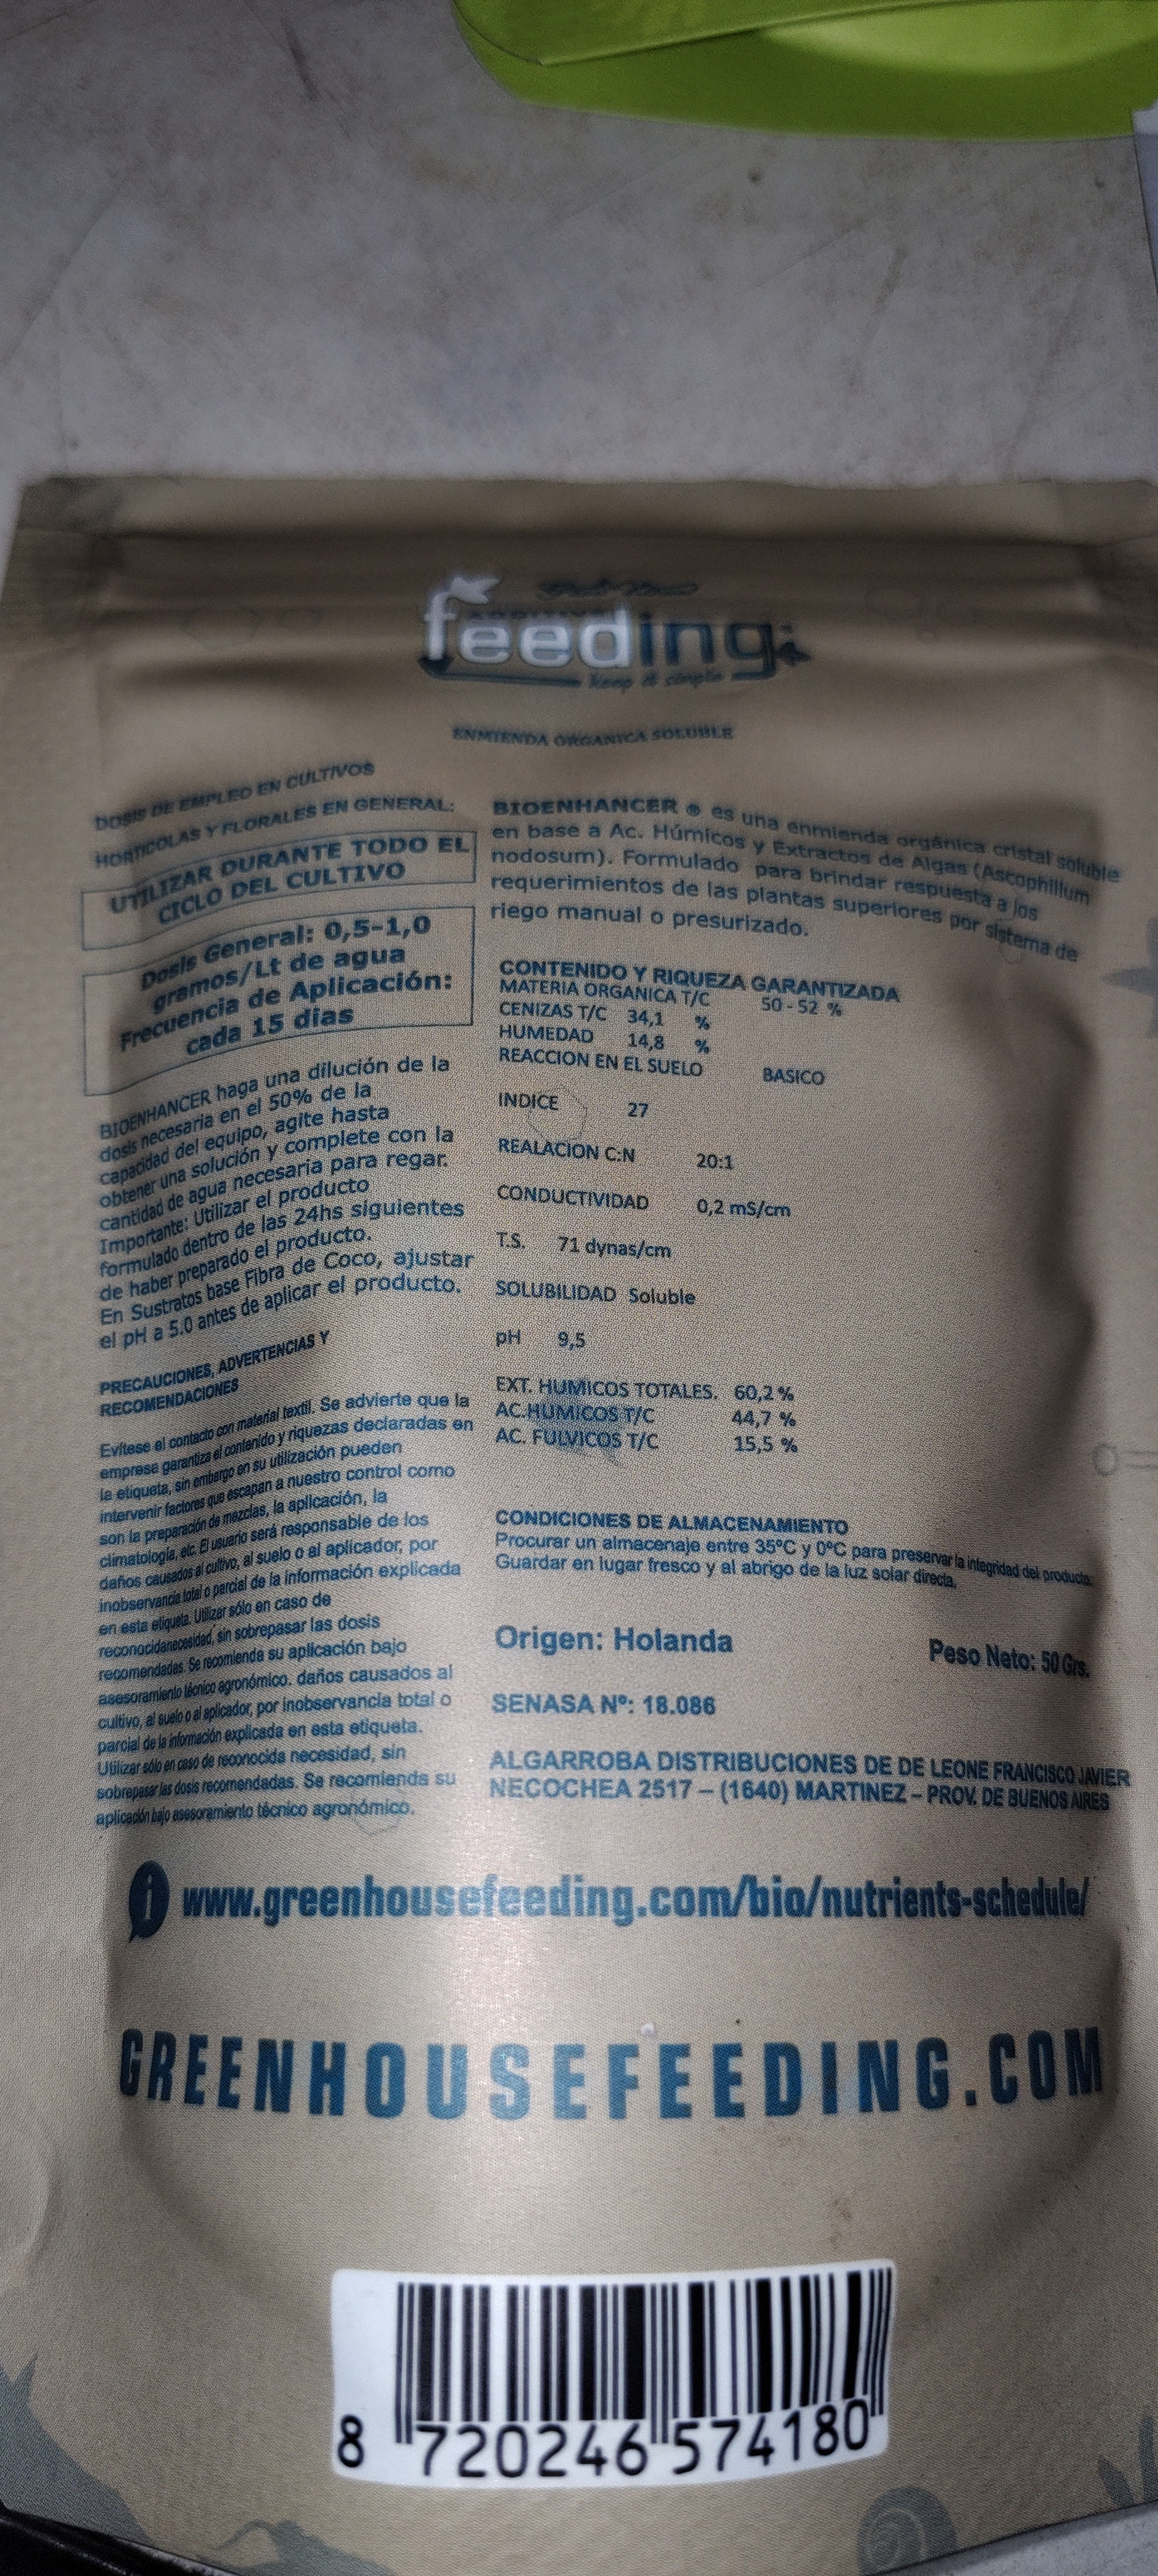
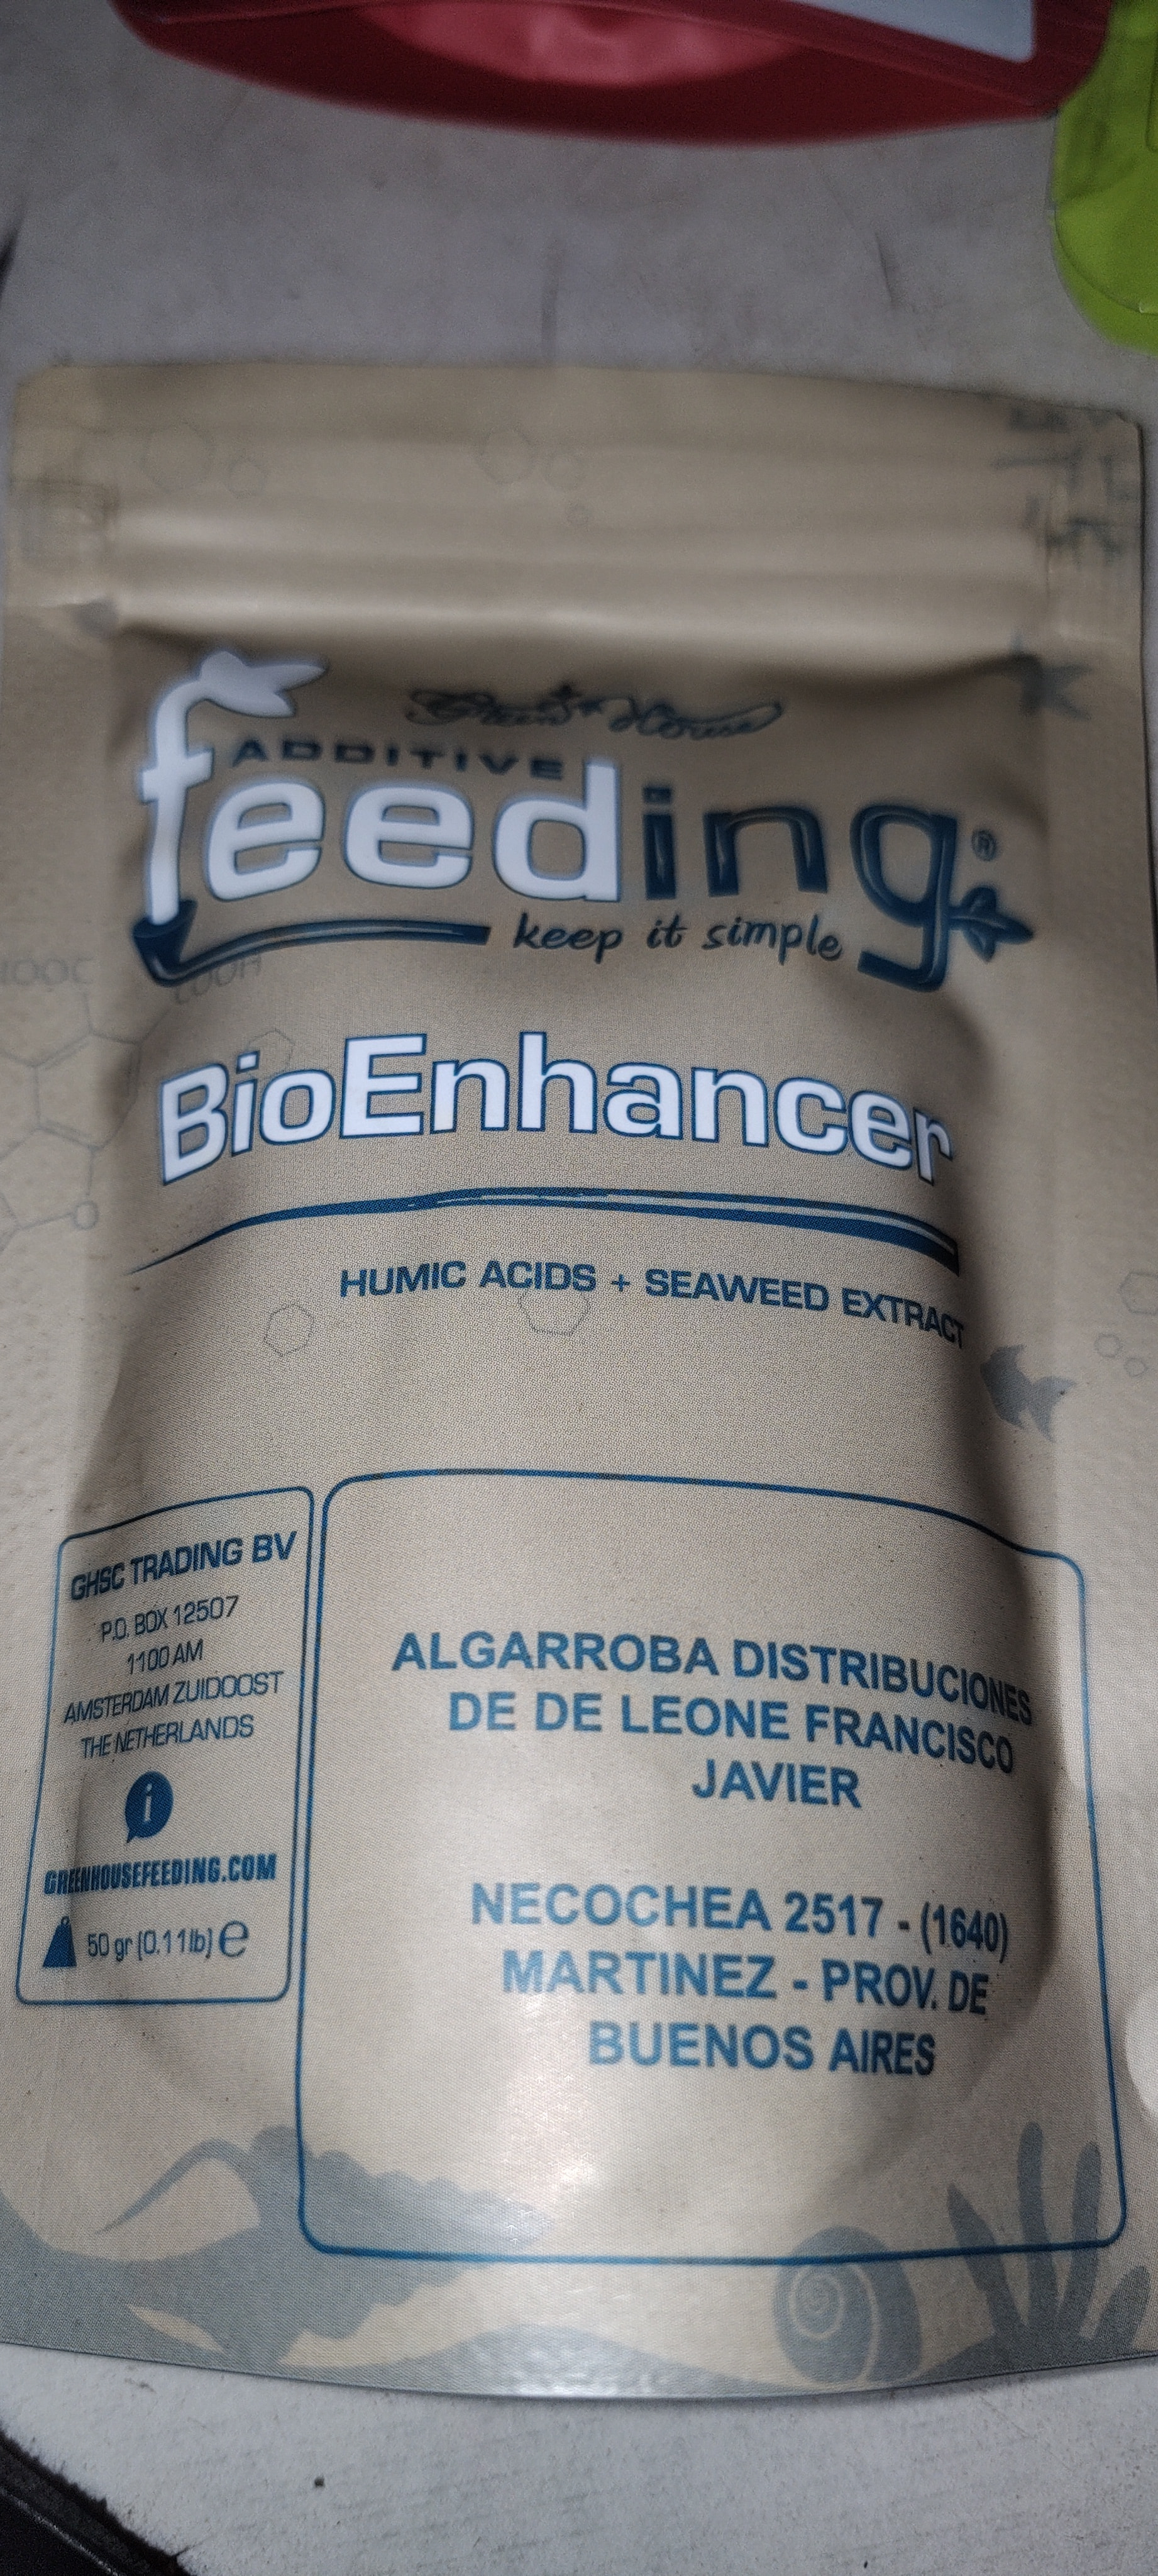
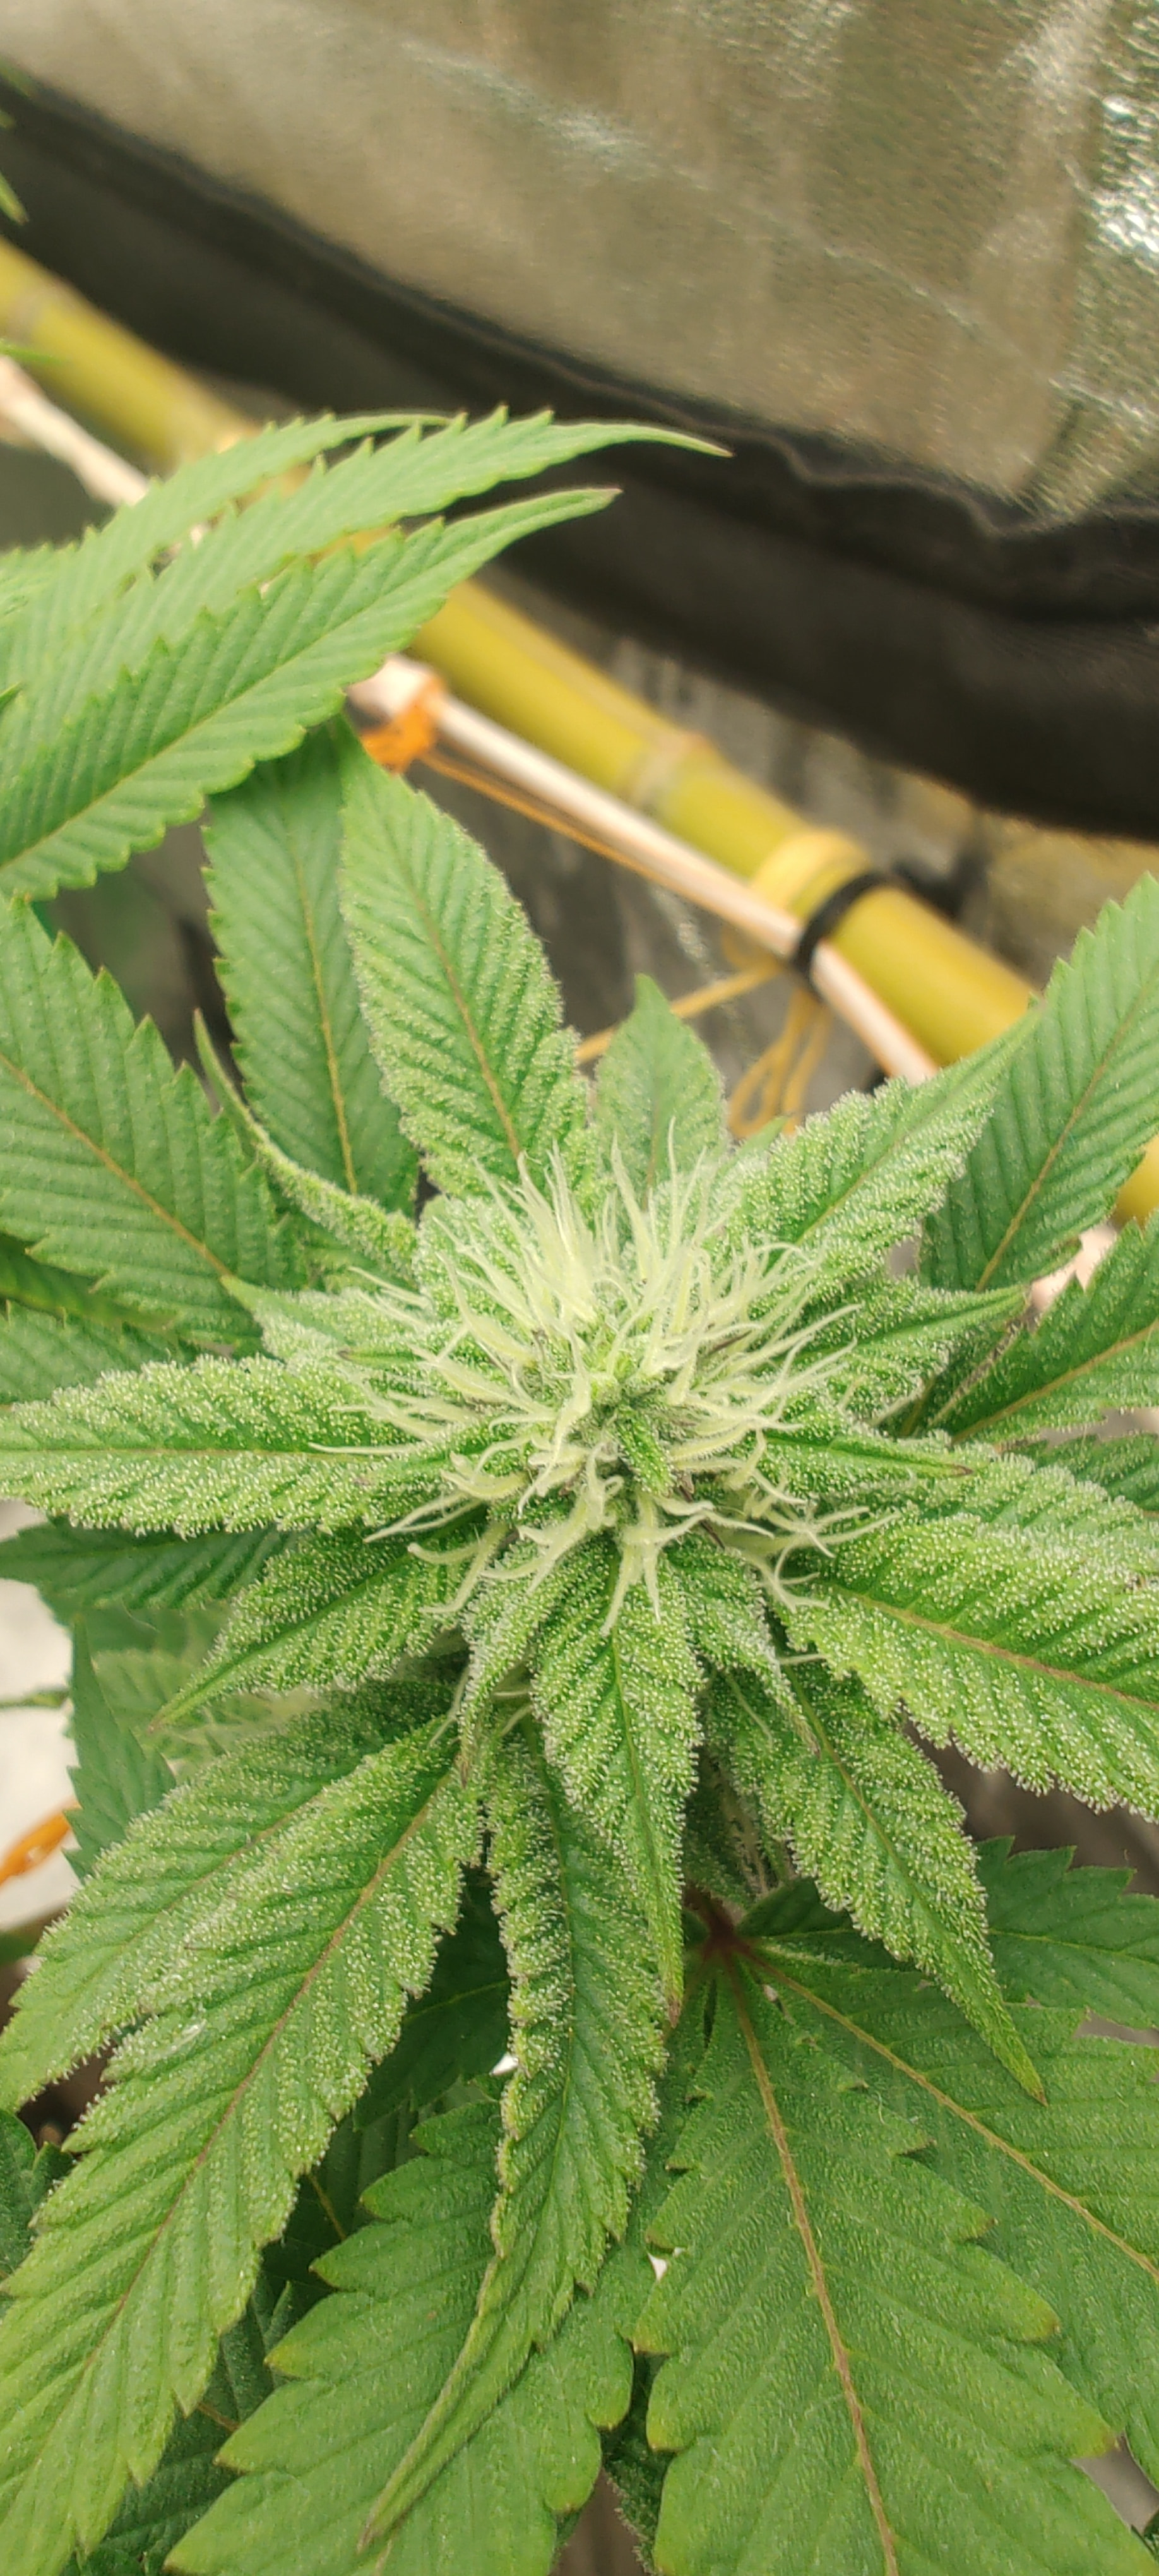
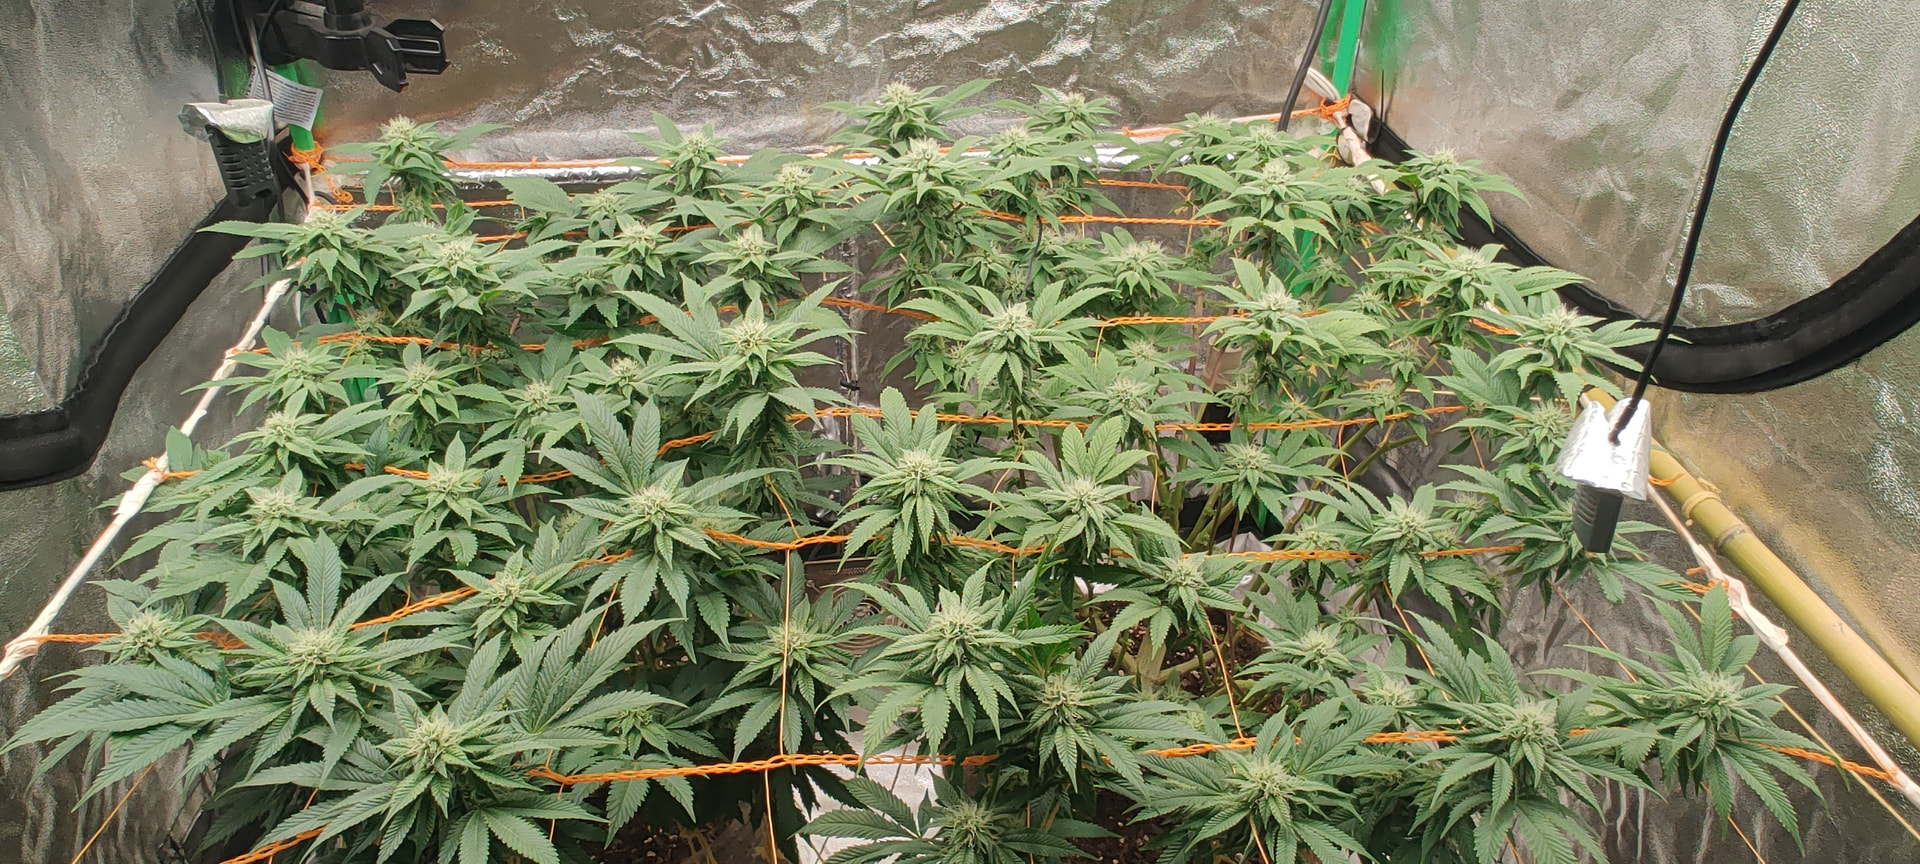
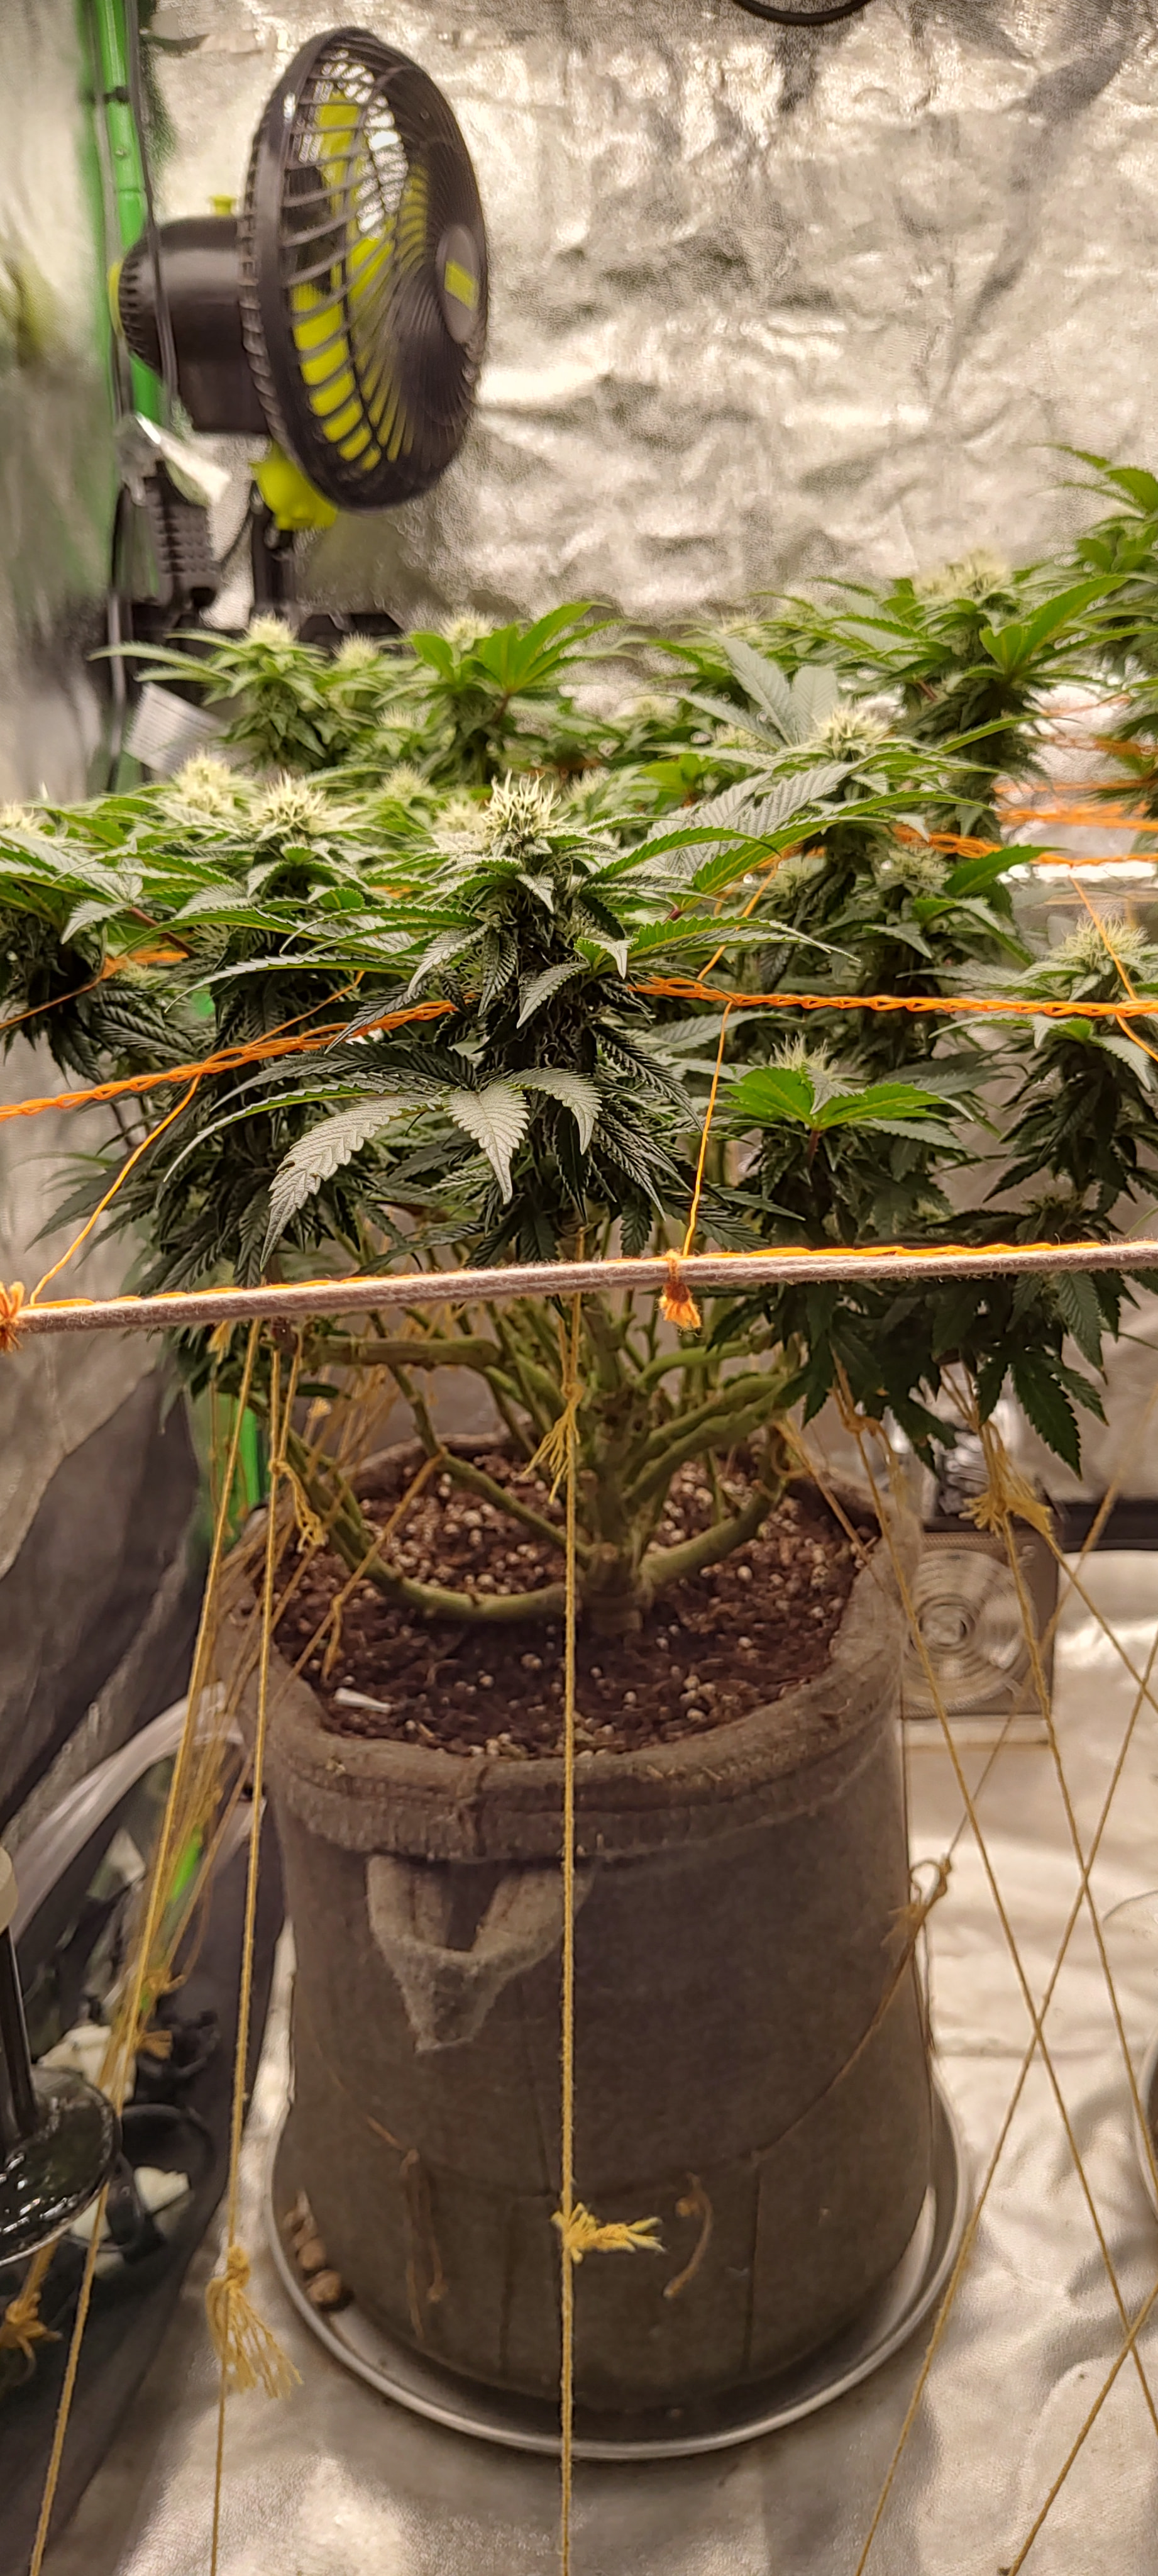
When taking a flash photo in the dark, the resin coverage really stands out. The canopy under the SCROG net is perfectly level from end to end, making the most of the light, with a very promising trichome accumulation on the sugar leaves for what is to come in these key fattening weeks. We had just done an important flush and reset watering (6.5 liters per pot) to clear out salt buildup and get the substrate ready. In this watering, we added Green House Feeding’s BioEnhancer (based on humic acids, fulvic acids, and Ascophyllum nodosum kelp extract). We decided on this product to simplify the tent and not have to deal with a thousand separate bottles of mycorrhizae, trichoderma, and biostimulants. A single package resolves the activation of the soil’s microbial flora and helps unlock bound nutrients. Since this product has a high alkaline pH (9.5 in the package), it requires fine and strict adjustment with pH Down in the nutrient solution before applying.
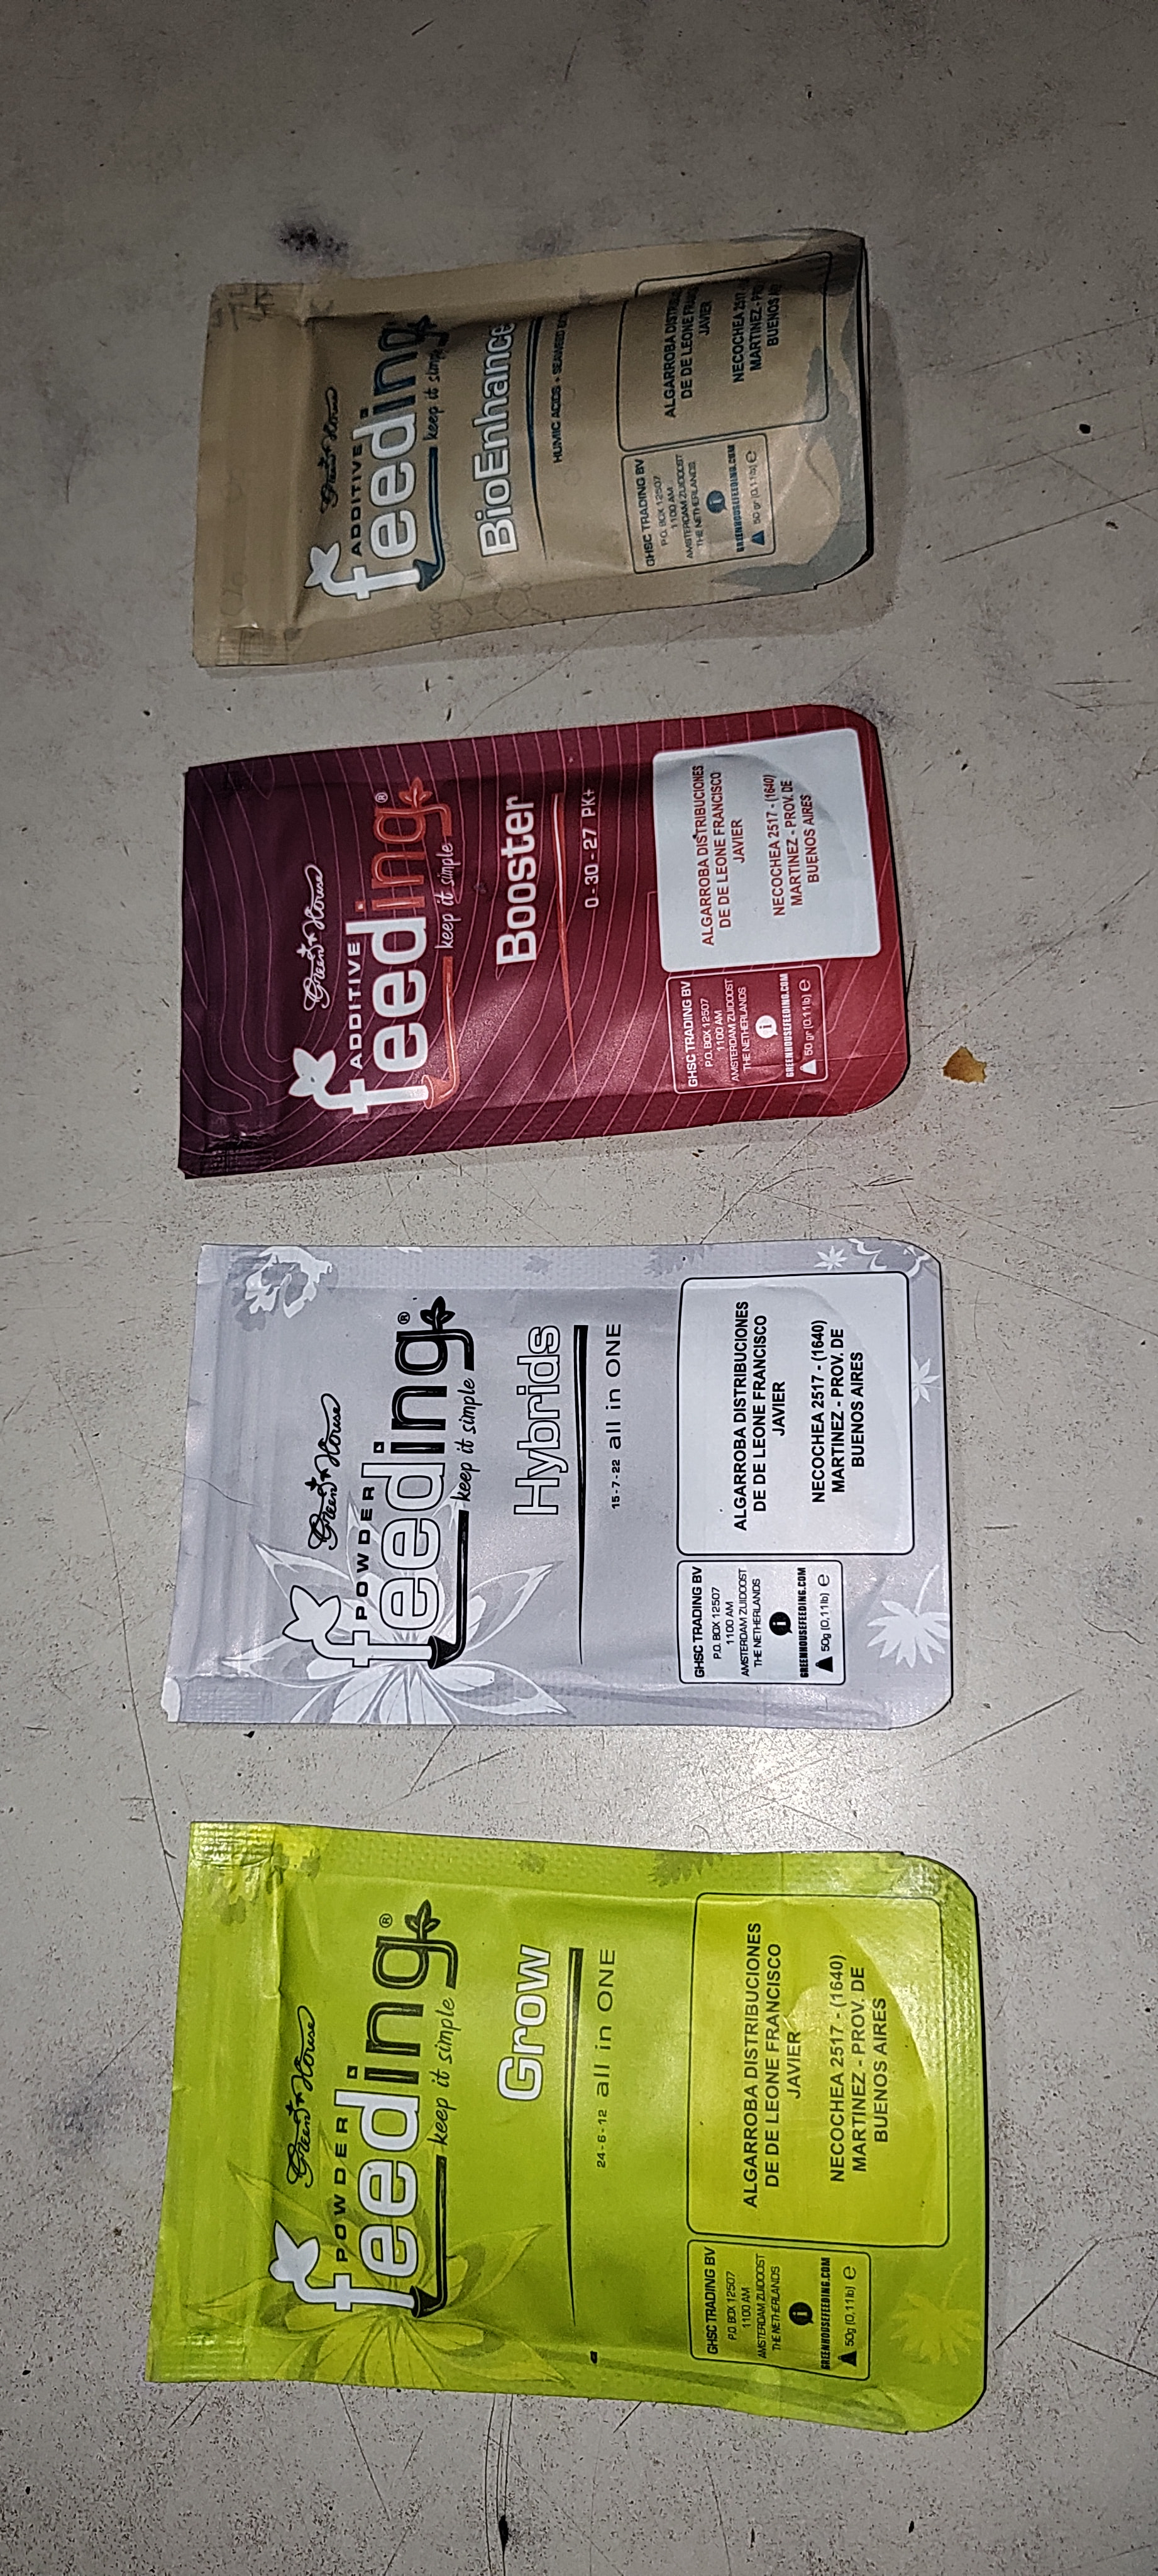
For this stage of the grow, we chose to simplify input management without neglecting yield or soil health, working with the complete Green House Feeding line along with strict control of watering parameters.
See product breakdown and pH control
Feeding Grow: Vegetative base.
Feeding Hybrids: Flowering base.
Feeding Booster: PK fattening additive.
Feeding BioEnhancer: Biostimulant and soil conditioner.
pH Control: Adjustment with diluted 85% phosphoric acid.
Question about starting the flowering count: Light change (12/12) or appearance of pistils?
Hey folks! A question to see how you all handle this. I had been counting flowering from the exact day I switched the photoperiod to 12/12, but I noticed a gap where the plant takes time to start the actual biological process.
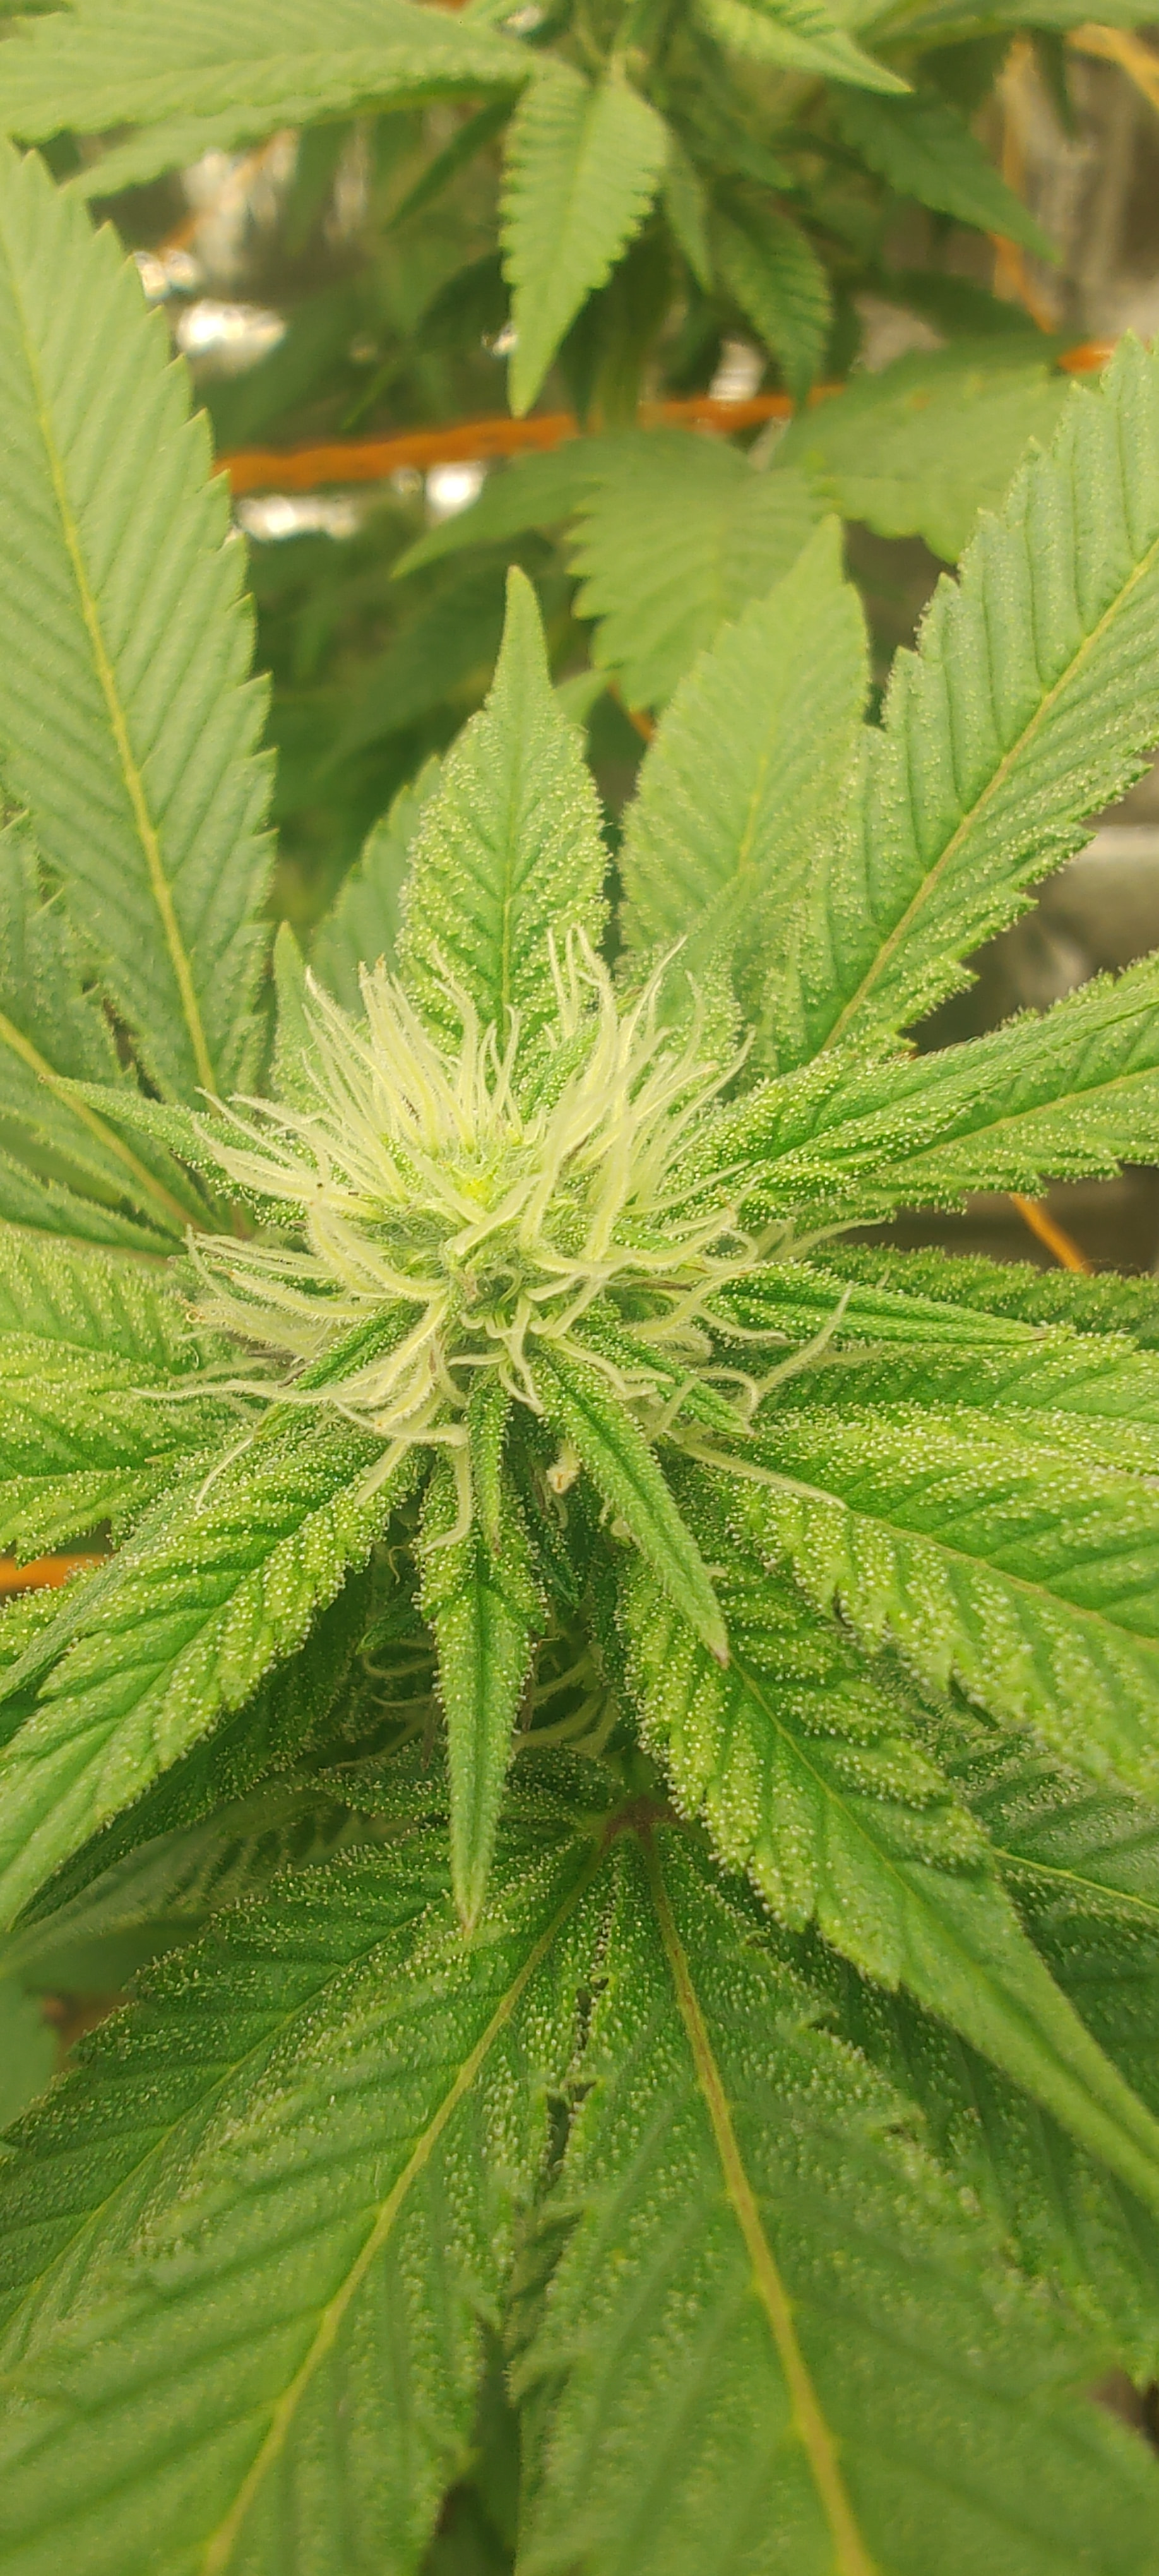
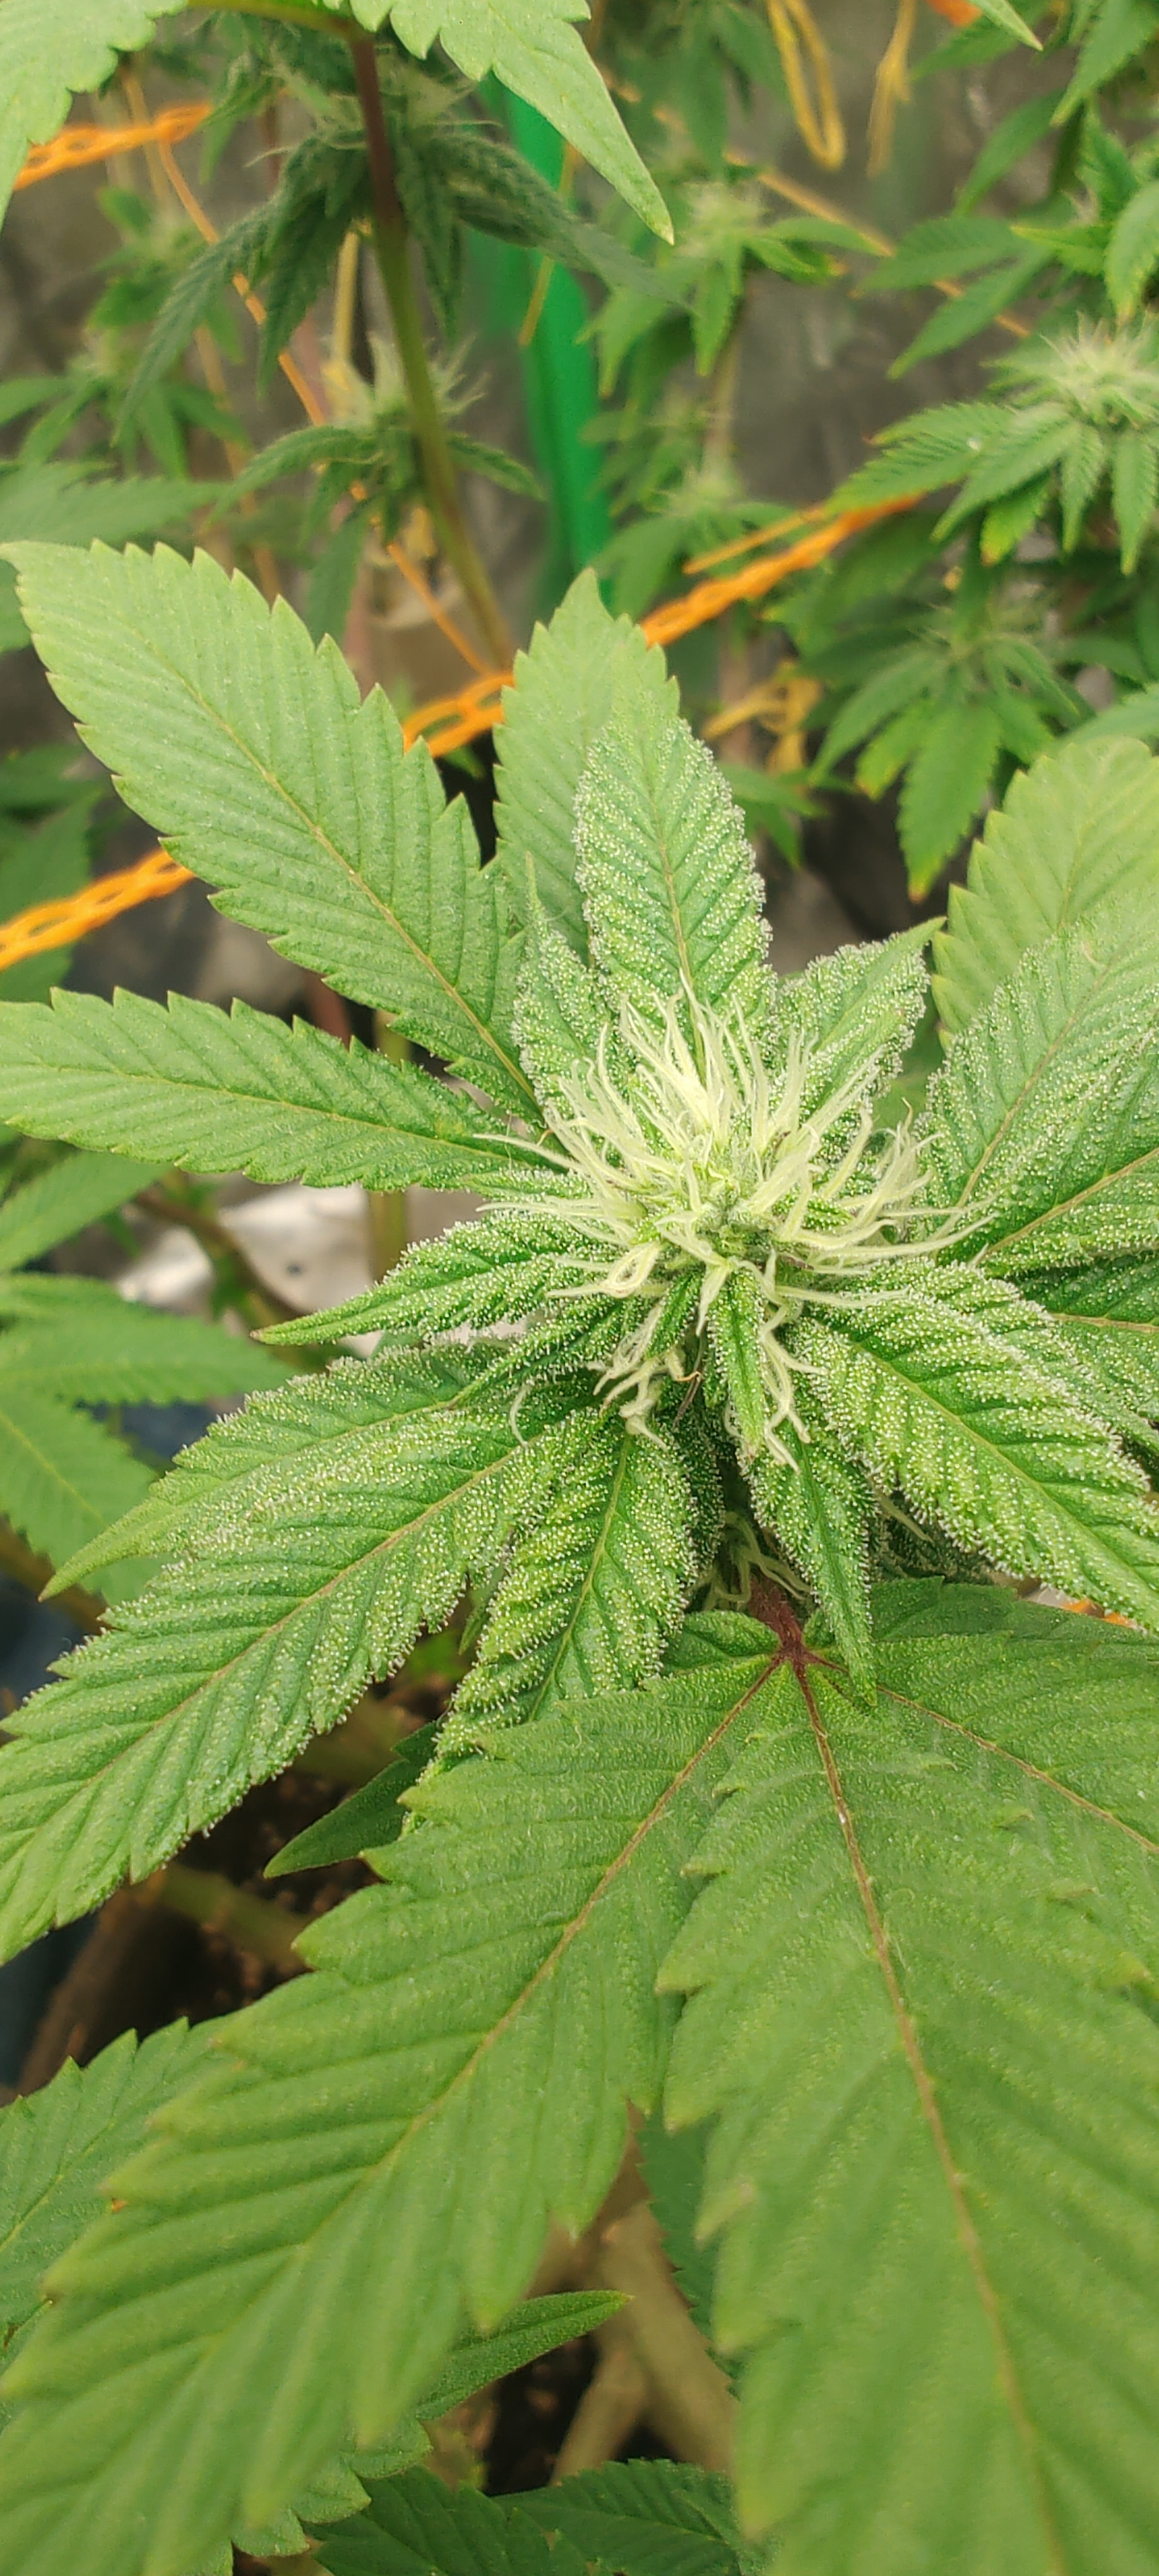
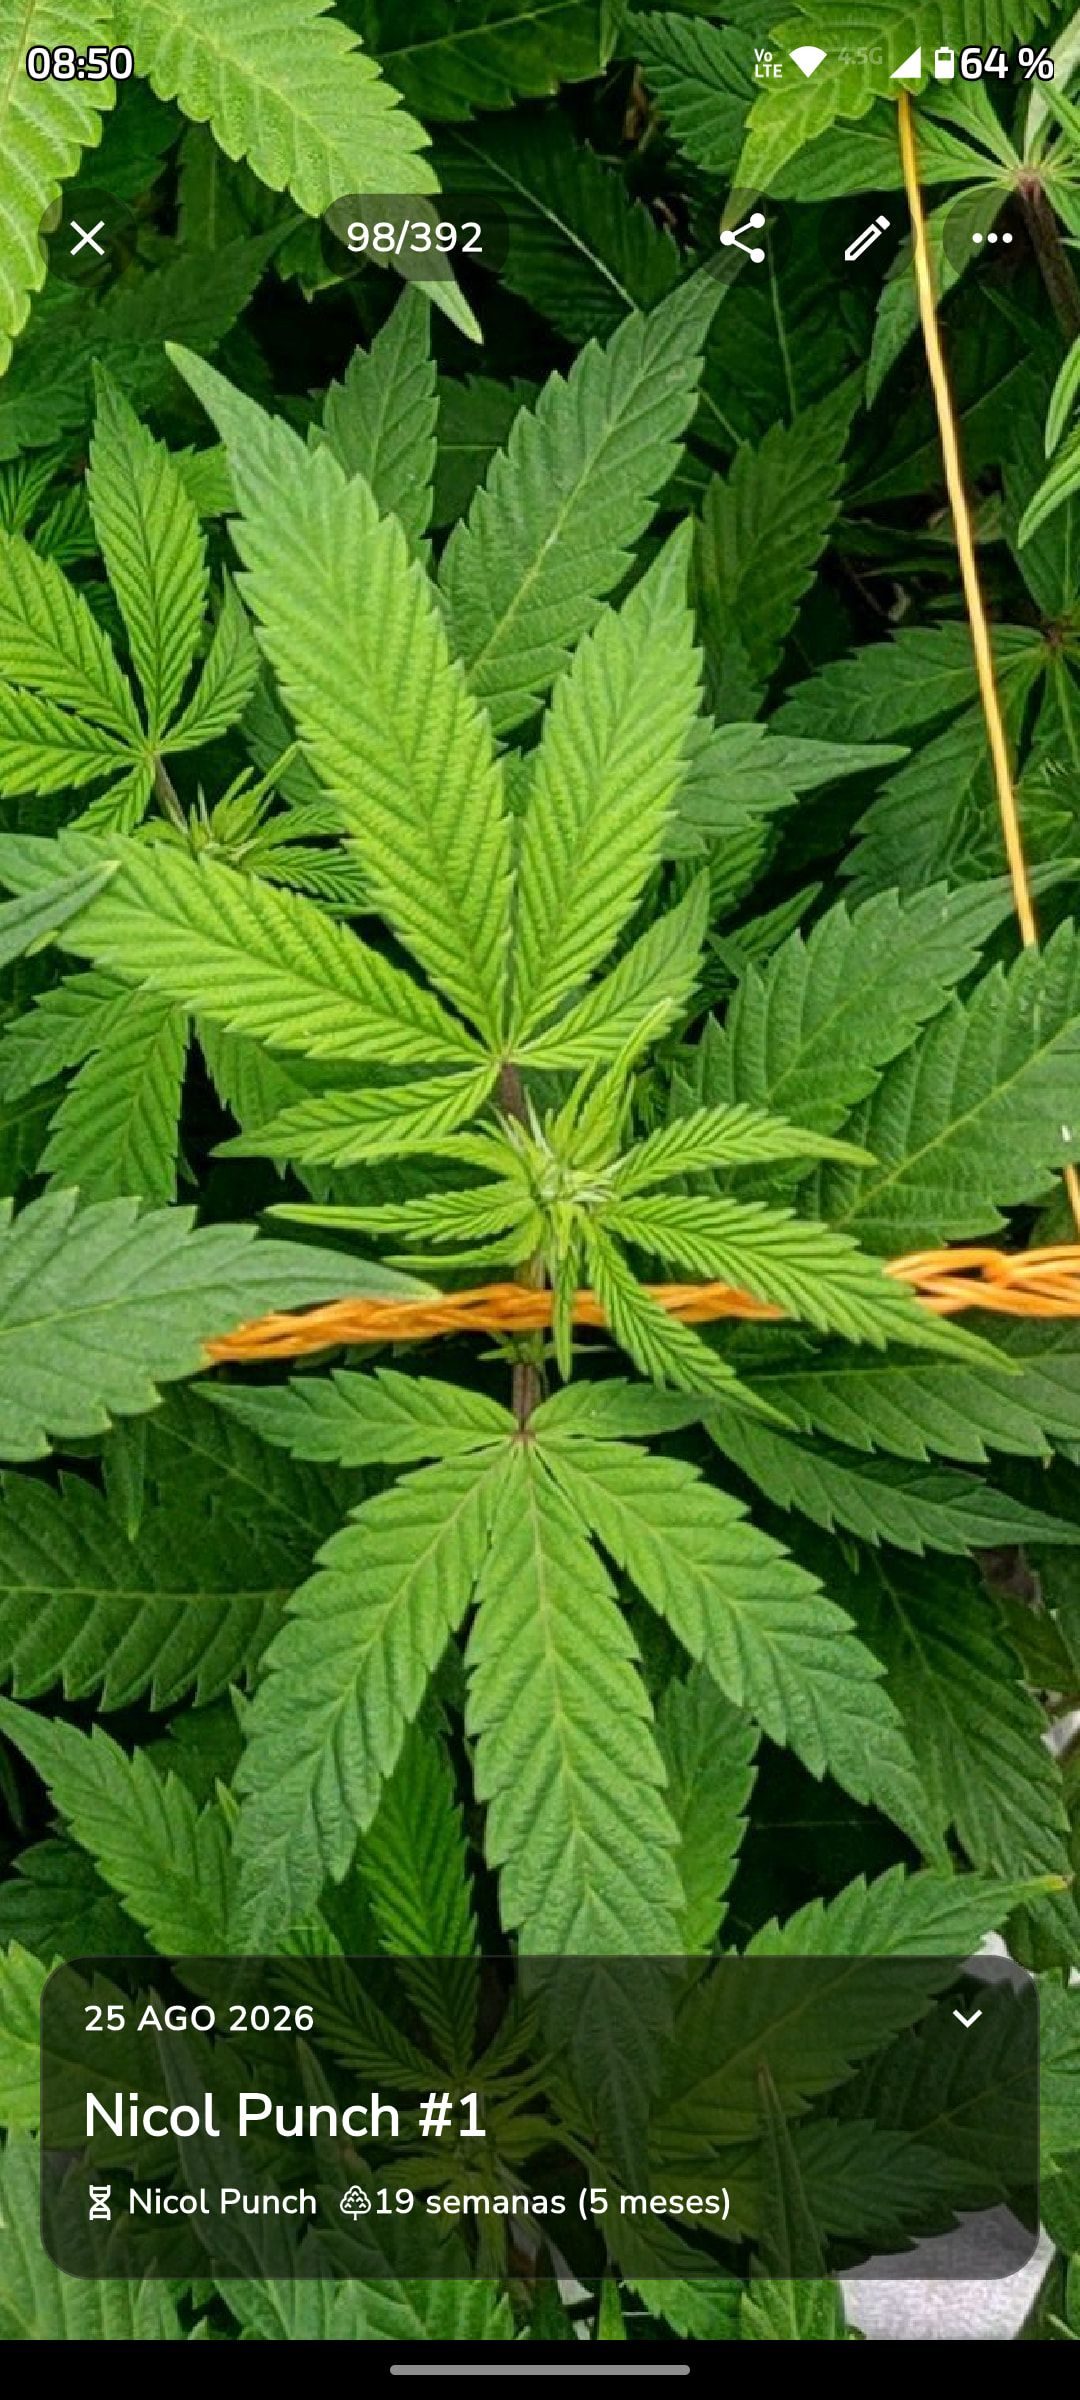
Here’s a reference photo of how the shoots look (this is from August 25th, where the first formed pistils were already visible, although the biological process started a couple of days earlier, calculating around the 23rd).
What date do you take as “Day 1” to follow schedule charts and calculate timing? Do you count from the 12/12 switch or from when the plant shows the first hairs as in the photo? Let me know your thoughts!
Good afternoon !!! thank you very much for your point of view, I hope more opinions join in to start what might be a boring debate? but it really helps beginners because that one-week difference I noticed between the cycle change and the appearance of pistils—almost 1 week in my case—makes a difference in flowering when it comes to nutrition, light exposure, and power ..hug, thanks again for sharing …
Different strains will take different times to get started sometimes so if you count from pistils appearing it can complicate things for you if you have more than 1 going.
I’m just starting out on this journey and learning through trial and error in my own space, which is why I find it super interesting to read how you all handle it.
I totally understand that for a tent with multiple strains or broader management, setting 12/12 as day zero and standardizing the timing is a super convenient tool to keep from going crazy with the numbers.
But what’s happening to me at this stage of learning is that, by observing them closely every day, the plant sets its own pace. I feel that if I were to rigidly follow a commercial feeding chart or a fixed schedule—for example with feeding—I would probably hit a wall if the plant is asking me for something else. That’s why I’m trying to go more hand-in-hand with what each one shows me and check with a jeweler’s loupe.
Thank you for sharing your perspectives and helping me keep gaining insight!
Lighting: The intensity on the light panel’s dimmer was increased by one notch, leaving its permanence at that level to be evaluated based on the crop’s response.
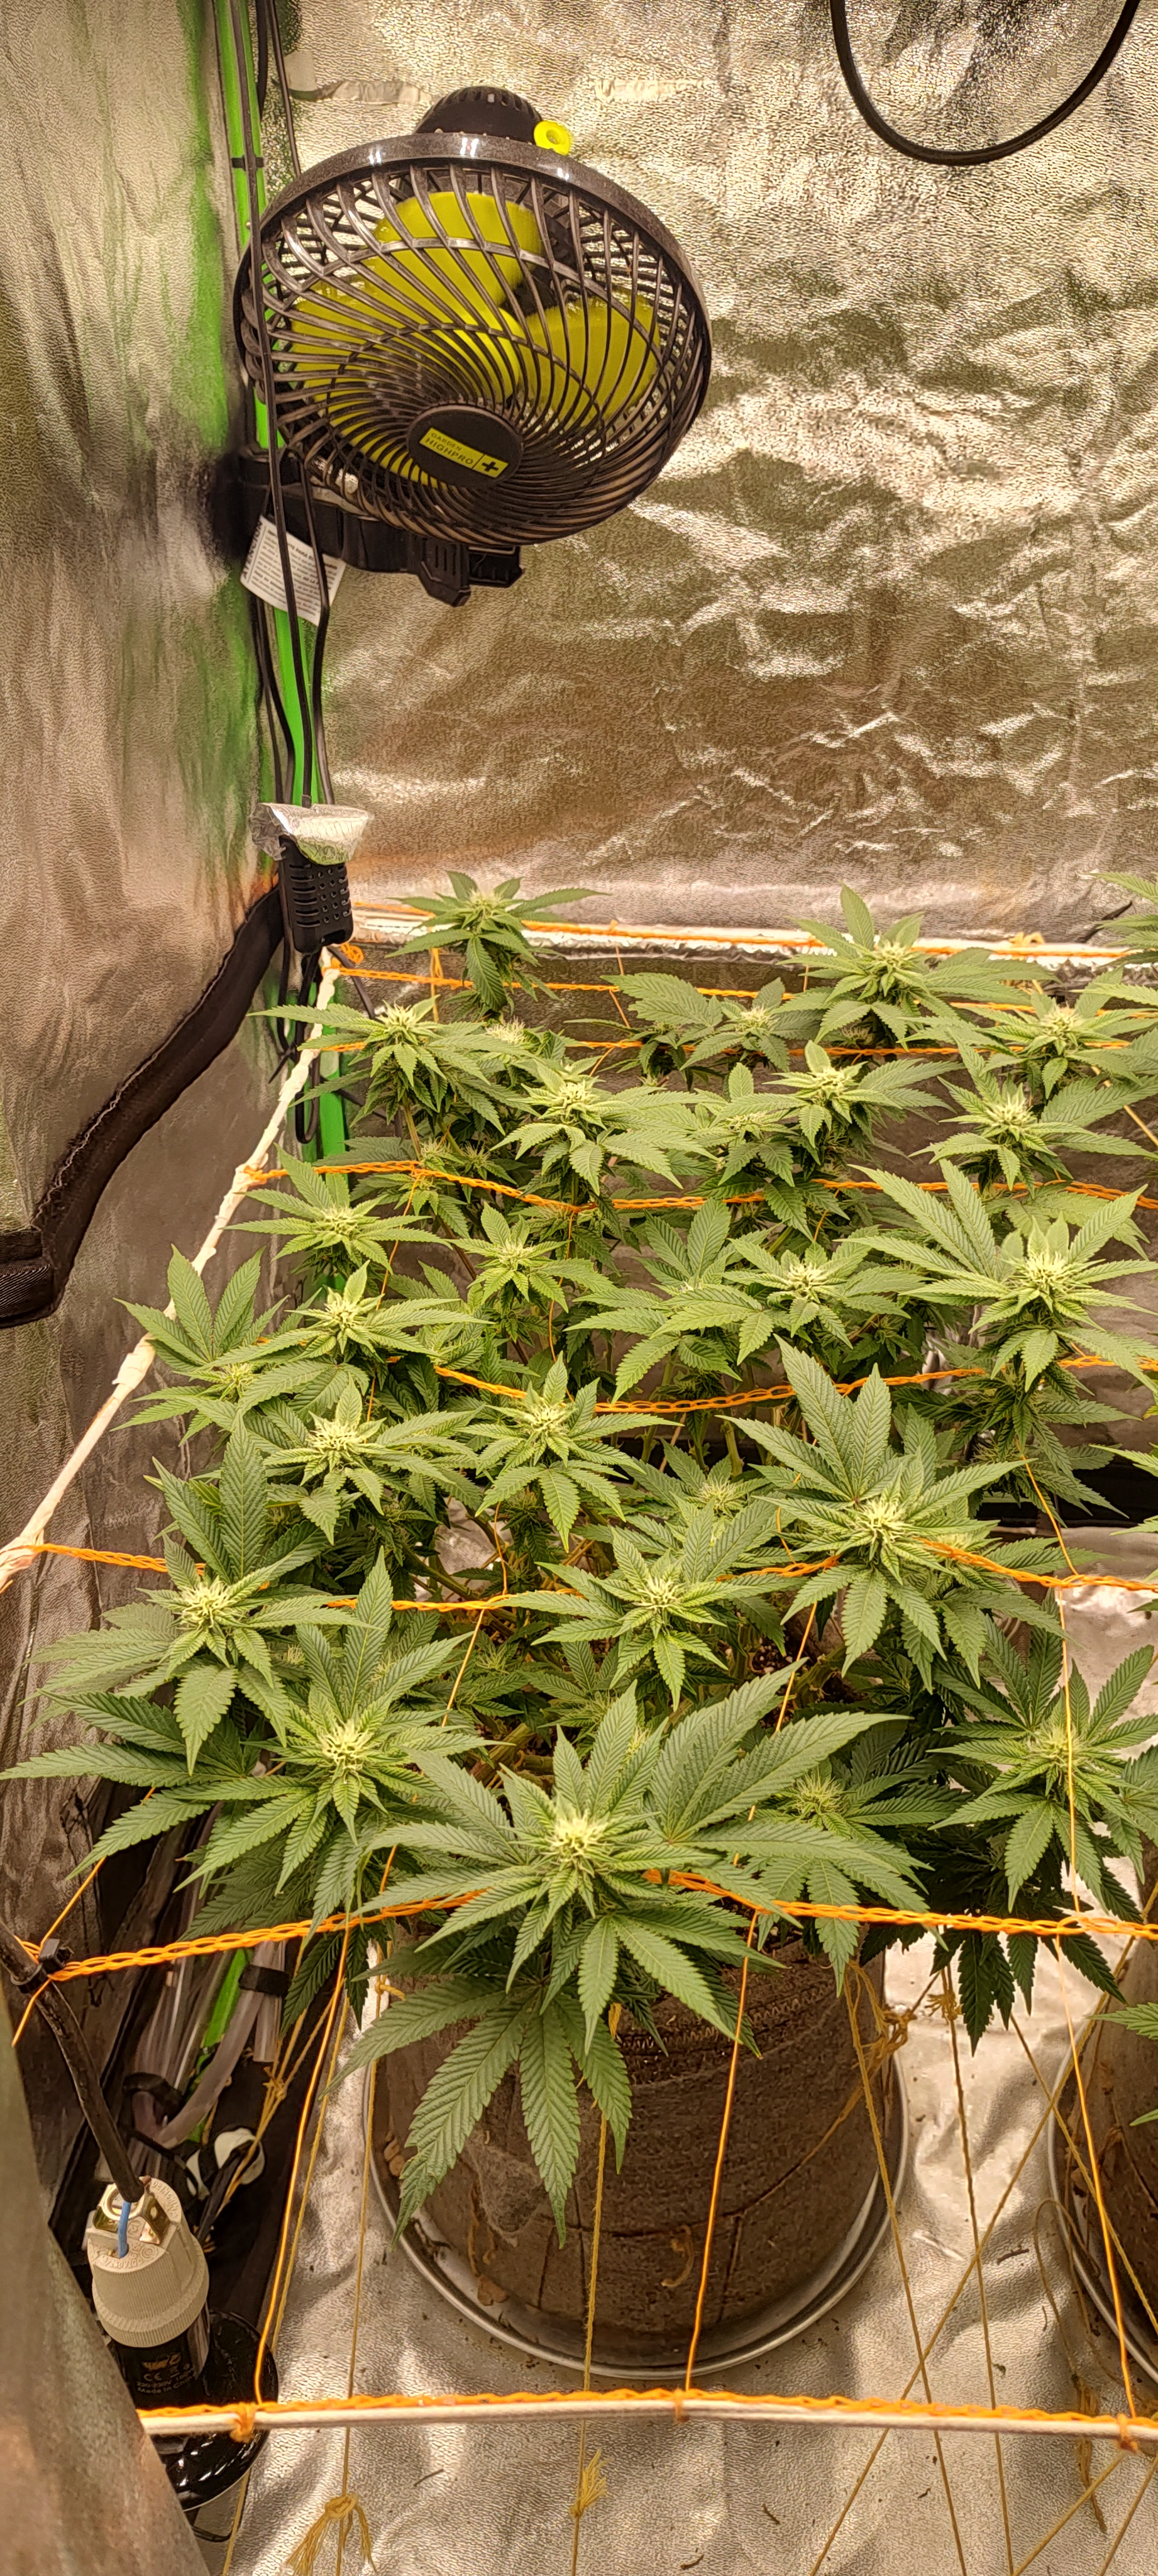
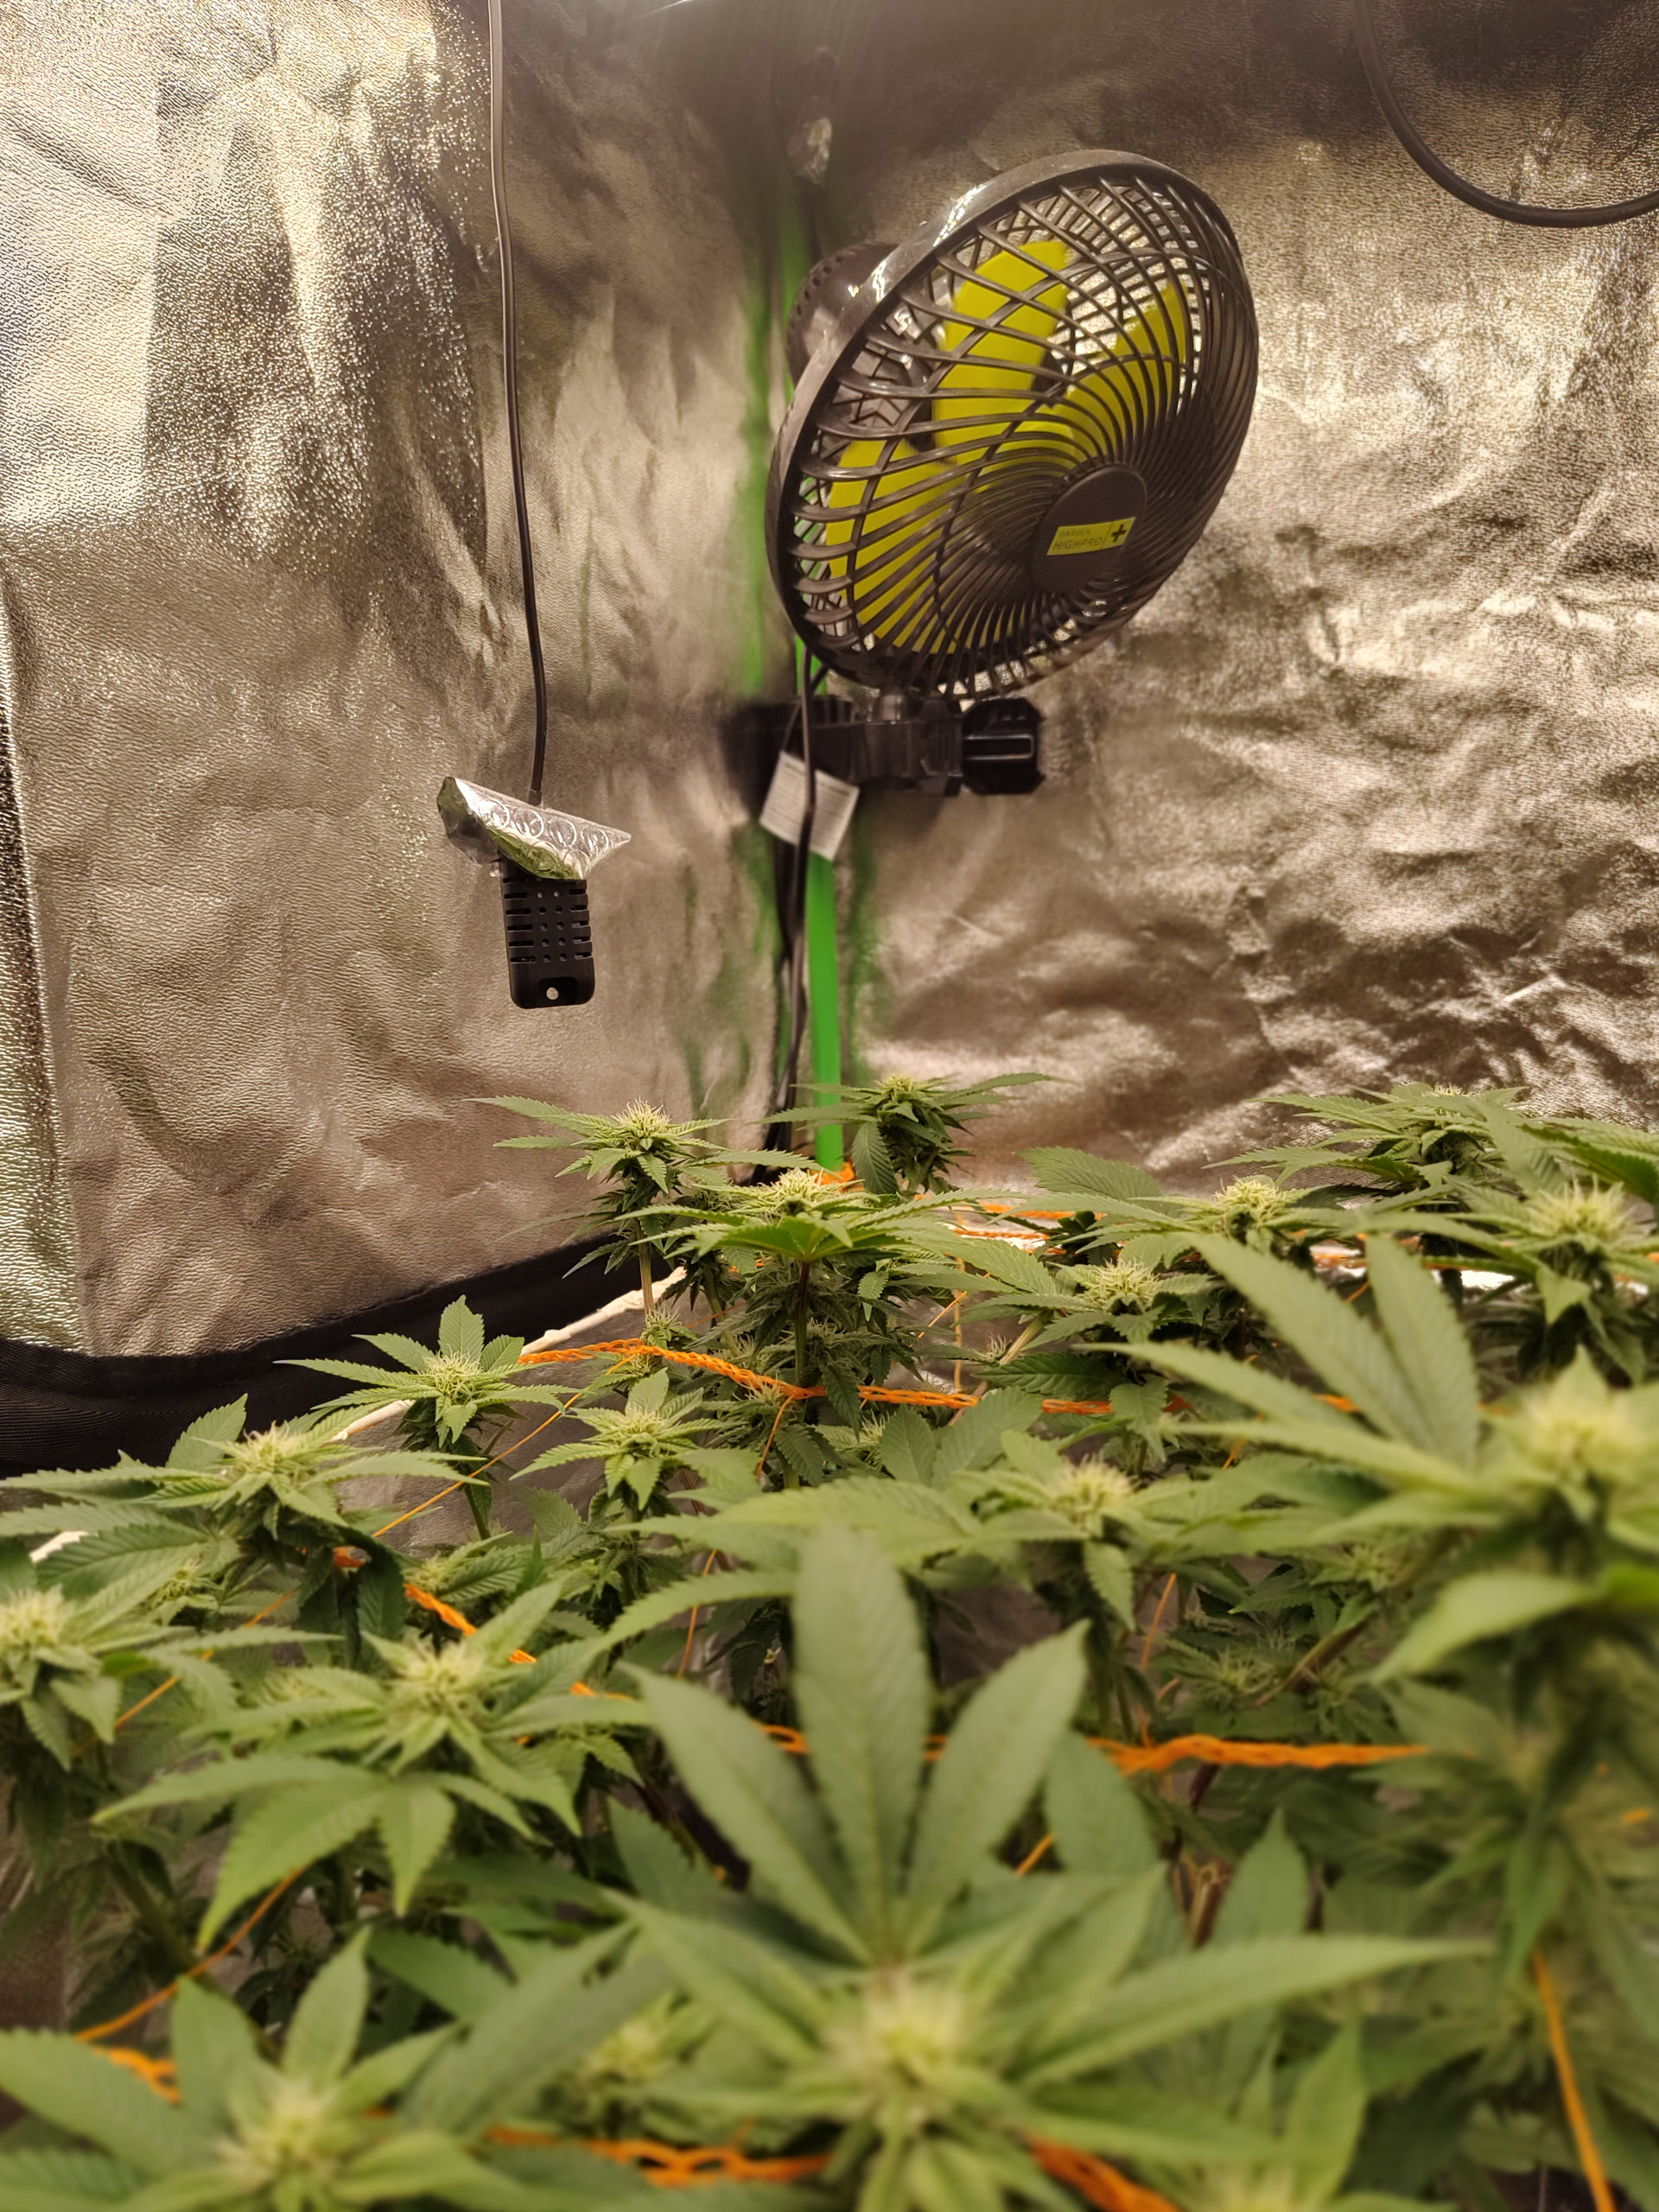
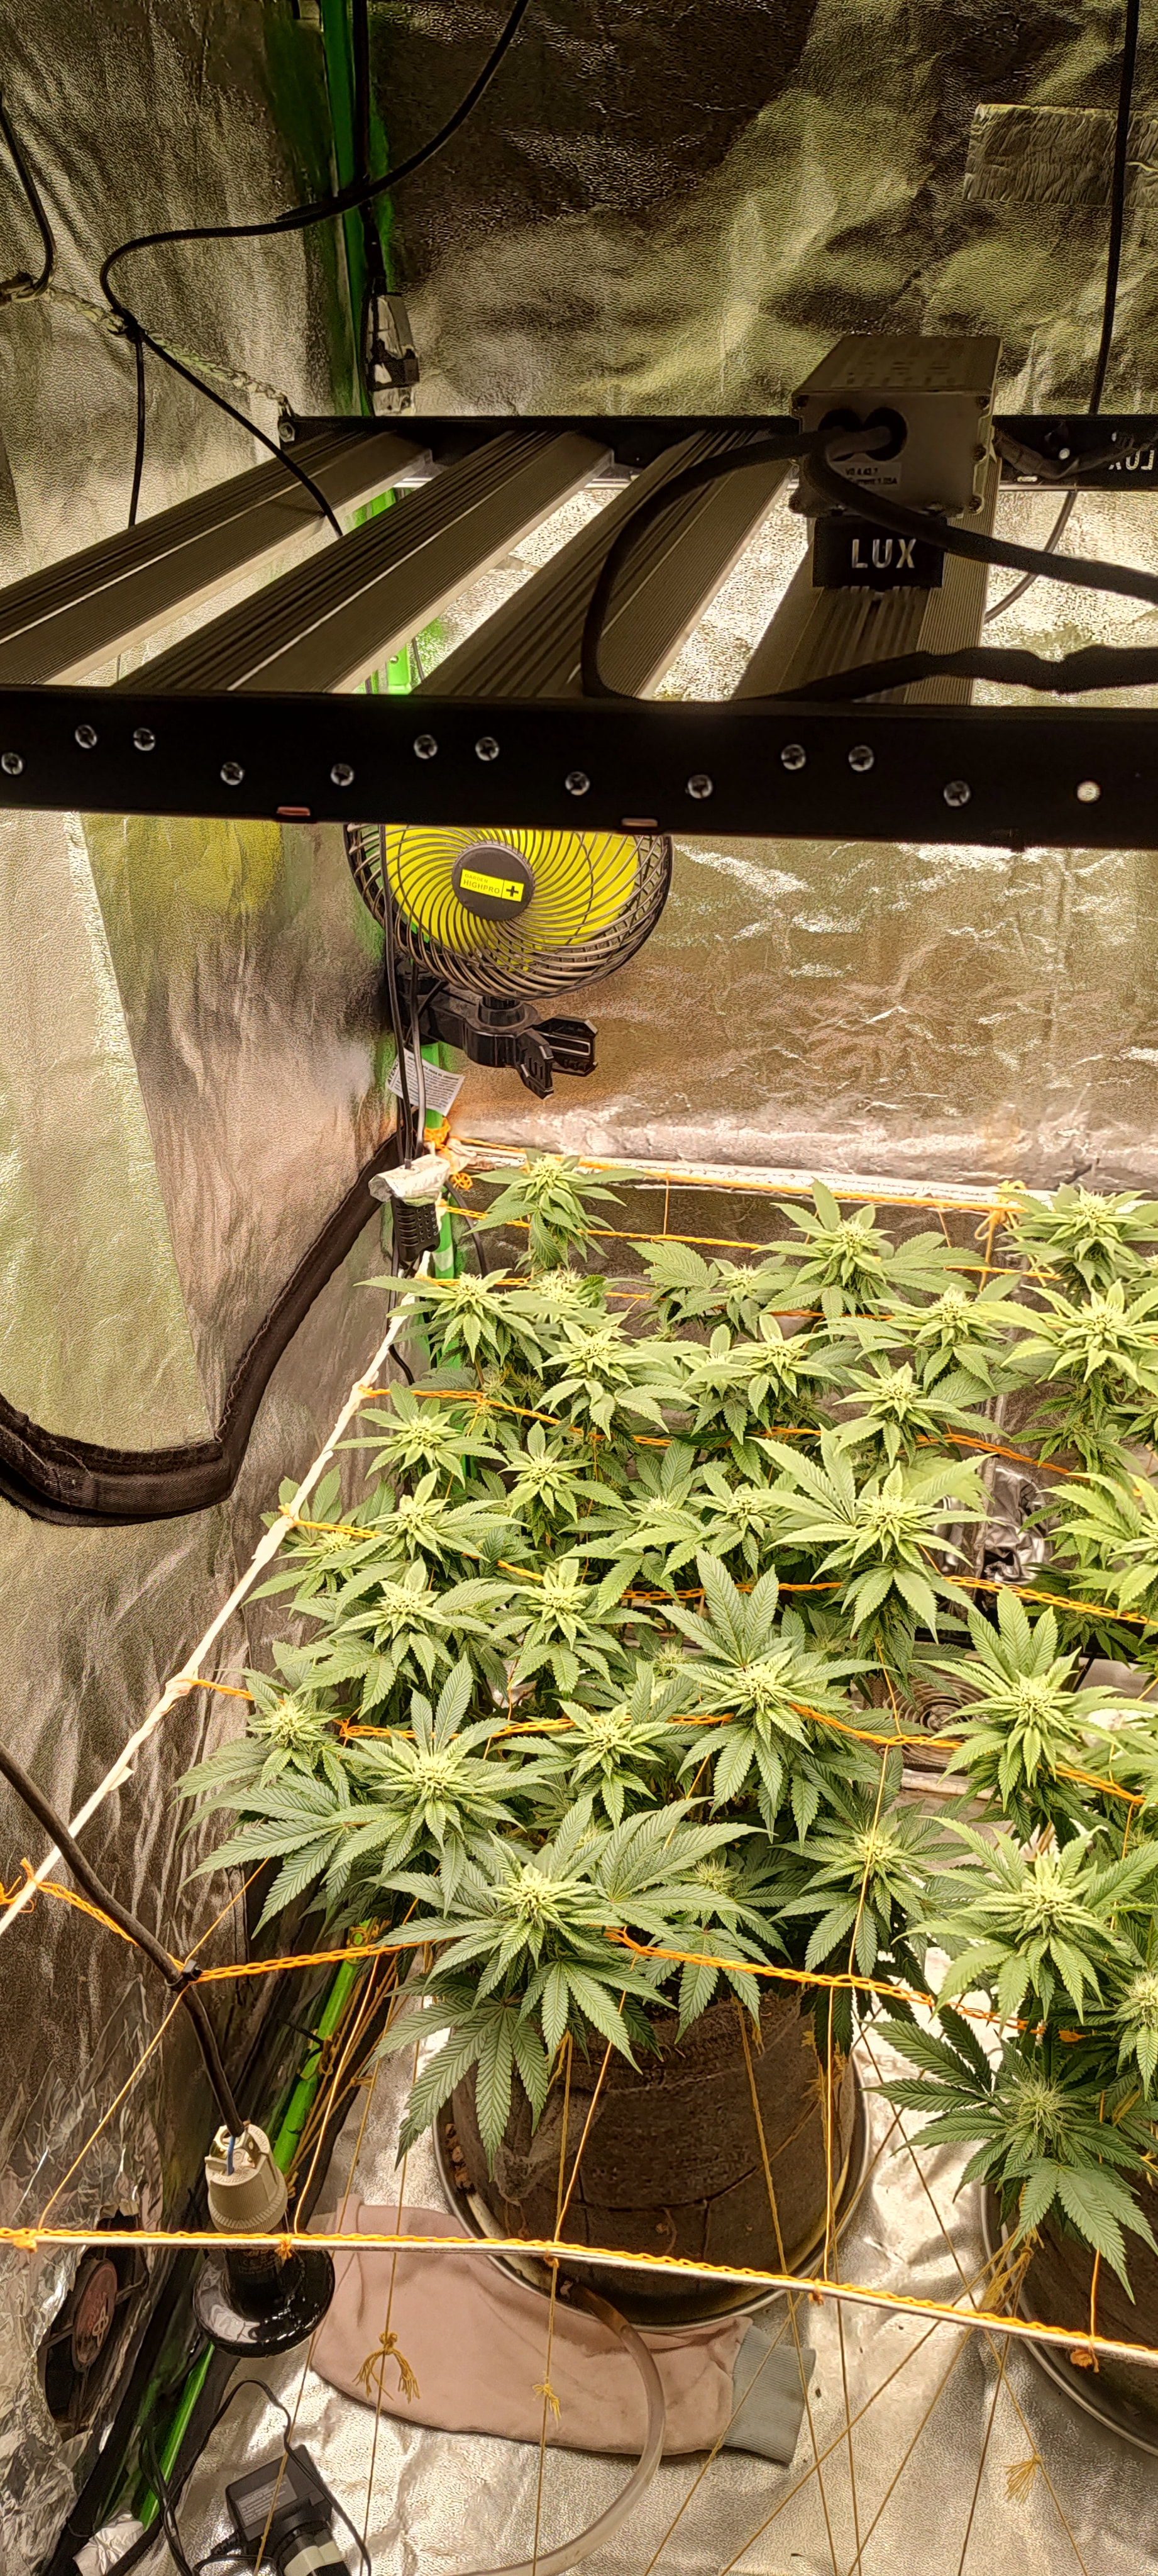
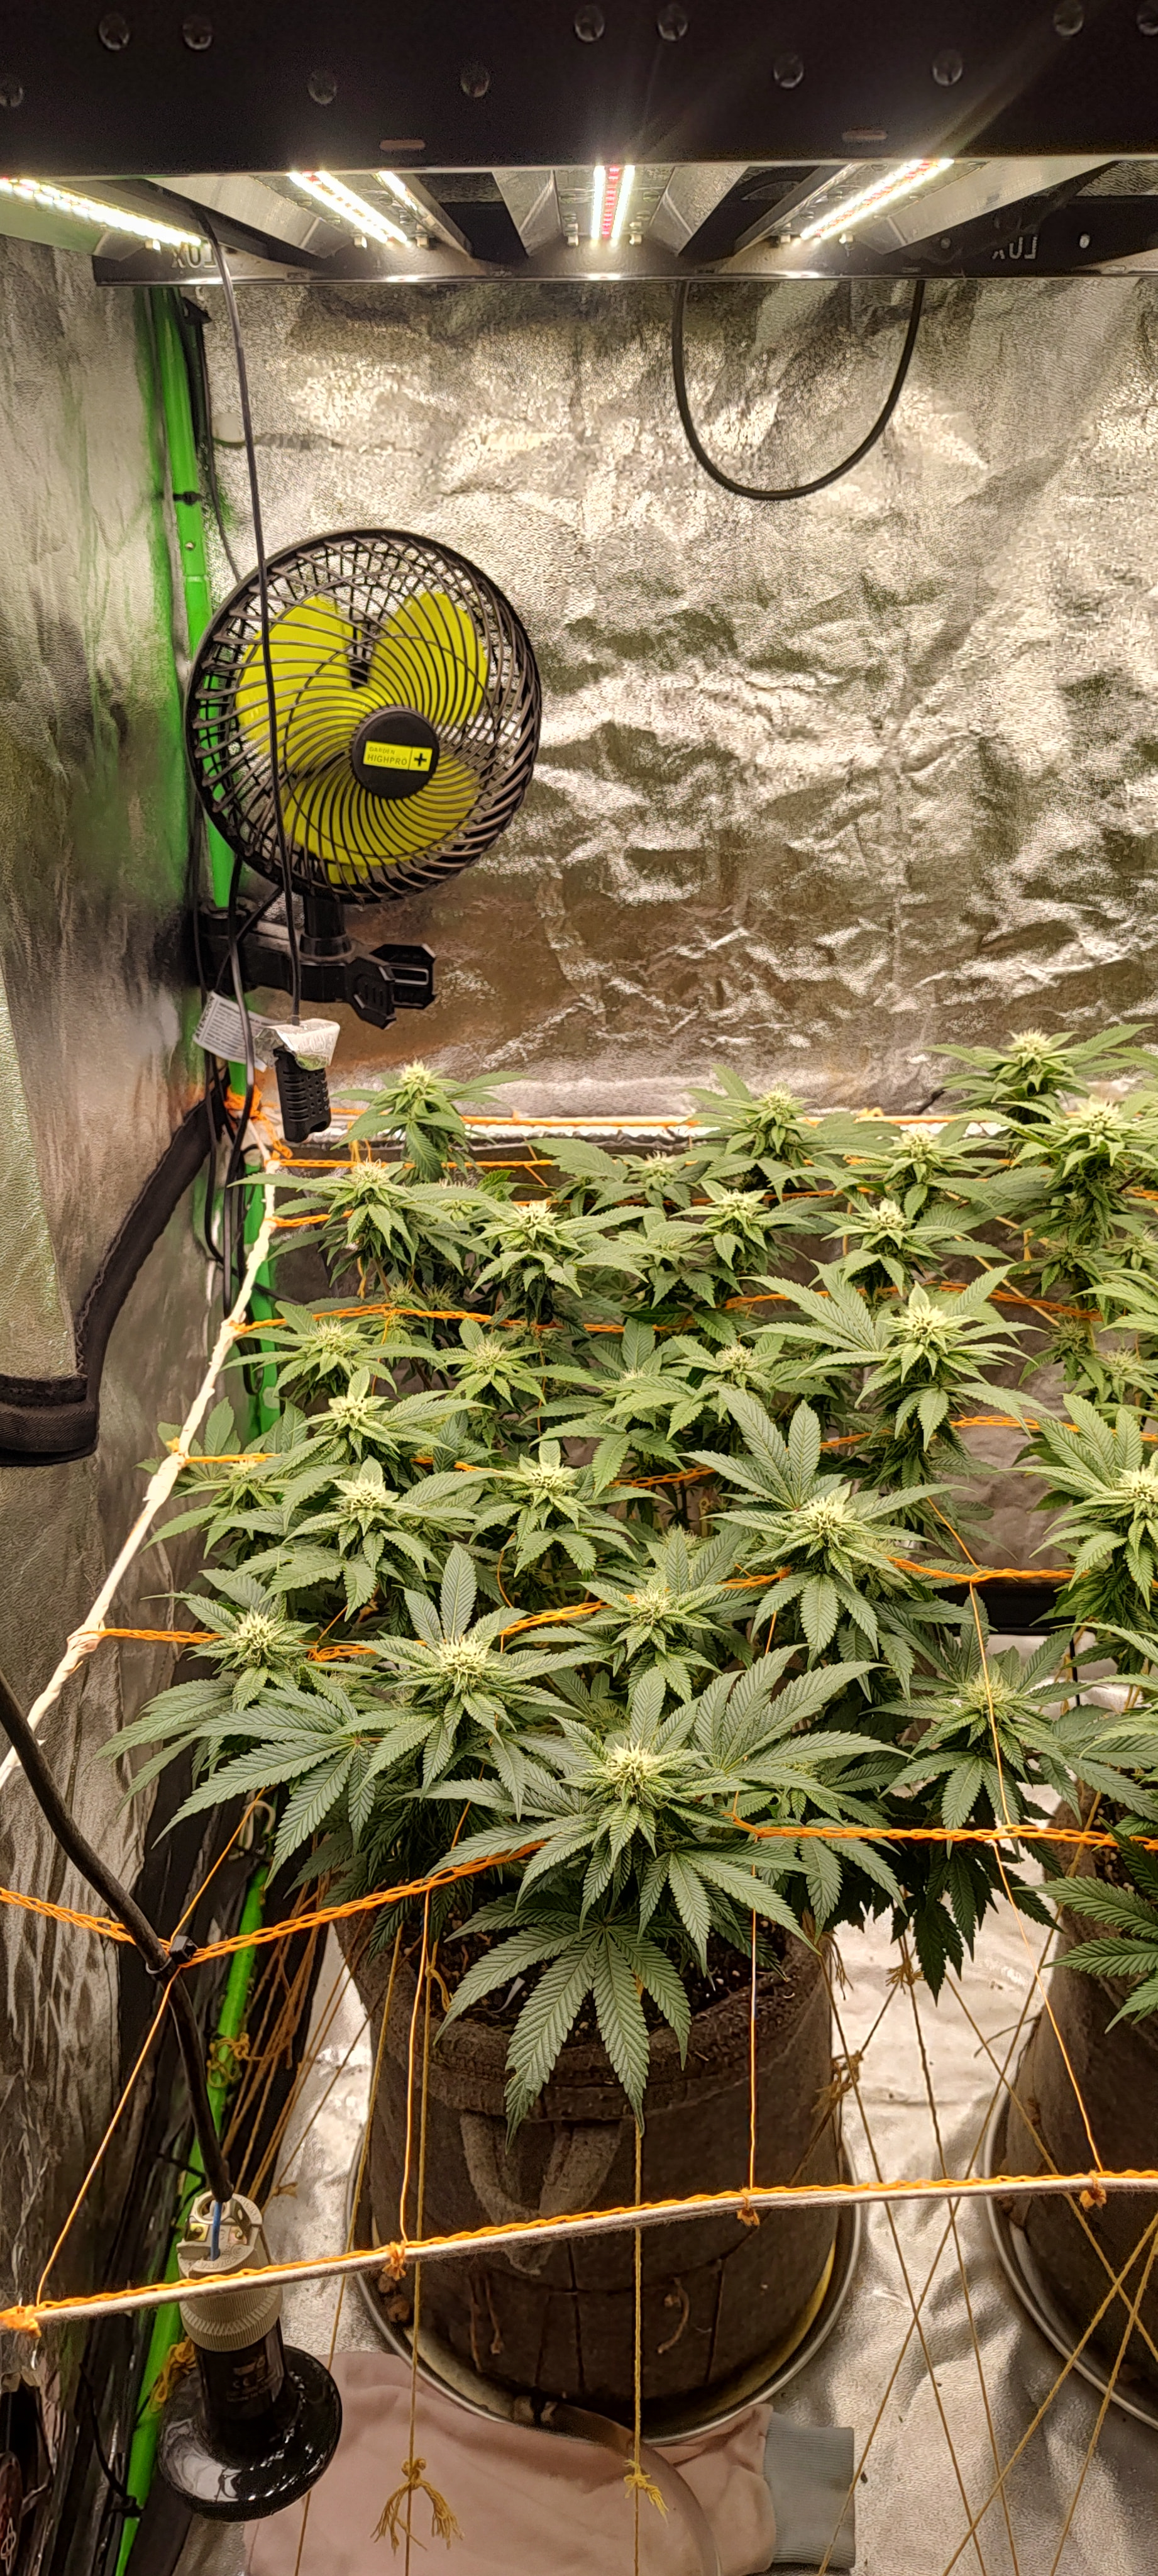
Ventilation: The fan was raised flush to improve heat dispersion coming directly down from the panel, avoiding direct airflow over the flowers.
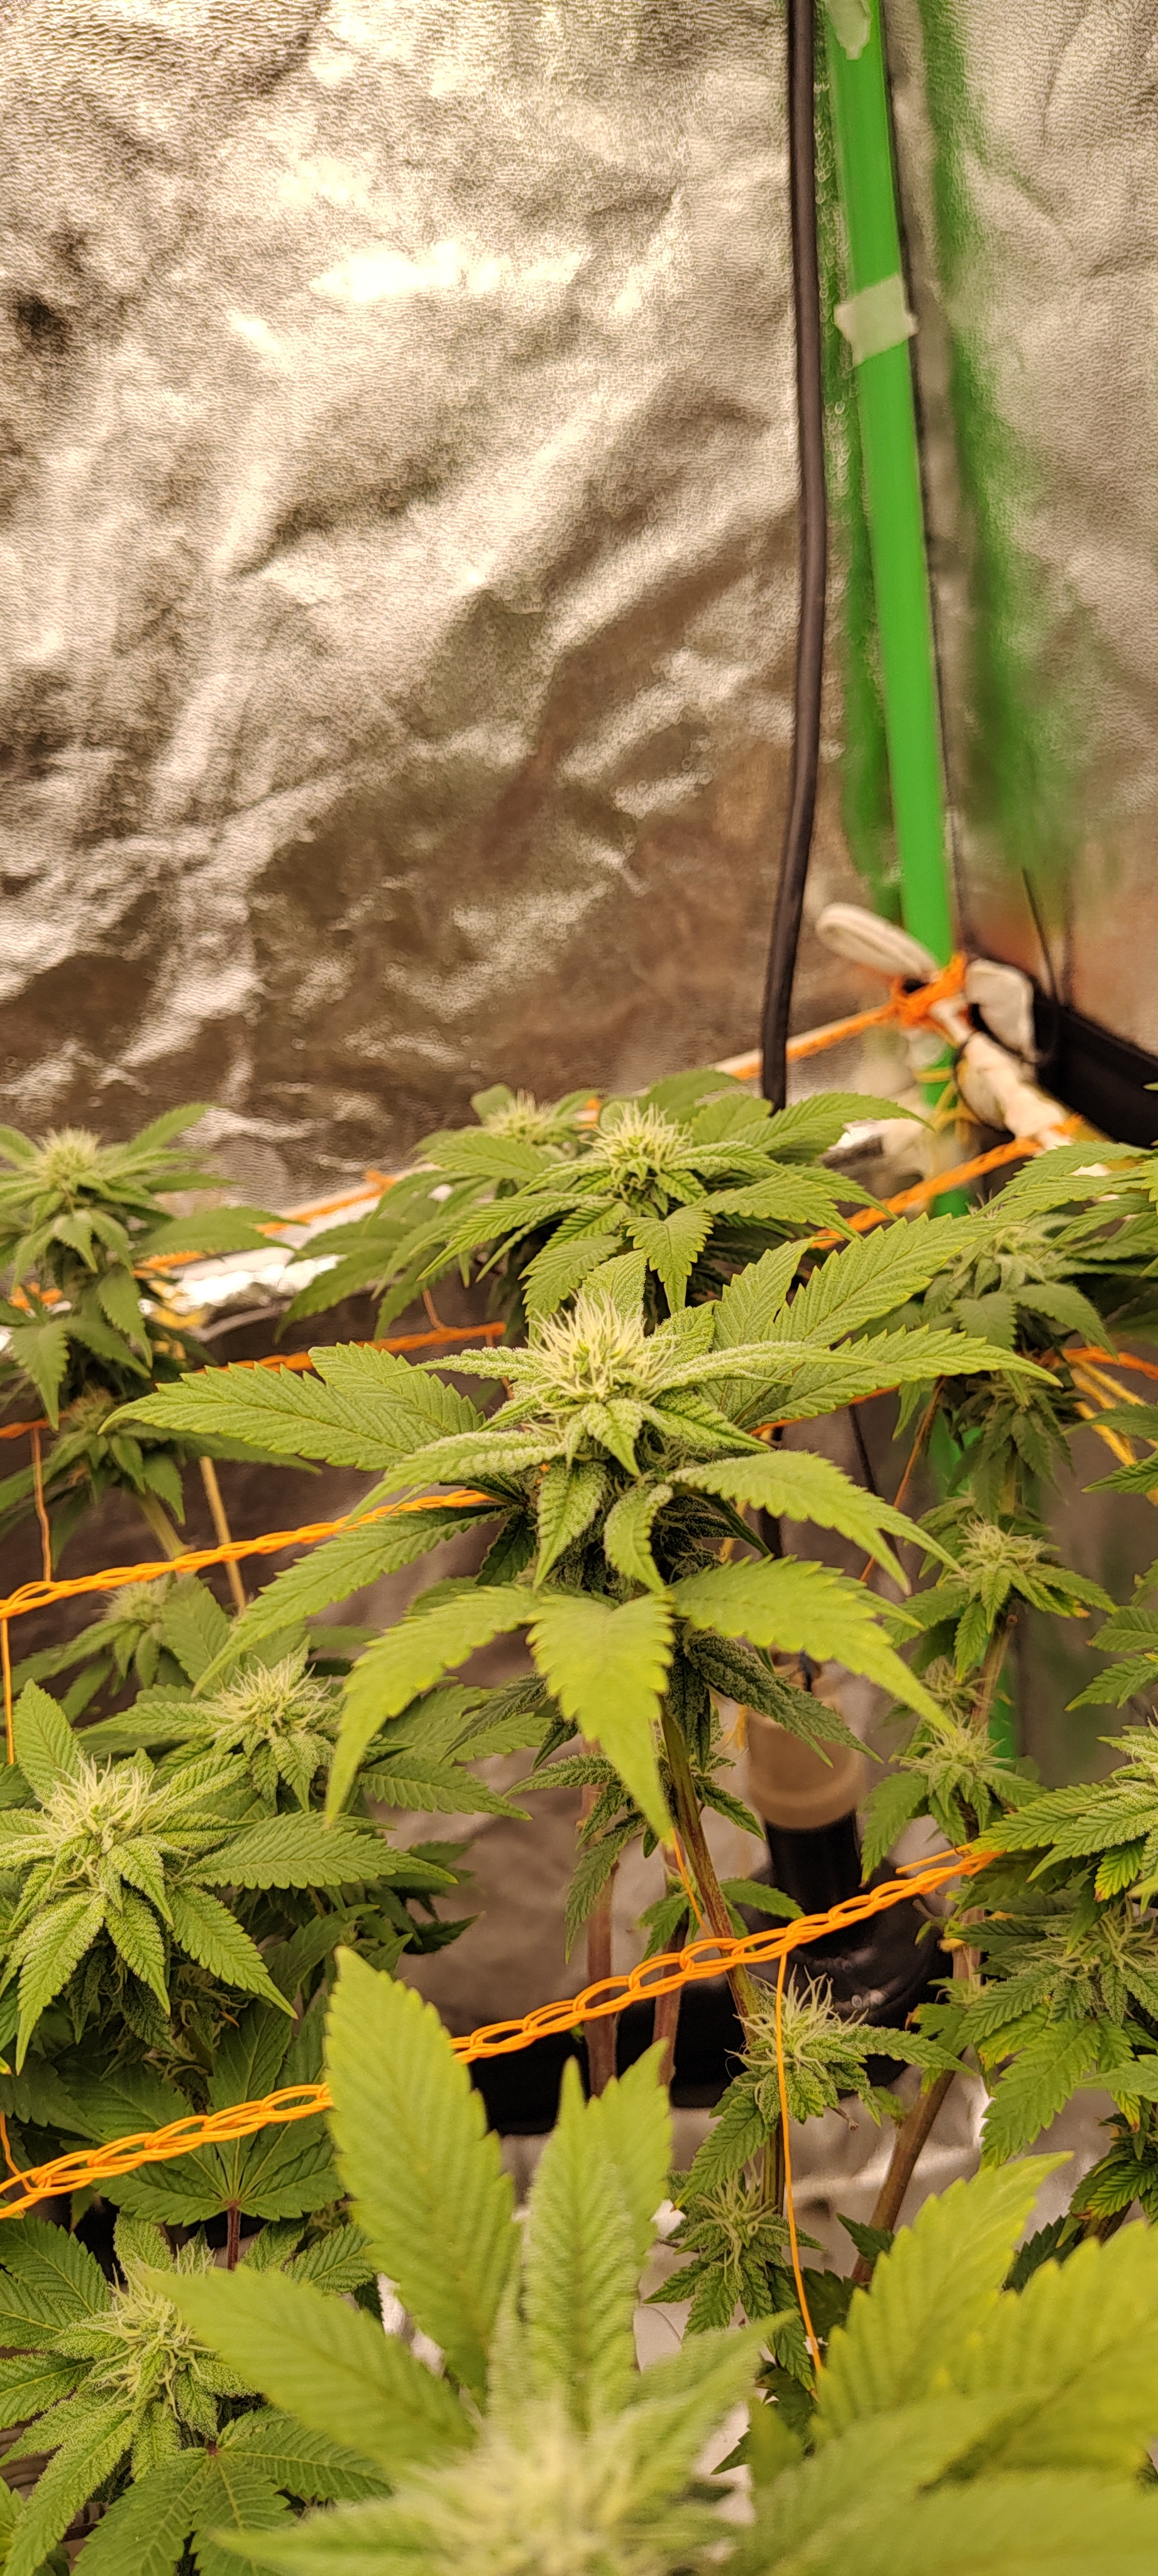
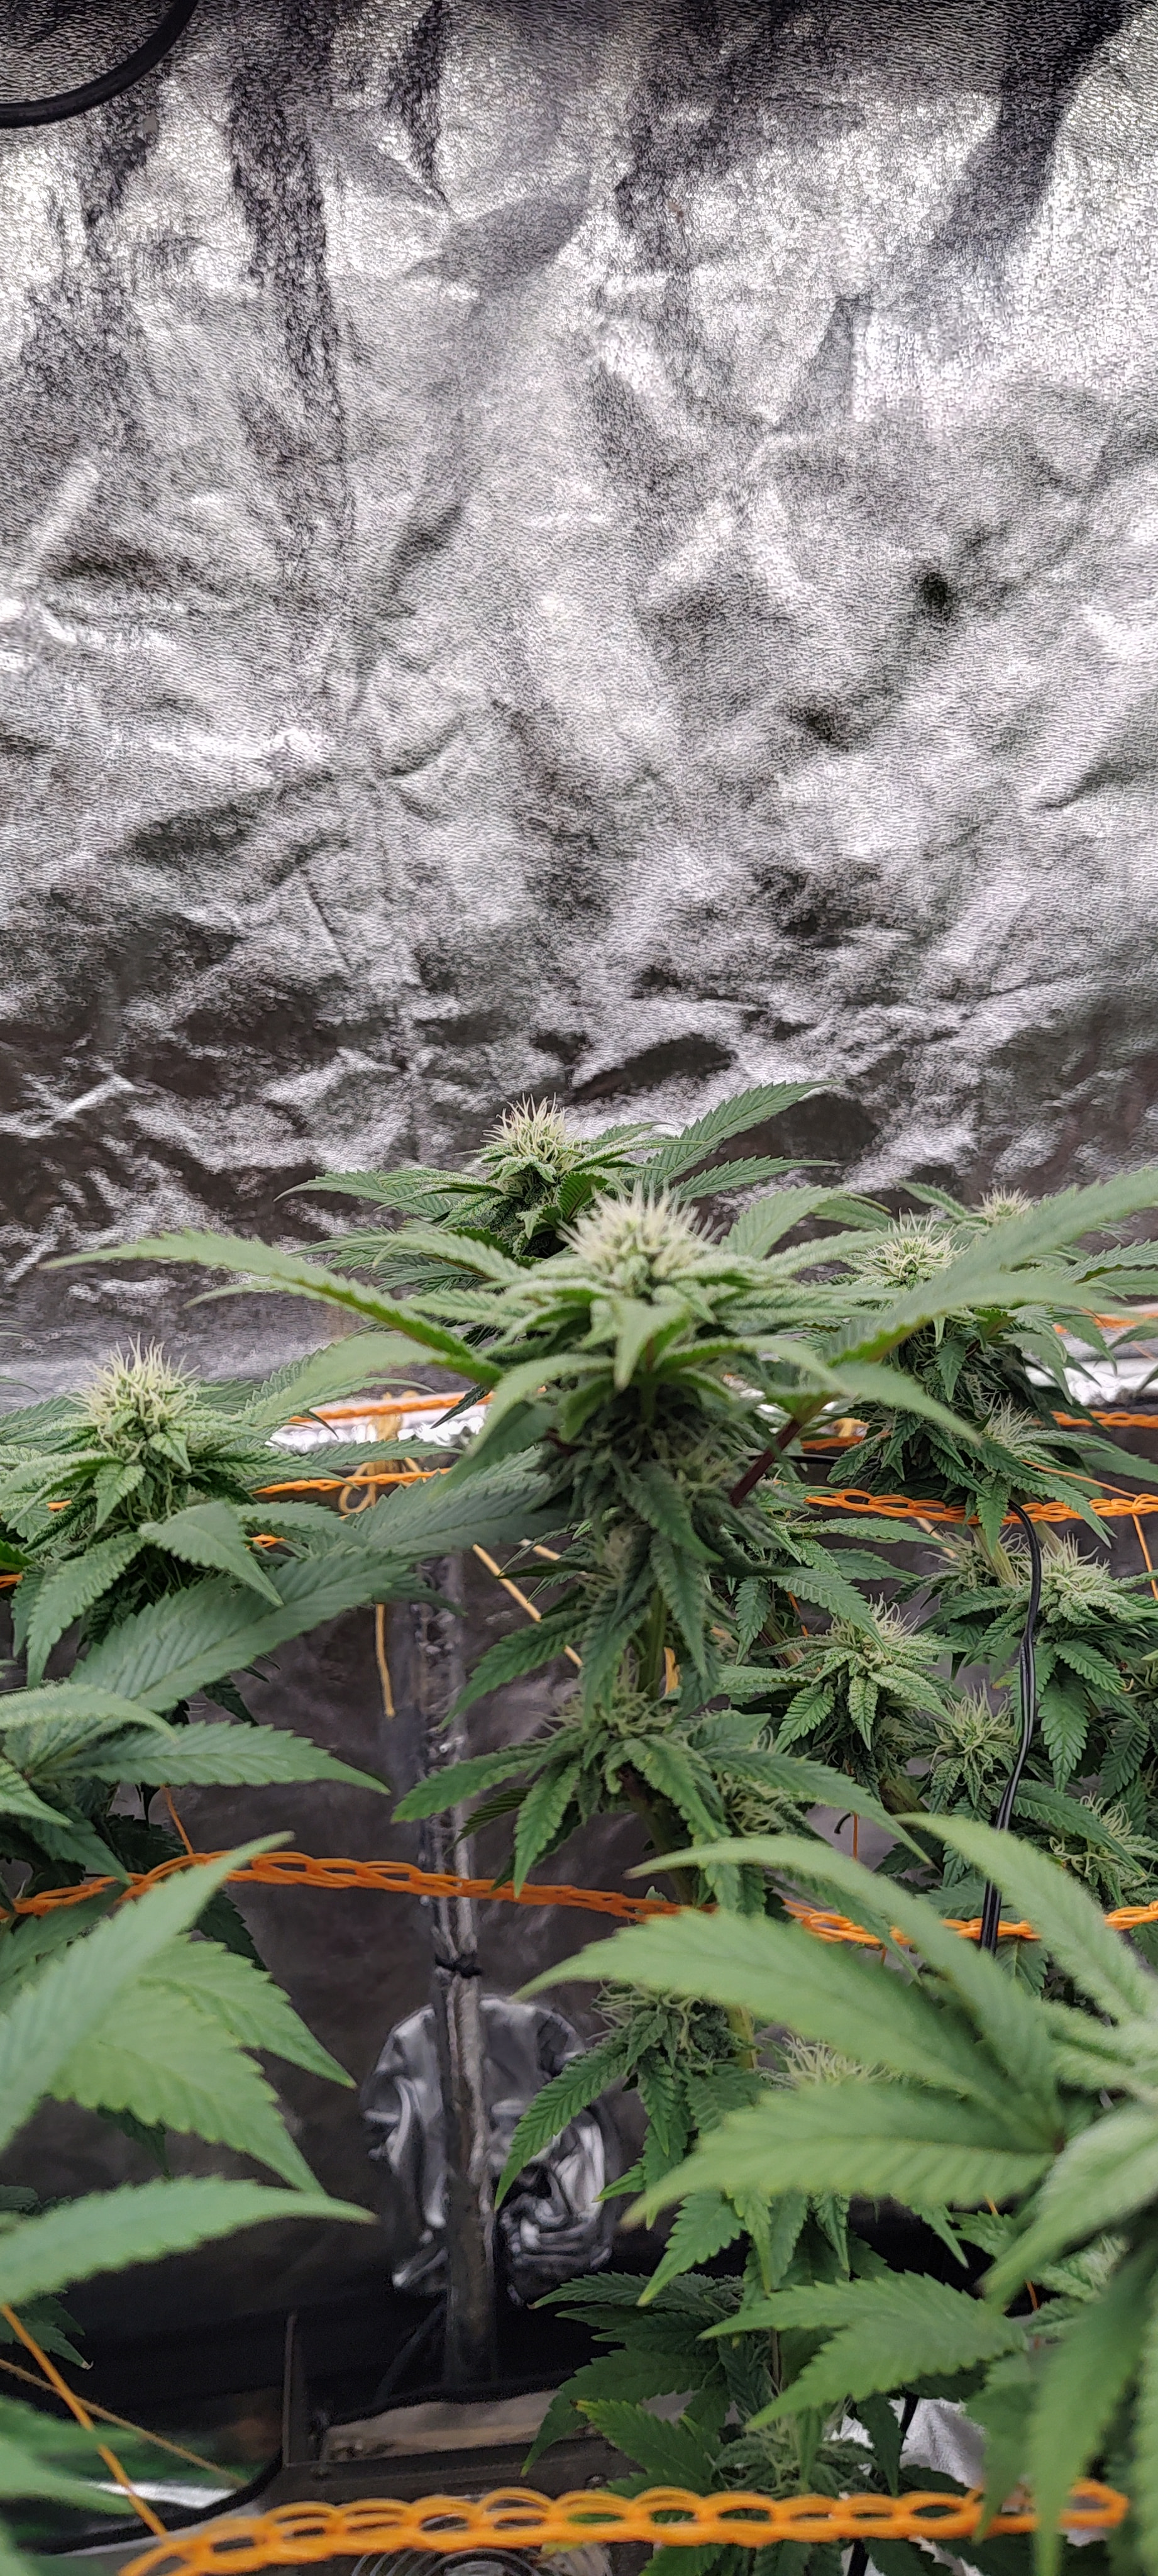
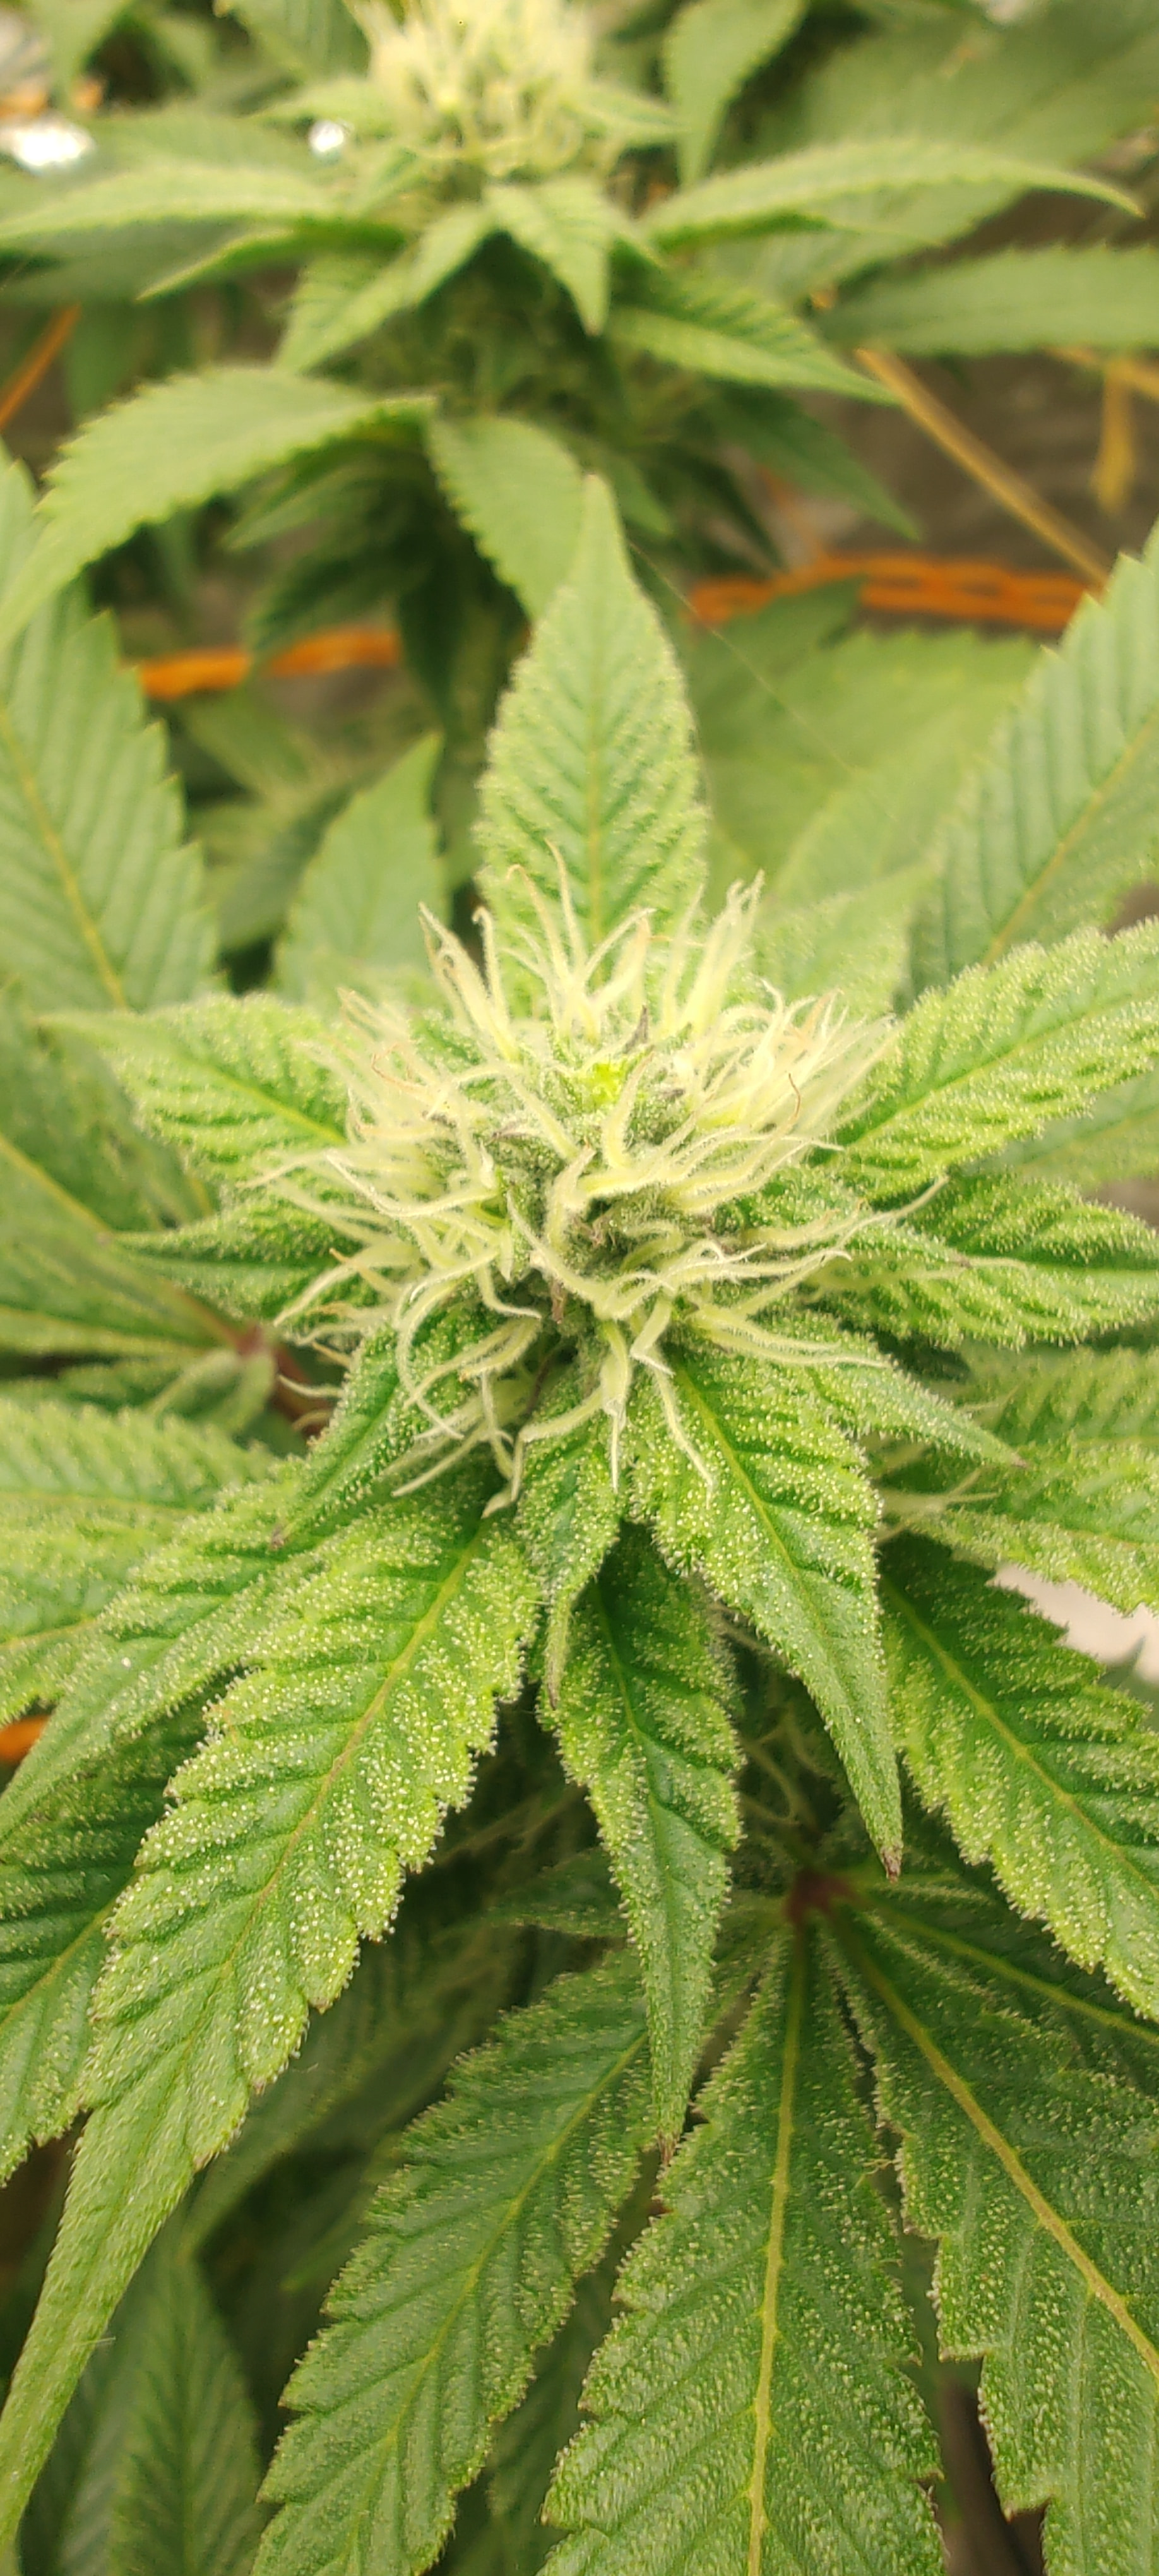
General condition of the plants: They show excellent vigor and overall health, with an even, symmetrical canopy well-guided by the net. The calyxes continue swelling with firm, white, upright pistils, showing only a slight effect on the stigmas at the tip that received direct airflow from the fan.
Hello @KilliczGe! Glad you like how the bunker is coming along.
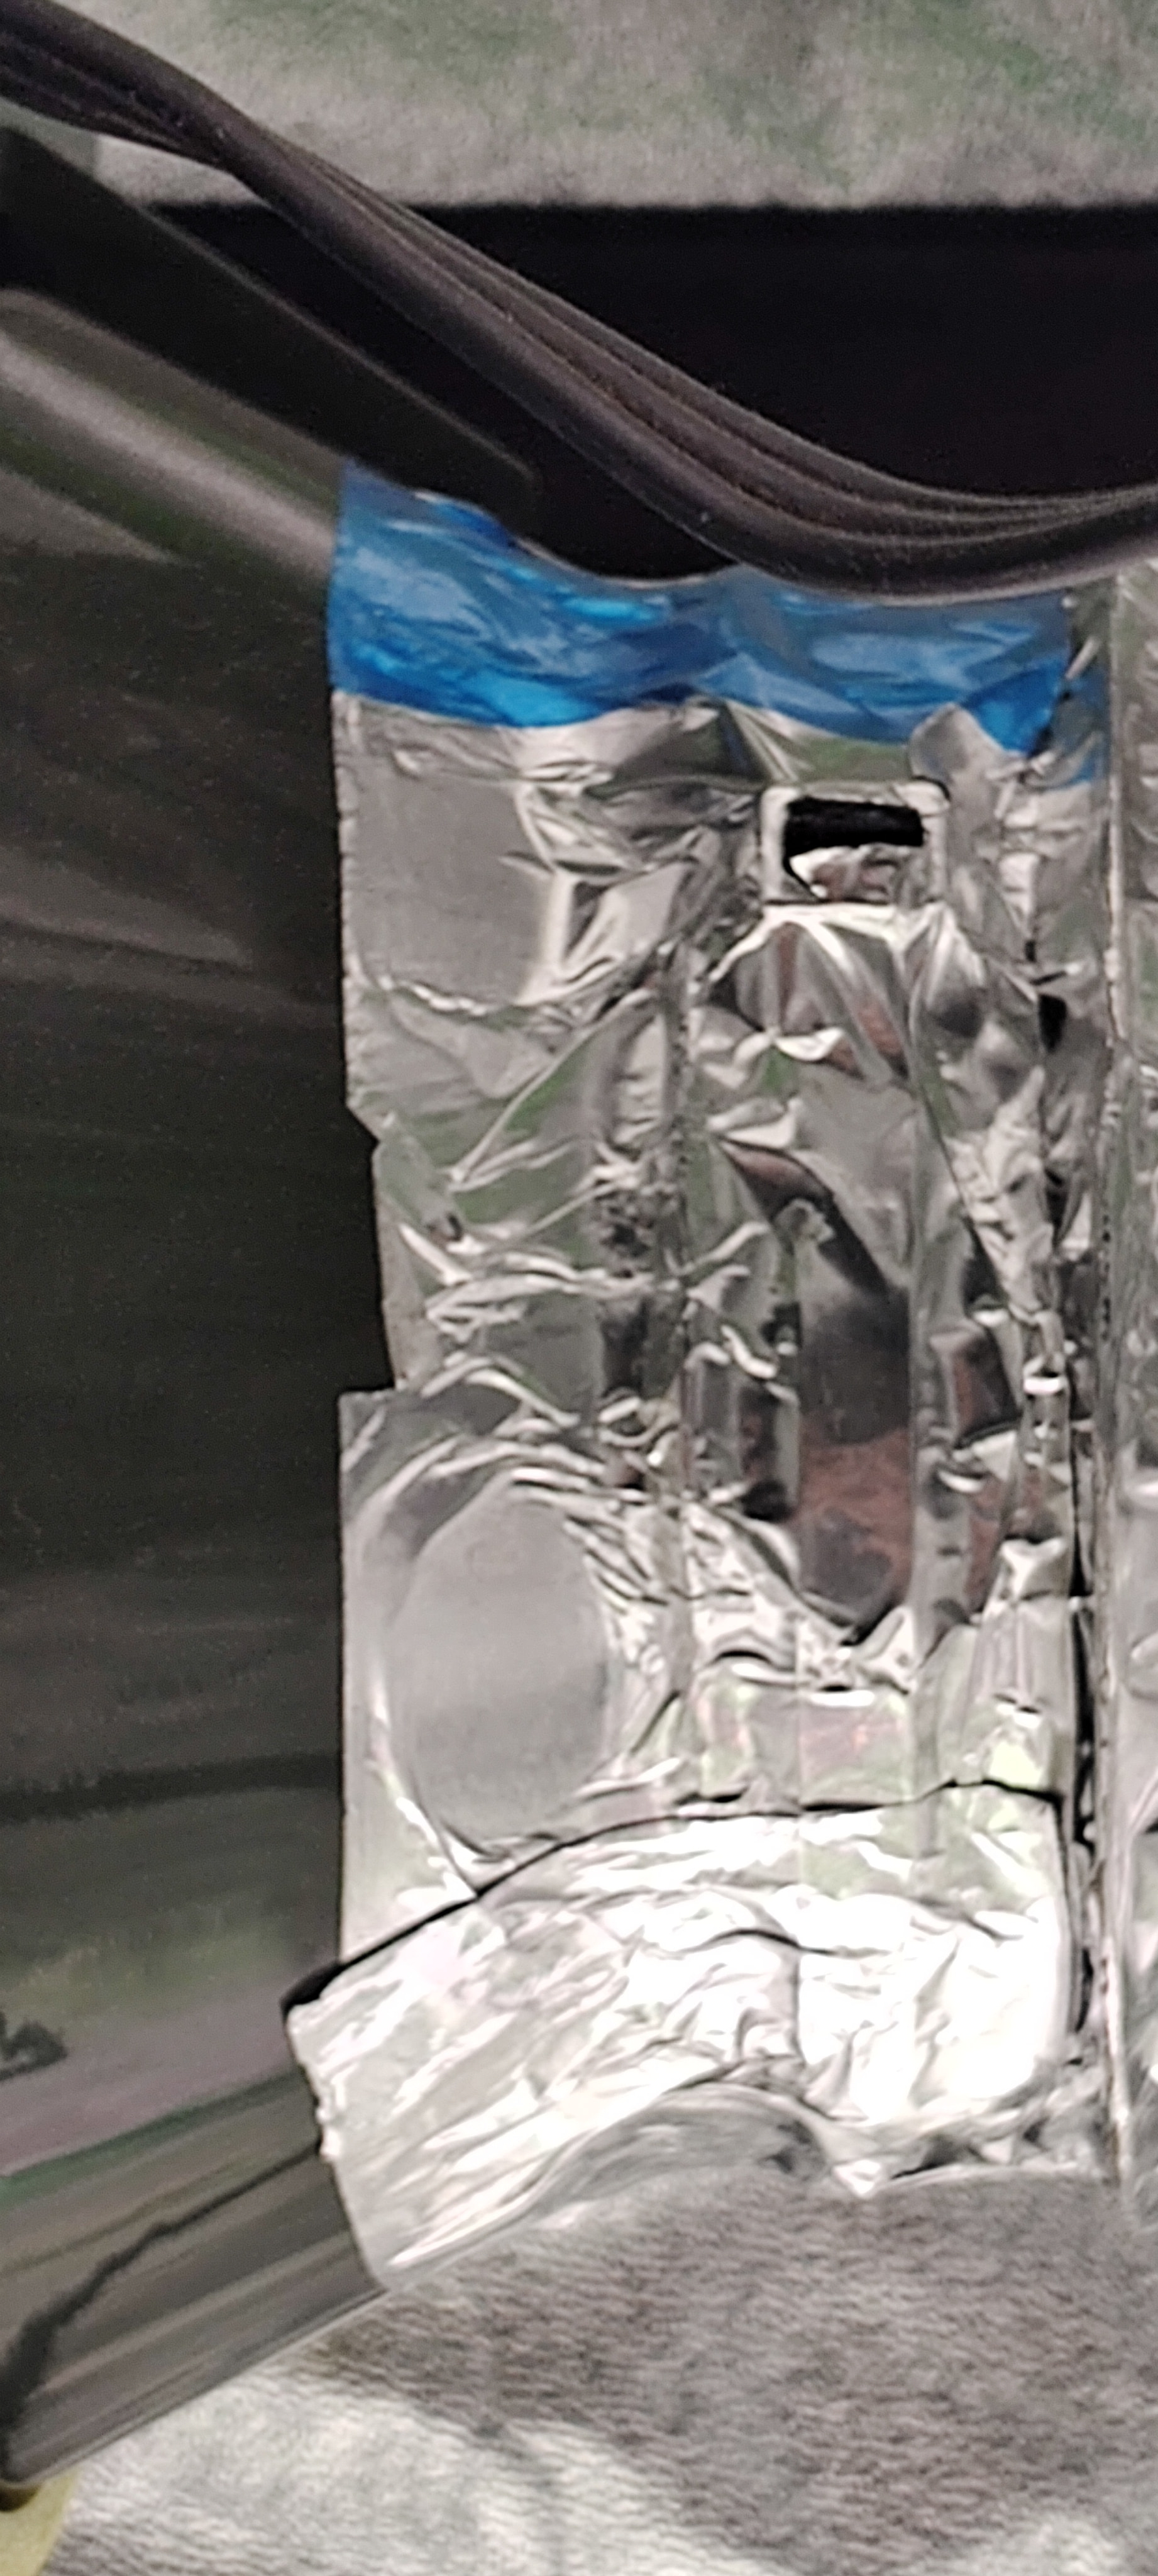
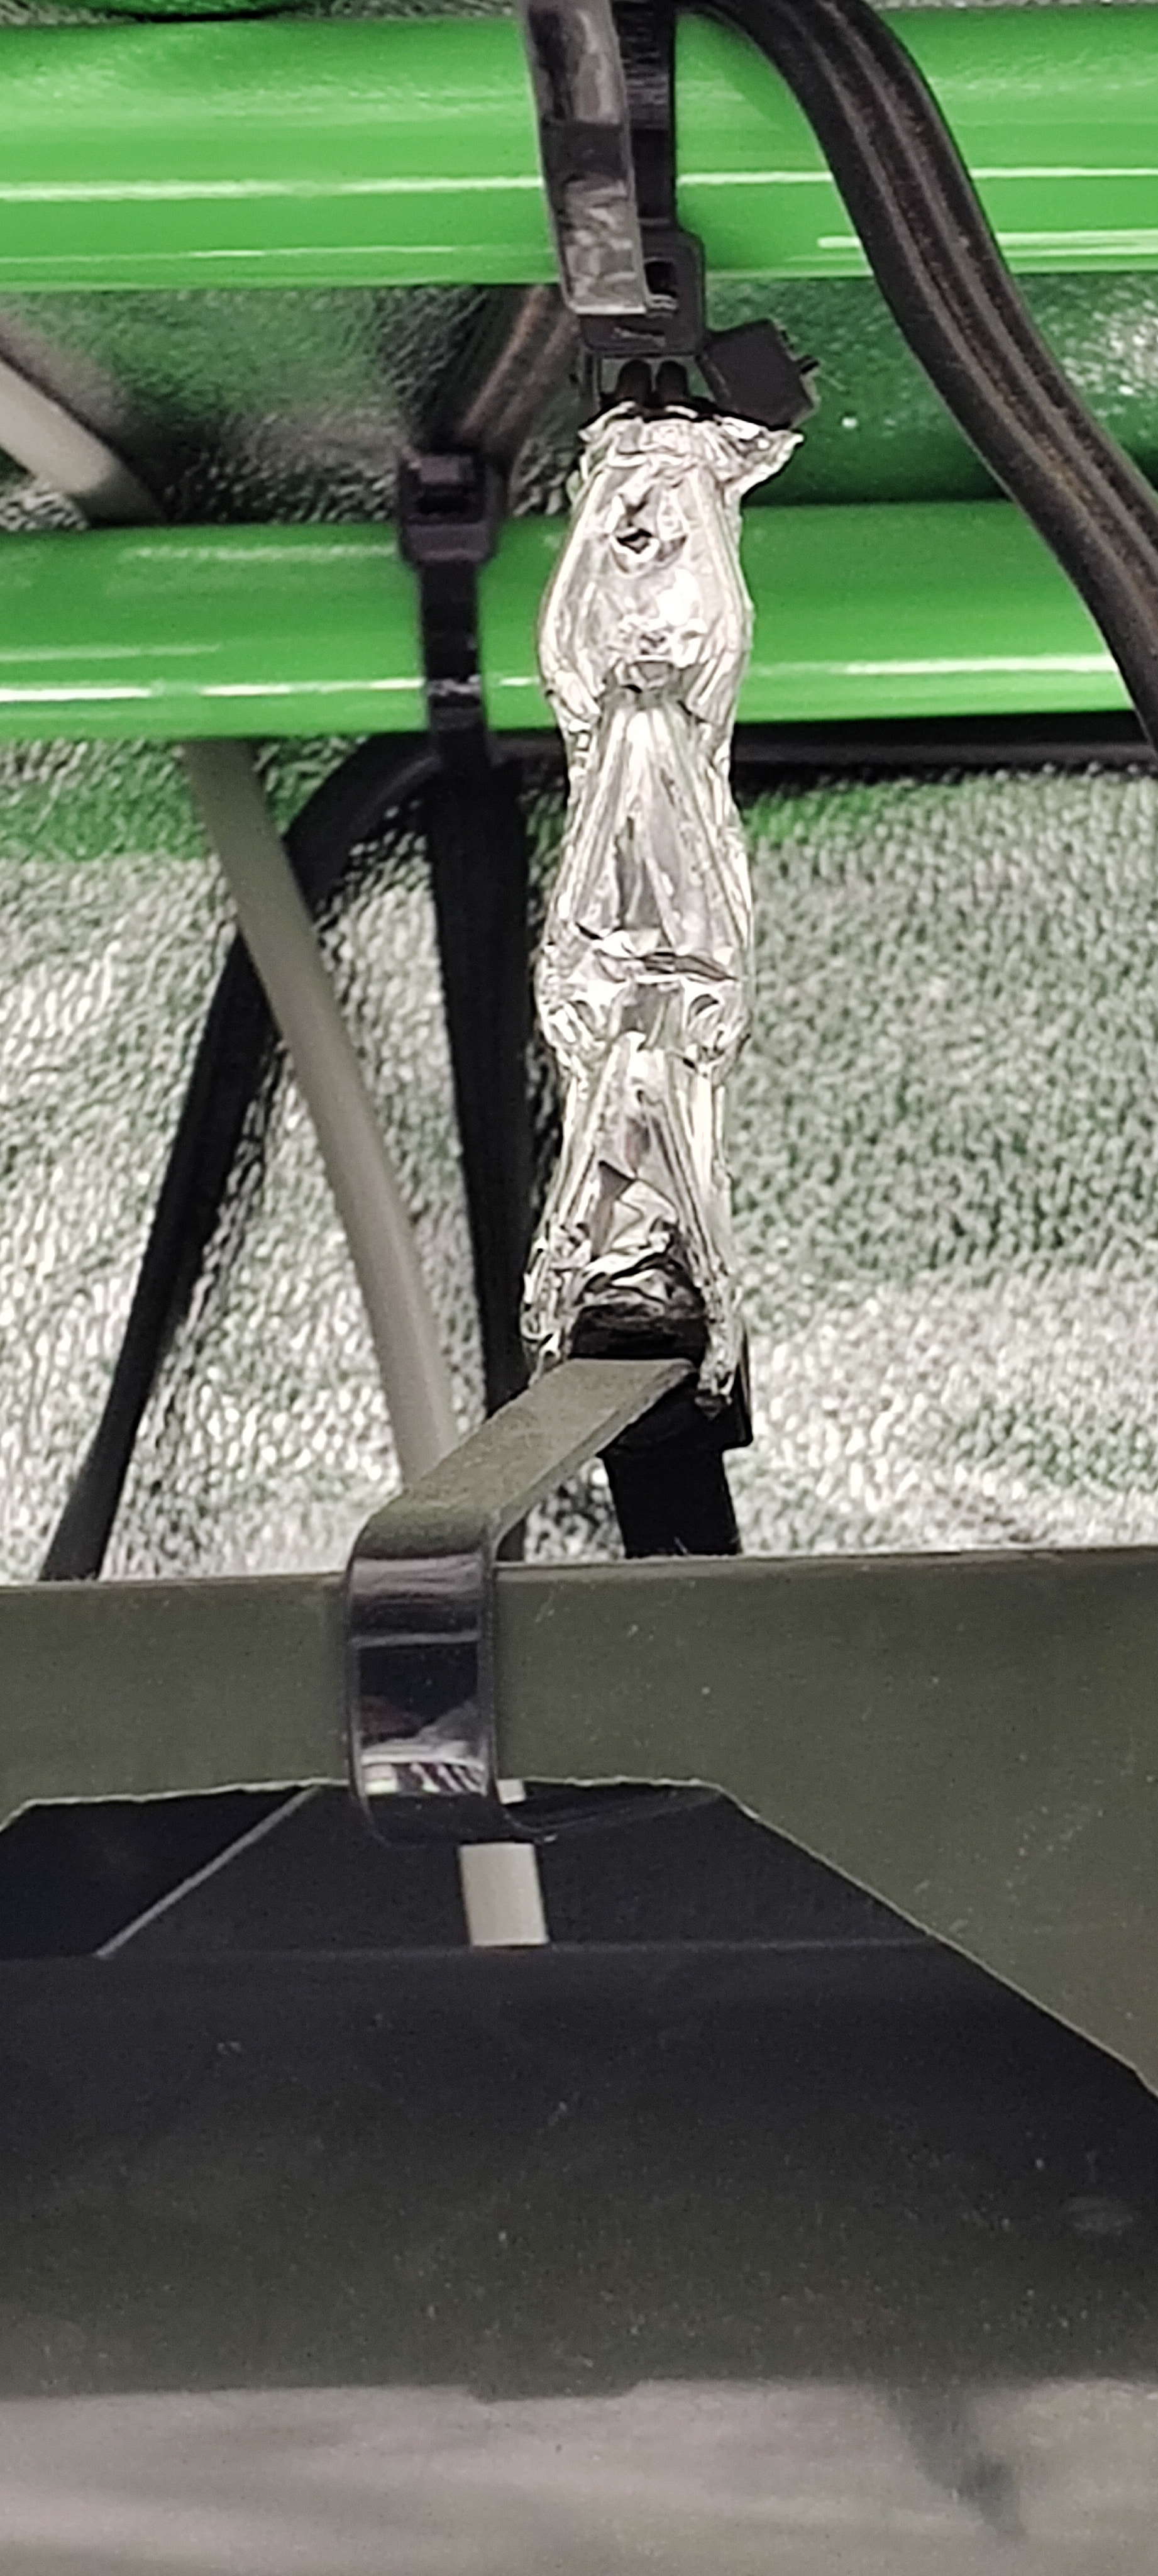
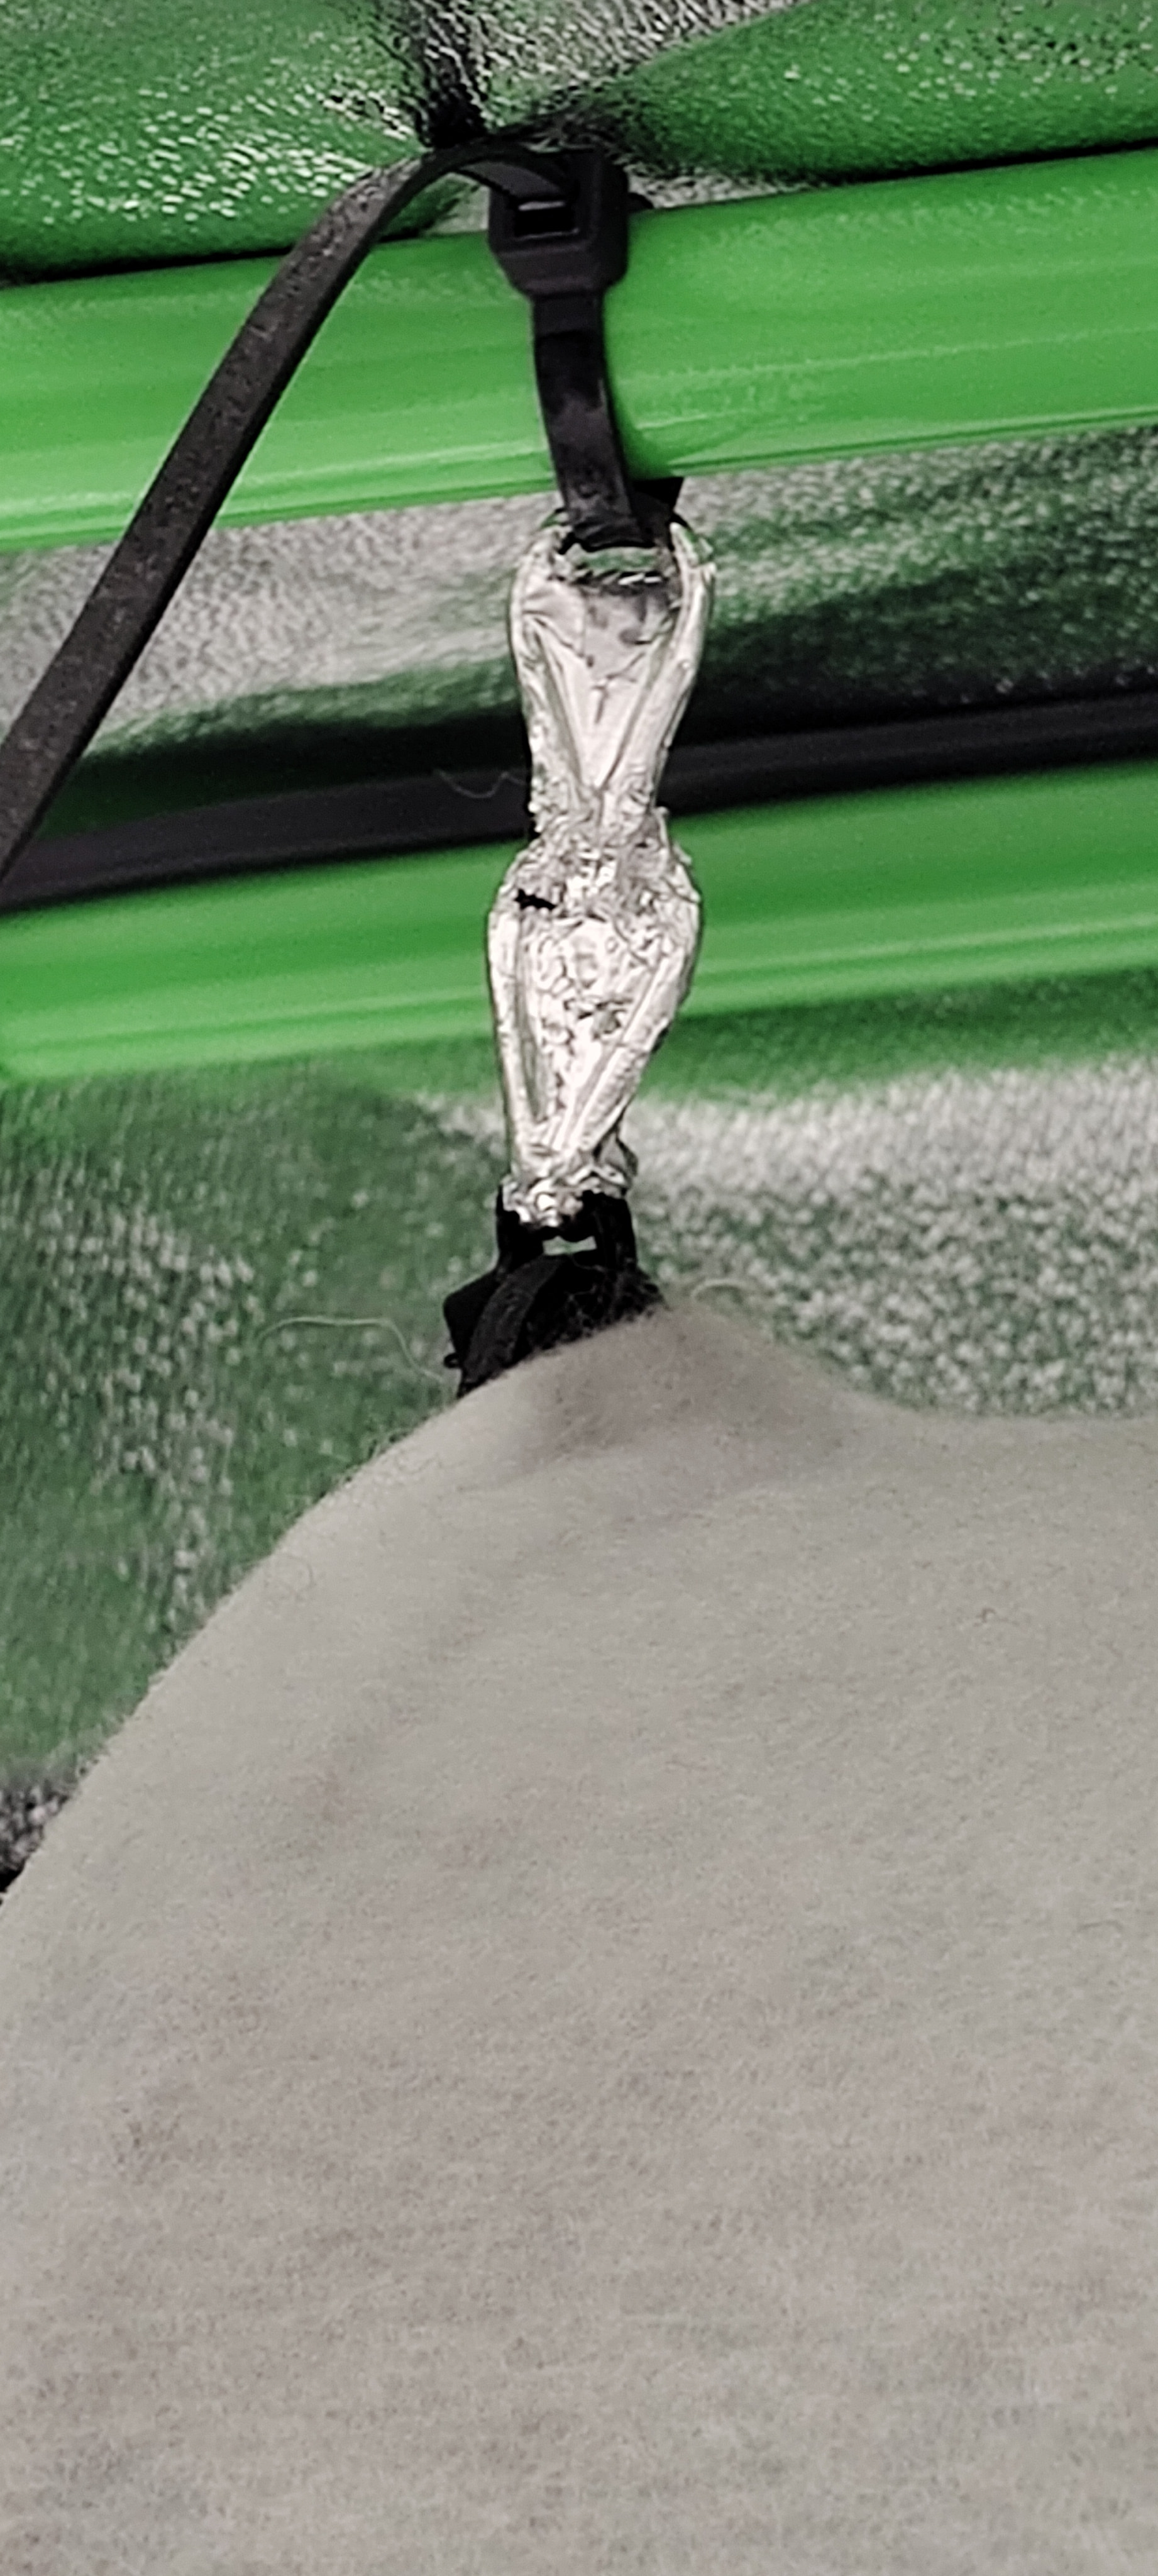
Regarding the extractor fan, let me show you how I set it up. Since it’s super lightweight and has practically zero vibration, there’s no need to build a heavy structure for it.
To hang it, we used a thin wire chain—no thick links or clunky fixtures that aren’t justified for this weight—and wrapped it with aluminum tape to make it look neat and match the reflective material. It stays really firm, looks tidy, takes up zero space, and saves you from dealing with bulky mounts.
Oh, and what you see in the background aren’t cuttings, but the mixed summer grow; they’re some Big Auto from Heaven Street, in case you want to follow them or check them out.
Try setting it up like this and save yourself a huge headache!
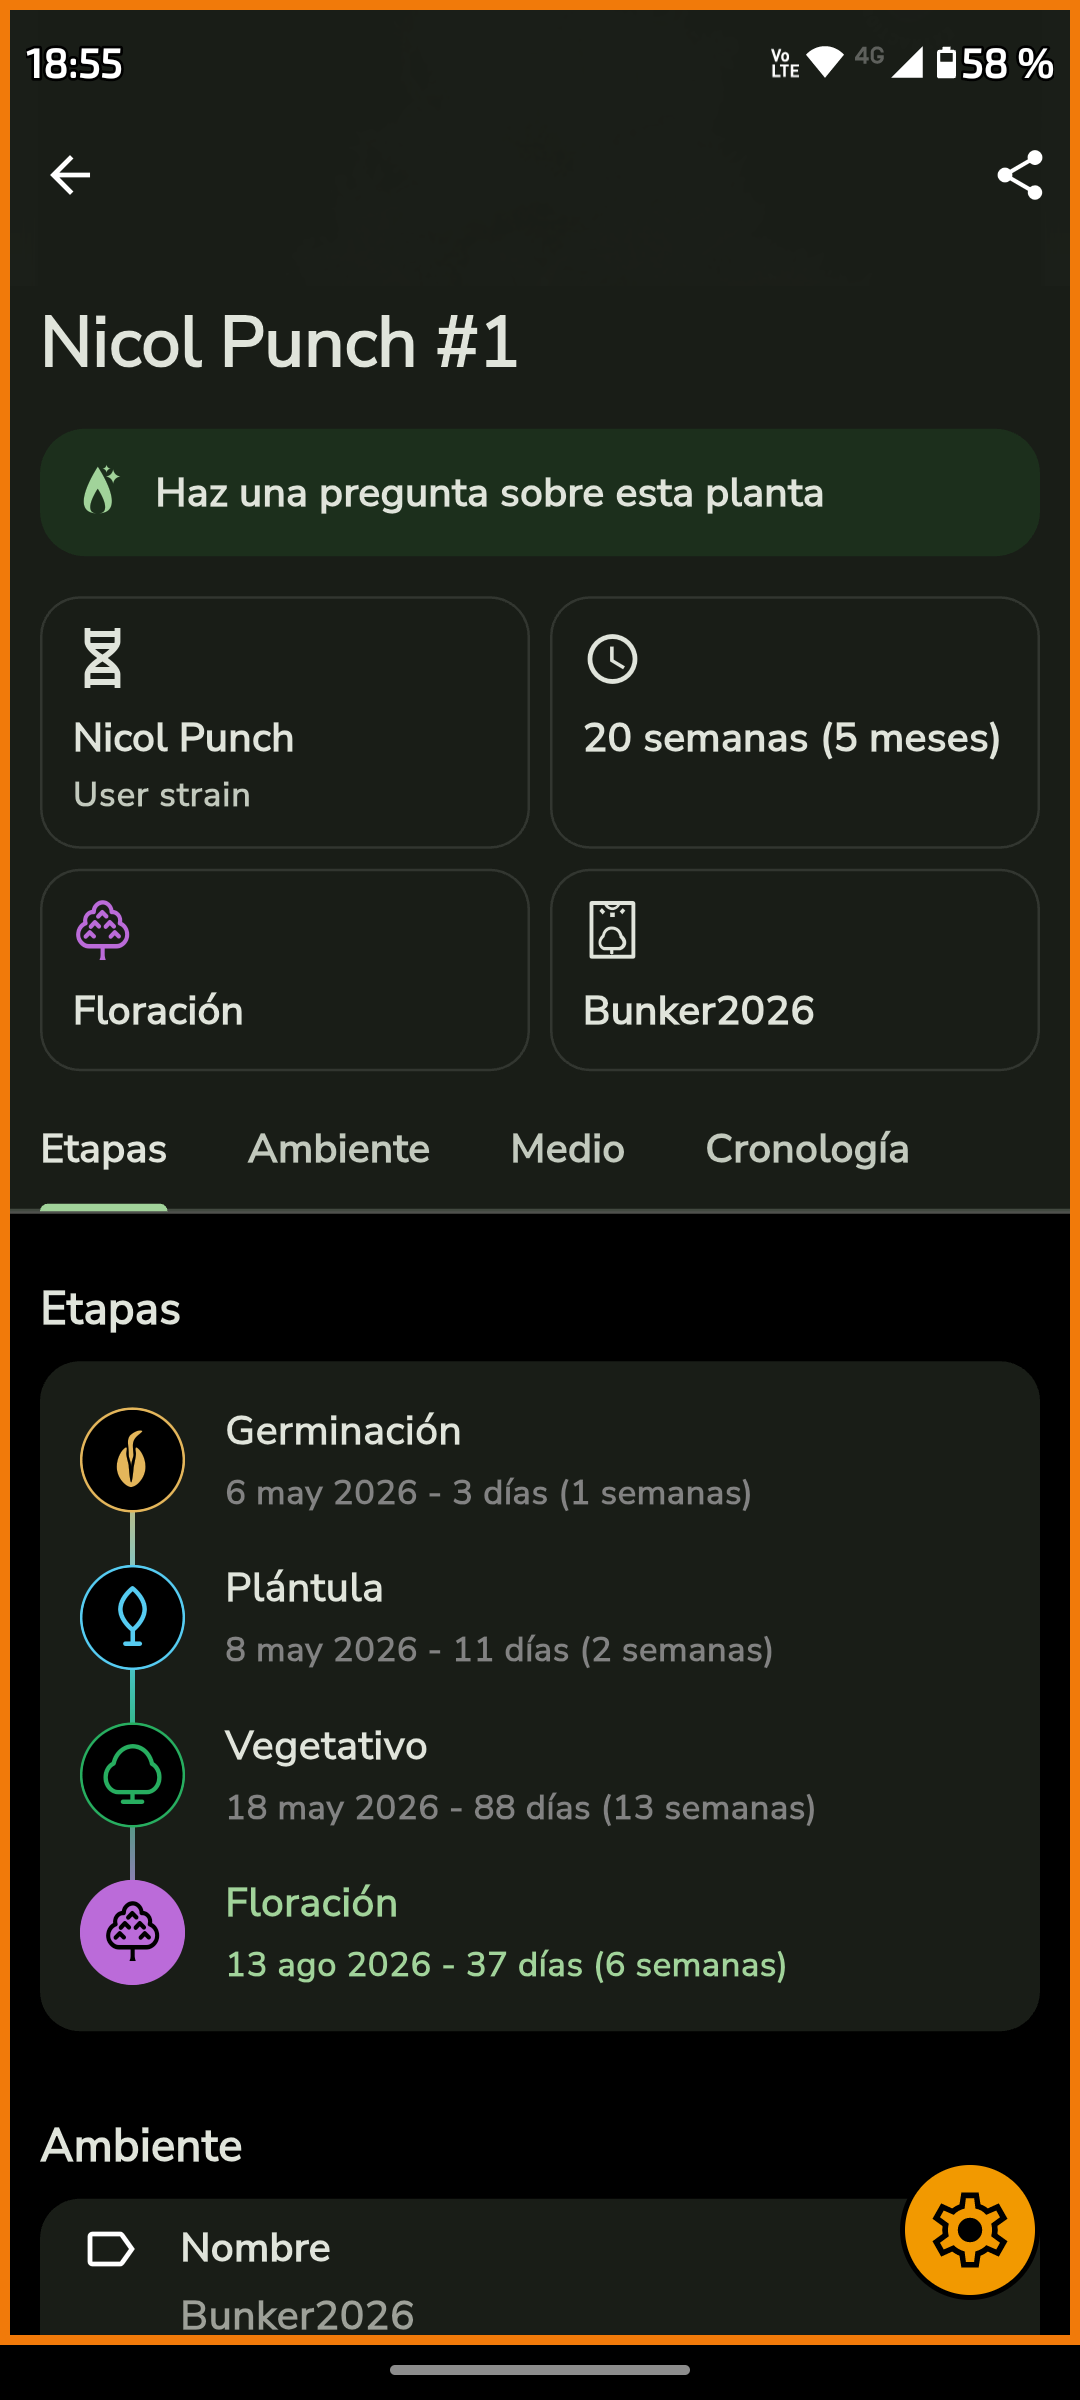
Hello everyone on the forum! Here is a new update on how the indoor bunker is doing with the two photoperiods (Nicole 1 and Nicole 2), which have now fully entered a very interesting advanced flowering stage.
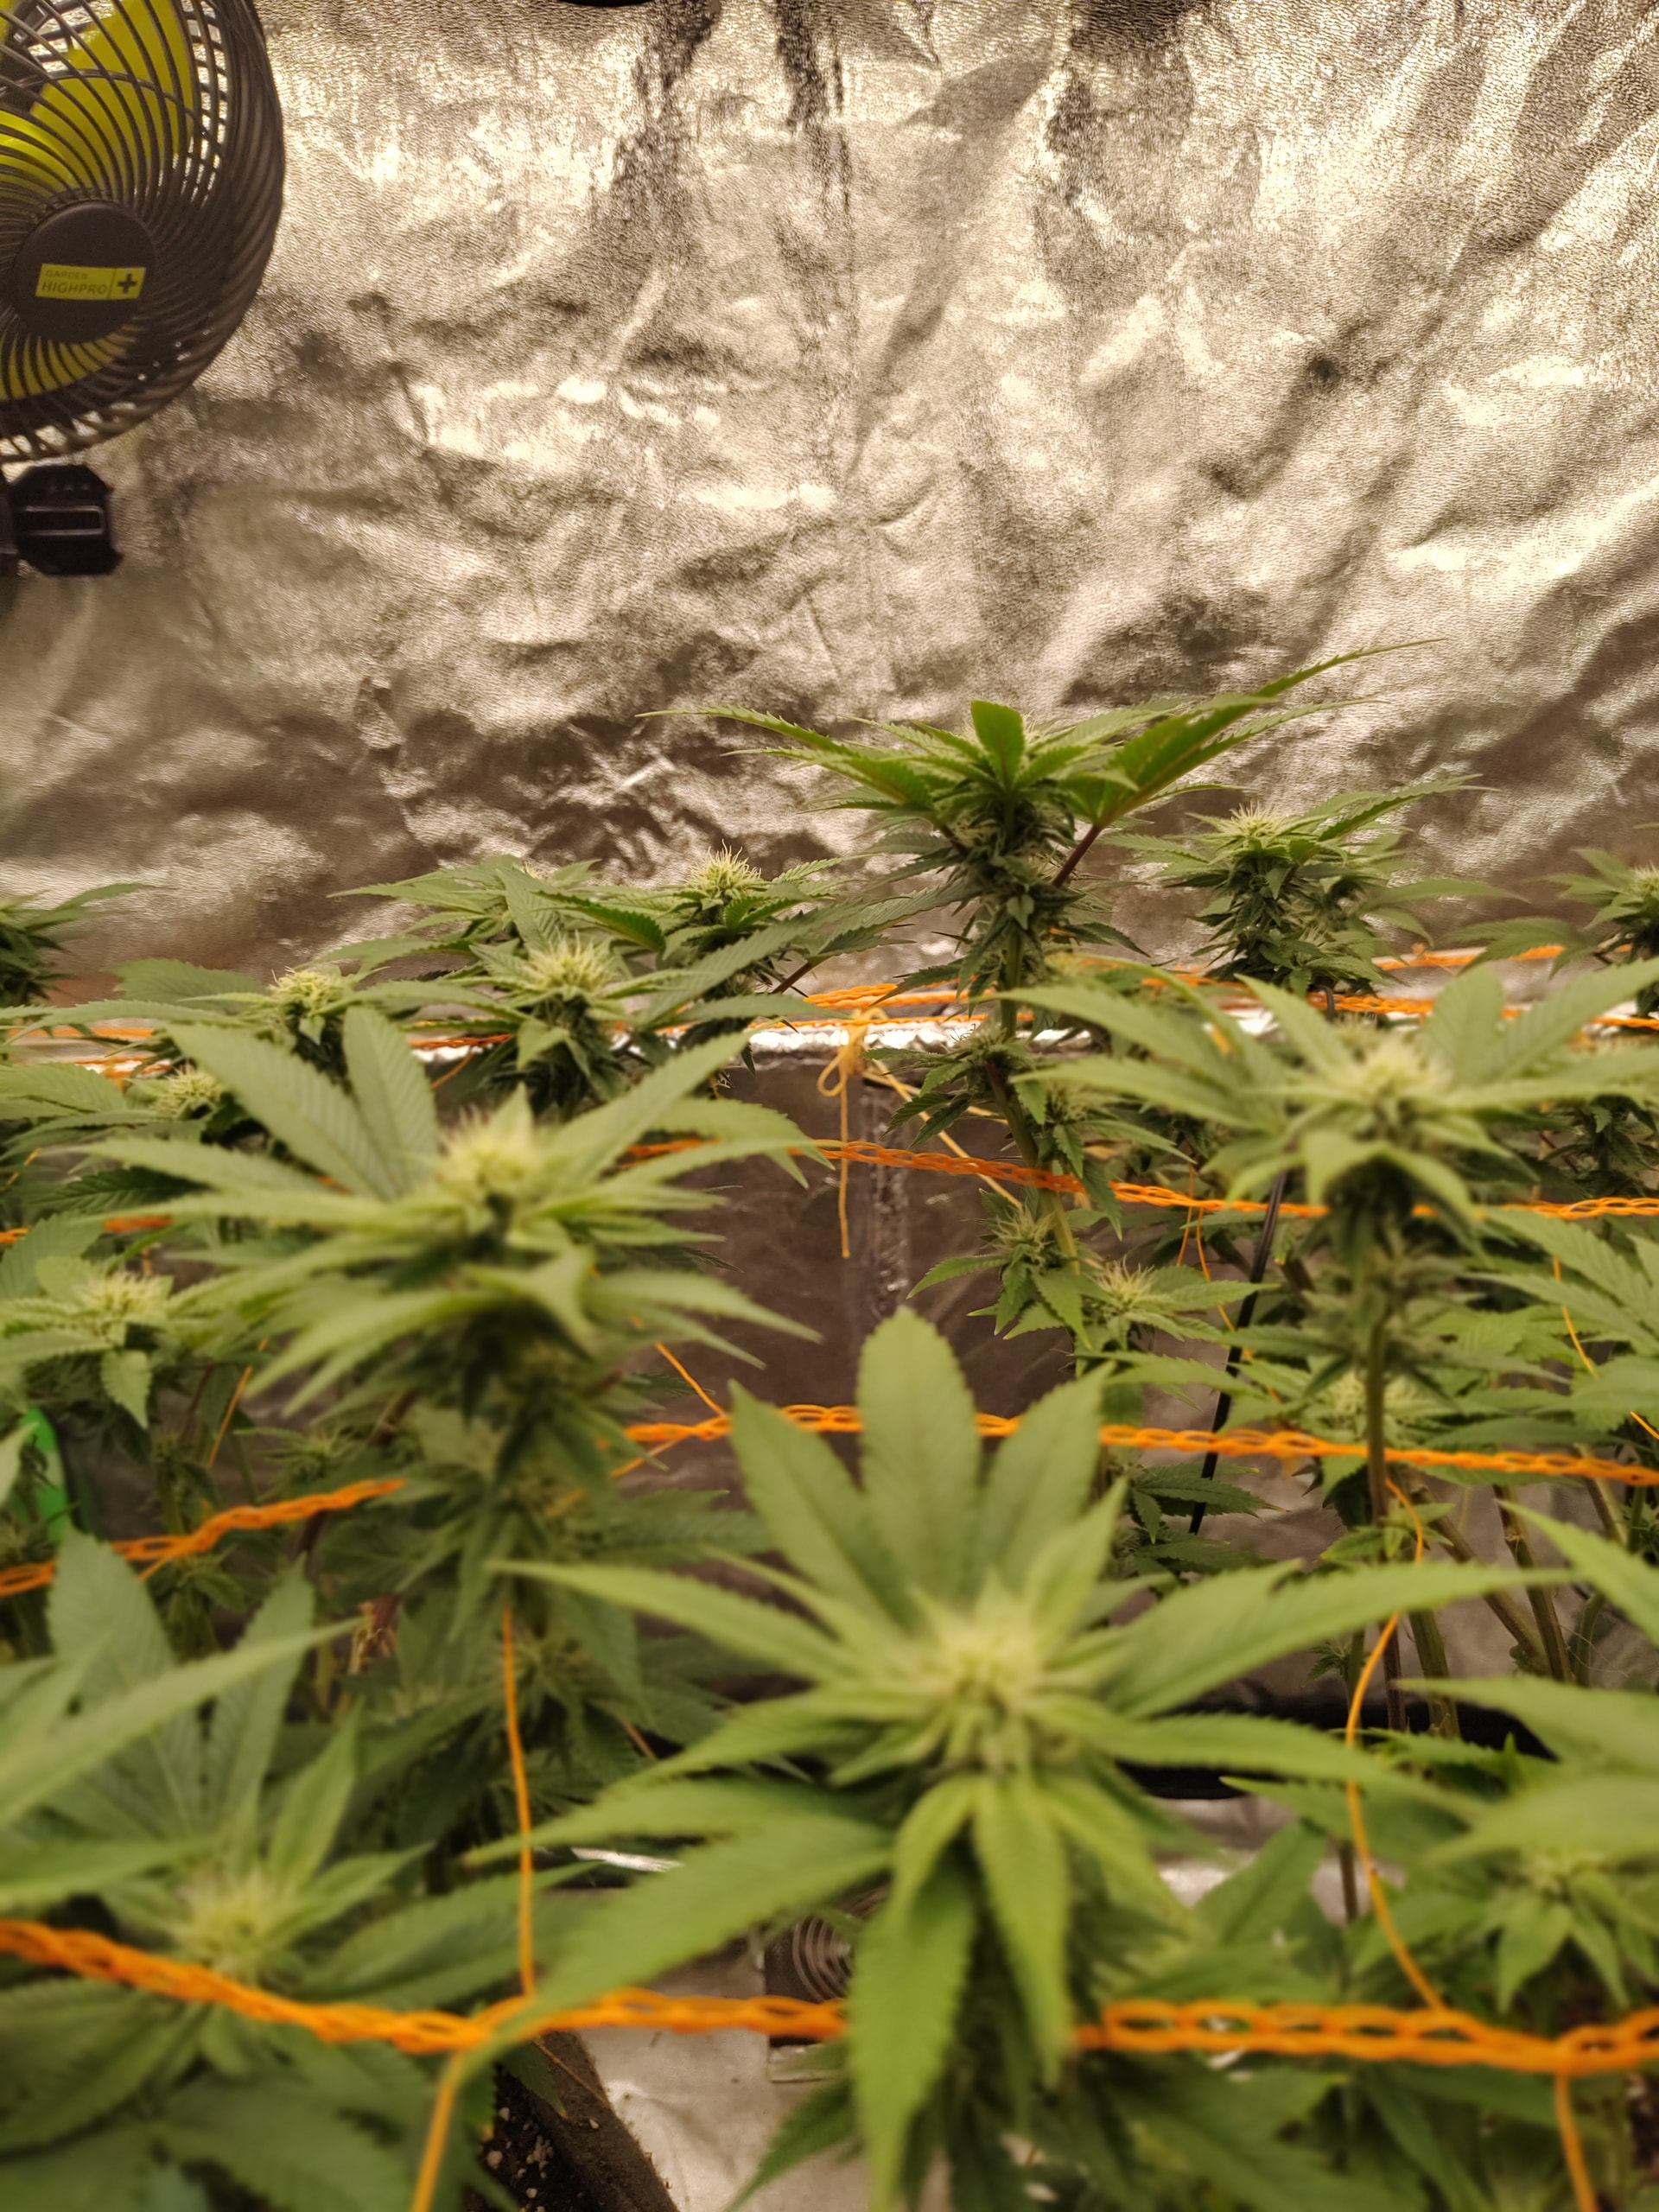
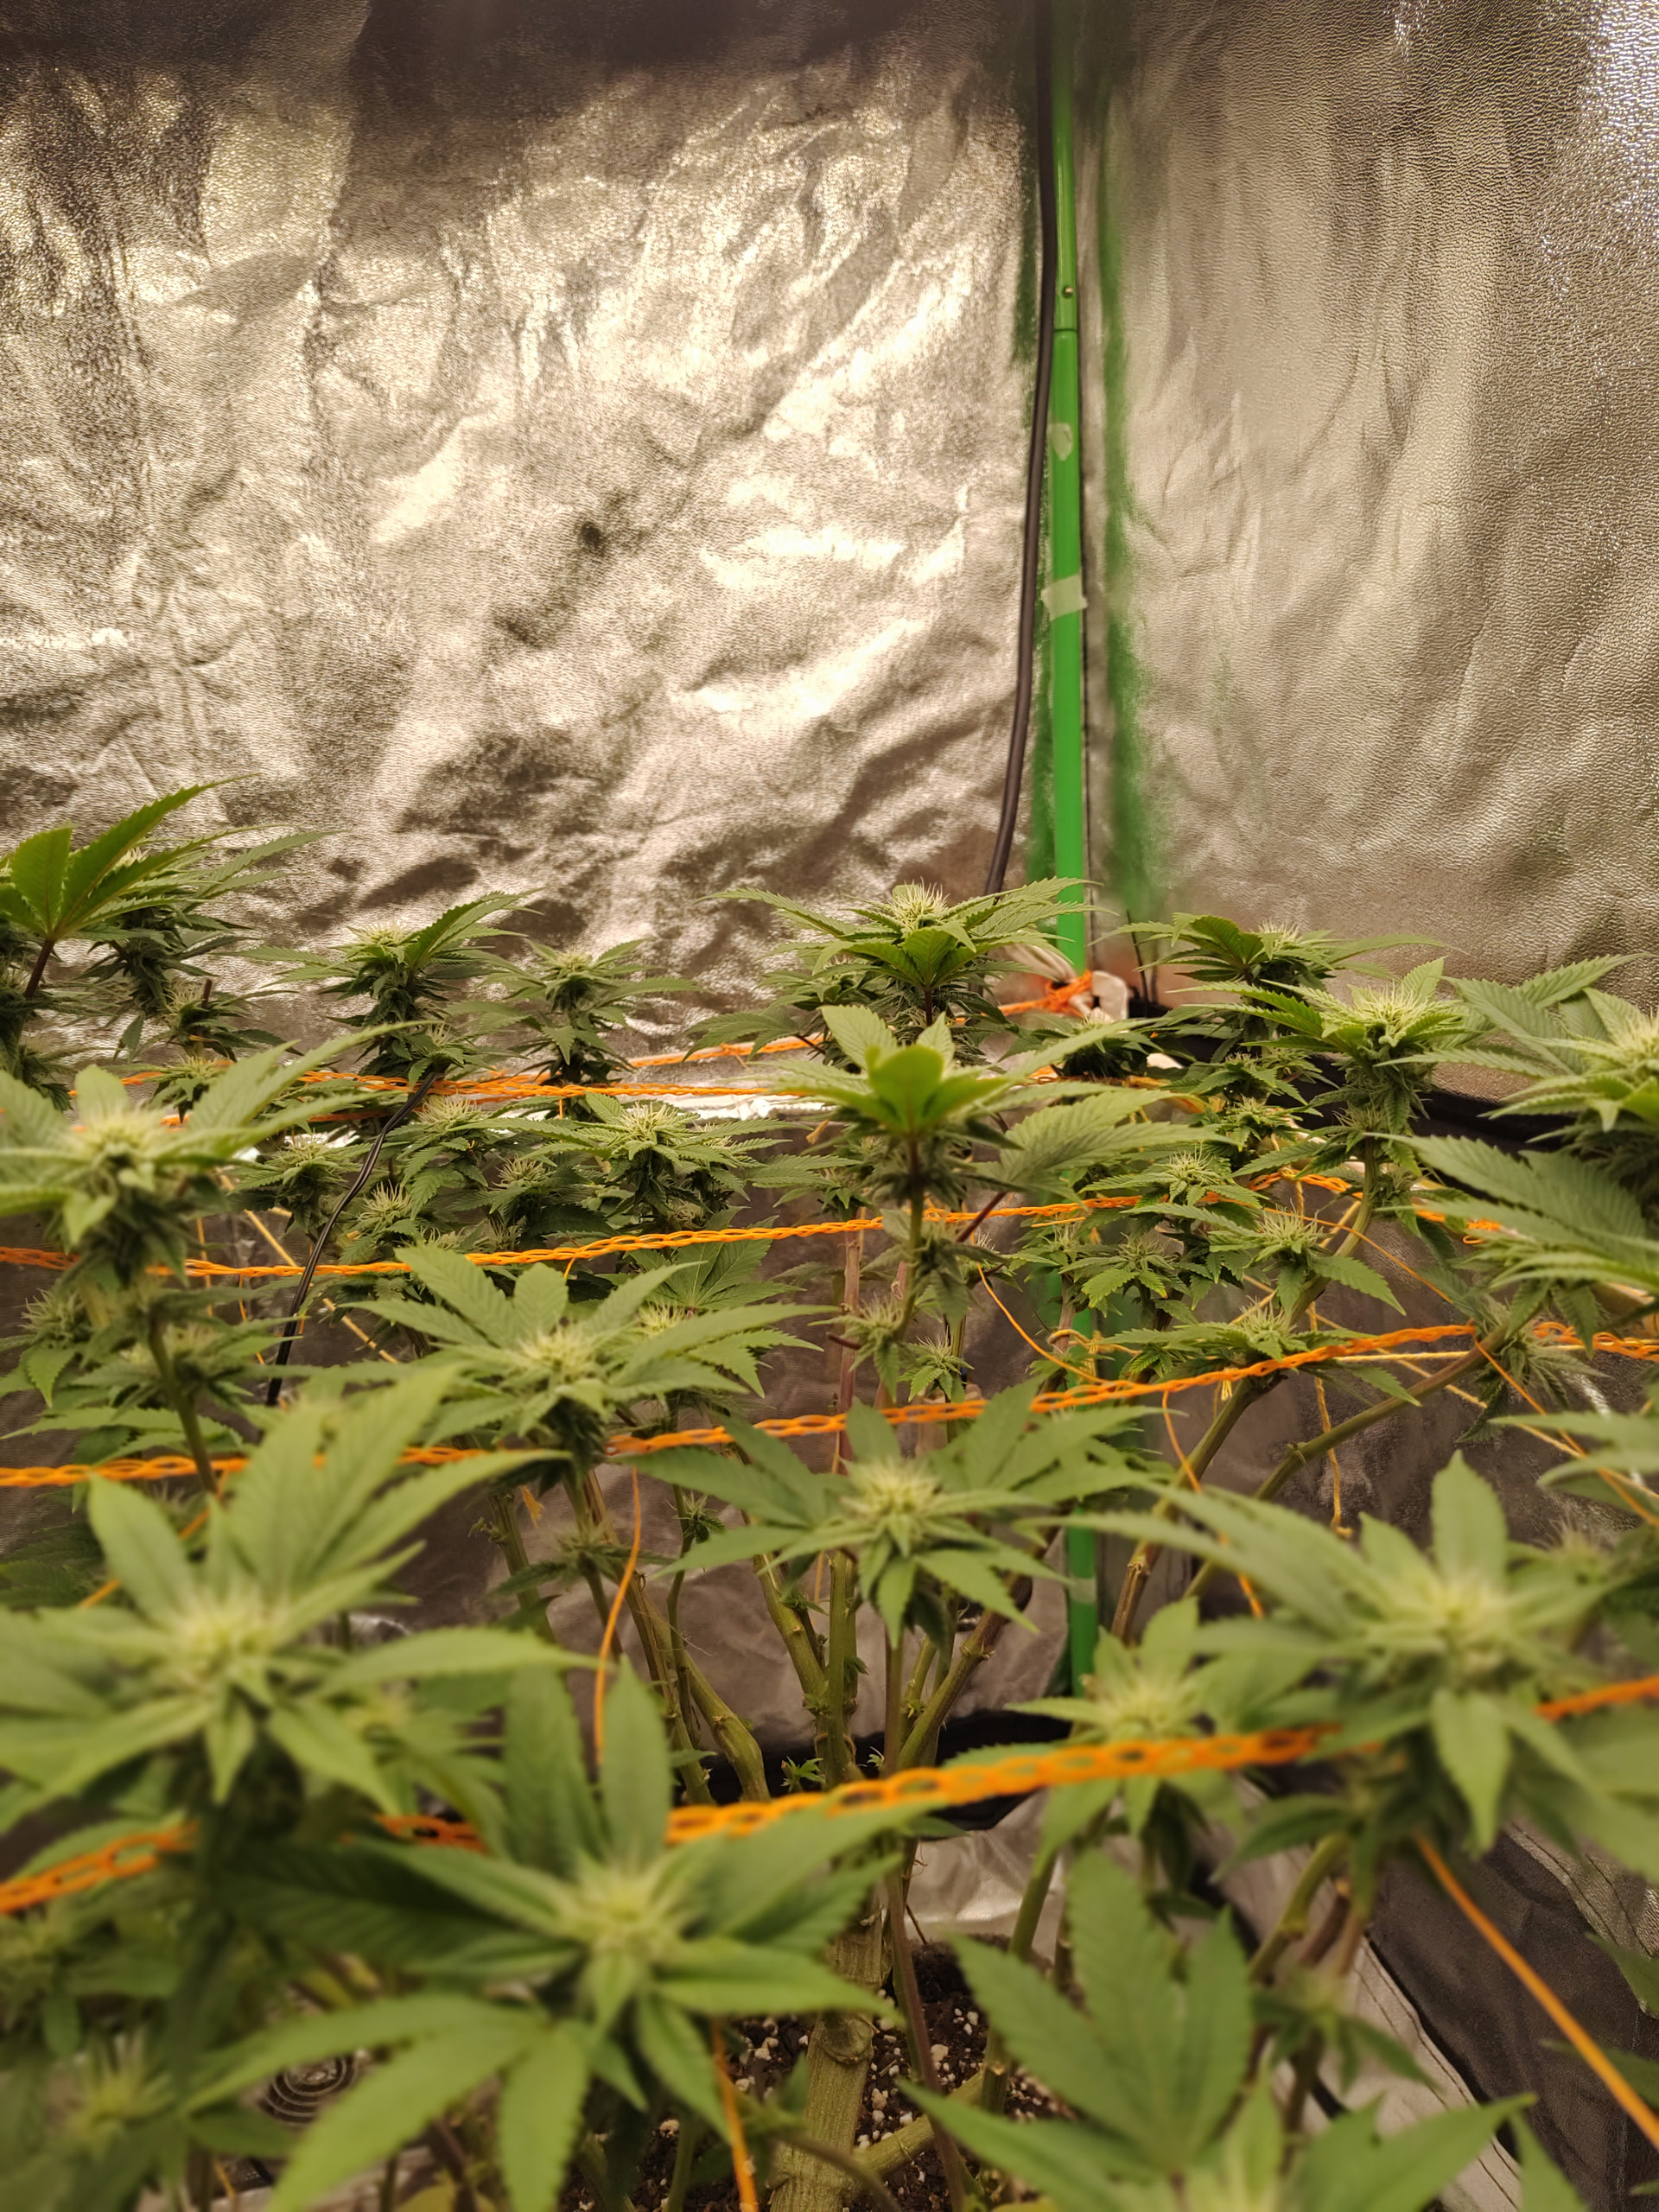
General Status and Canopy: The girls are showing enviable health, with a firm structure under the net and a super even canopy. The vertical stretch is completely behind them; now 100% of the energy is focused on compaction, floral mass, and fattening up.
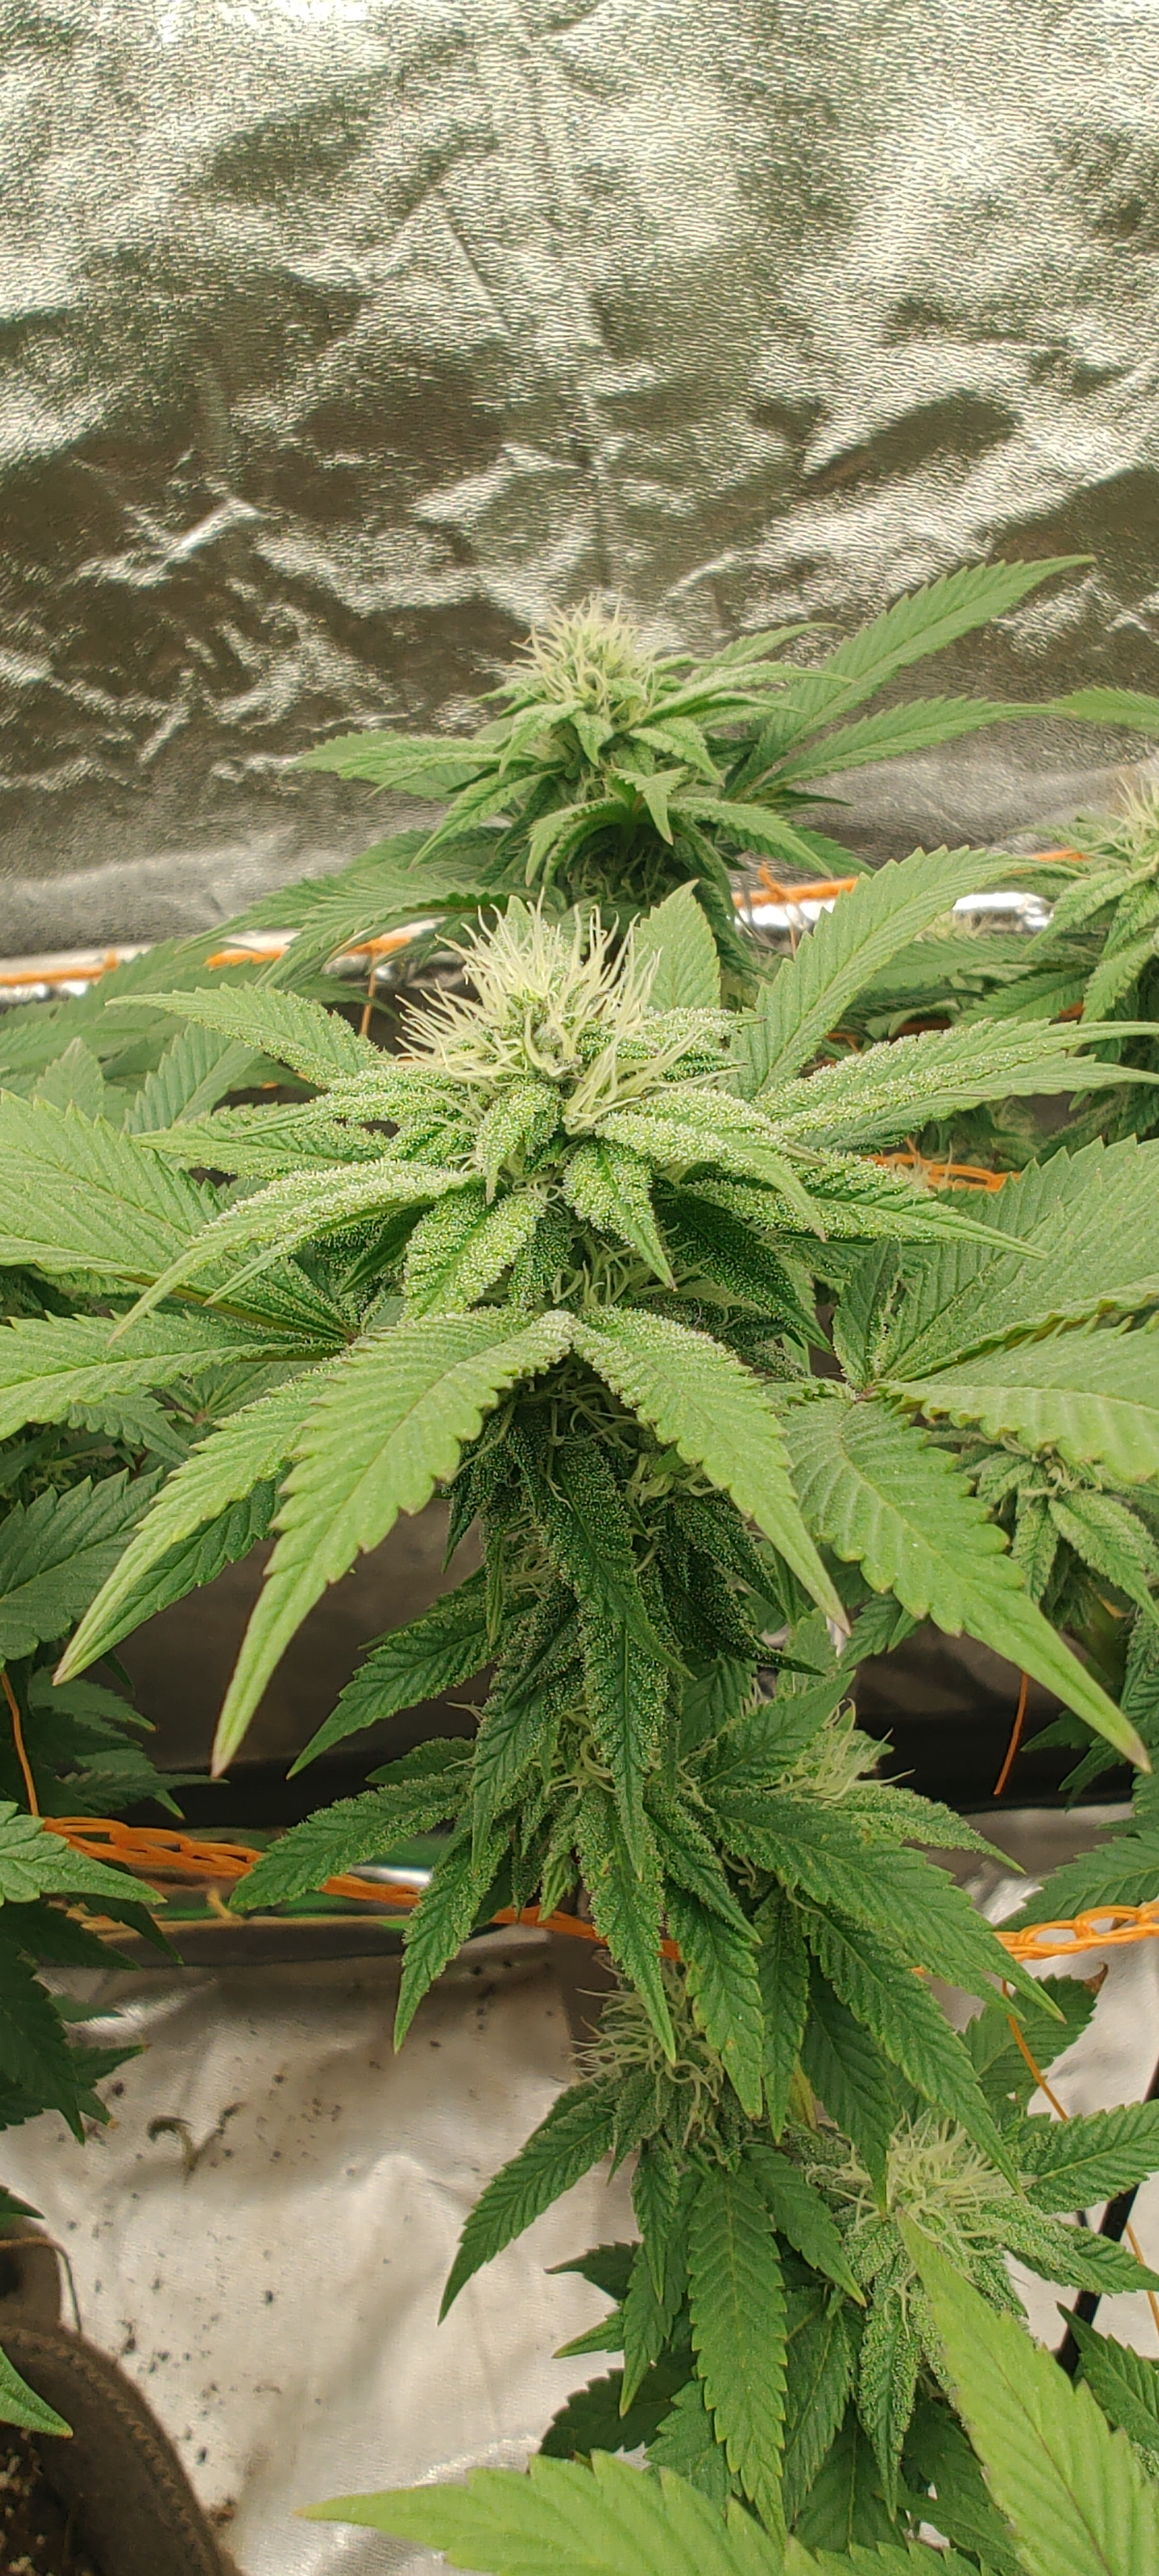
Flower Development and Resin: Looking at the bud details, the trichome layer looks extremely generous and shiny. The calyxes have already started to swell significantly, marking that key weight transition. As for the pistils, they show a slightly darkened or curled tone at the tips, which is completely natural and expected due to the breeze from direct ventilation and the ripening process (without any light or water stress).
Climate Control: The bunker keeps operating with an unbeatable and fully controlled summer climate. We are working with a stabilized temperature of 27.8°C and a humidity of 45.3%. To achieve this, we have a super active air circuit: exhaust fan and coolers at maximum performance, complemented by the open lower air intake to guarantee a constant, fresh air turnover that prevents heat accumulation under the panel.
Watering and Nutrition: As for the substrate, after a tactile and depth check, I chose to delay watering by one more day. Although the surface and top layer tend to dry quickly due to the strong ventilation, the soil block retains an excellent internal reserve deep down. Therefore, the next scheduled watering for both twins is set for tomorrow, allowing them to absorb and make the most of what remains at the bottom.
Everything is running smoothly and shining bright! I’m leaving photos of how the bunker looks and the flower details today. Happy smokes and happy growing to everyone!
I was about to mention that, be careful if you are planning to force growth in a specific way, for example: If you are thinking about raising the light higher, be very careful with the internode spacing. But if you want to save some time in this phase, you can do it progressively and use Génesis, it is a product that ensures very positive node grouping
Best of luck and as our fellow grower says, always respect its timing, patience is the law of all science !!¡¡ but for the next one, choose the strain most adaptable to your environment and requirements.
Hi, jhonRambow! Thanks a lot for the good vibes and the advice. Luckily, the vertical stretch is behind us now and we are fully focused on compacting and fattening up, keeping the panel close to properly control the climate and structure. I’ll take note of the product and patience as a fundamental rule. Big hug and happy smokes!"
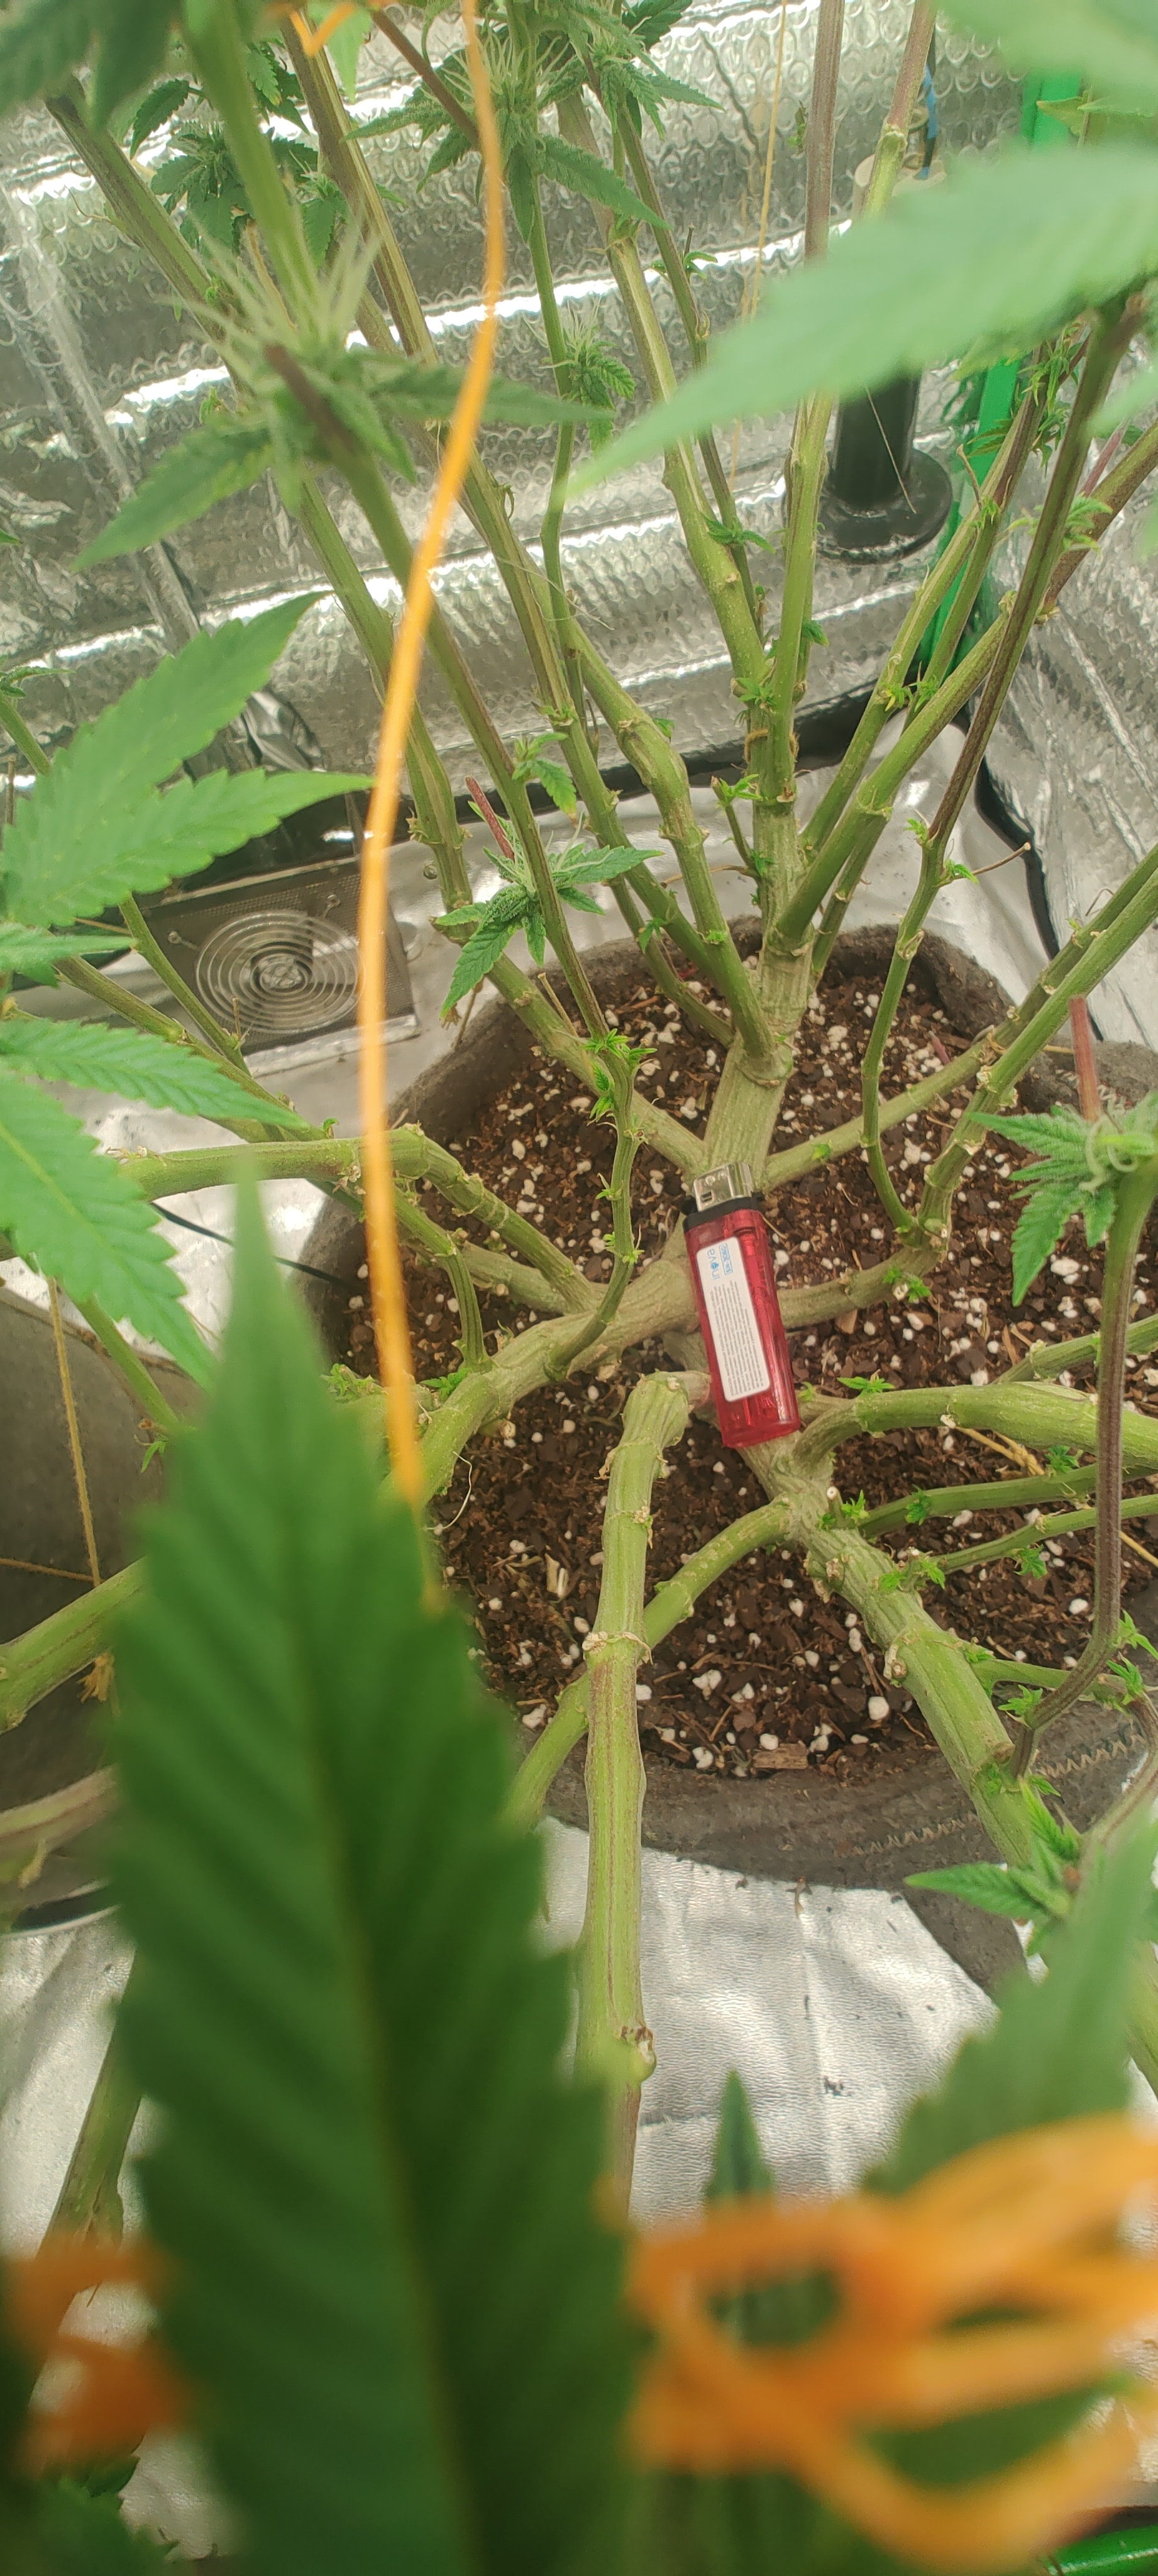
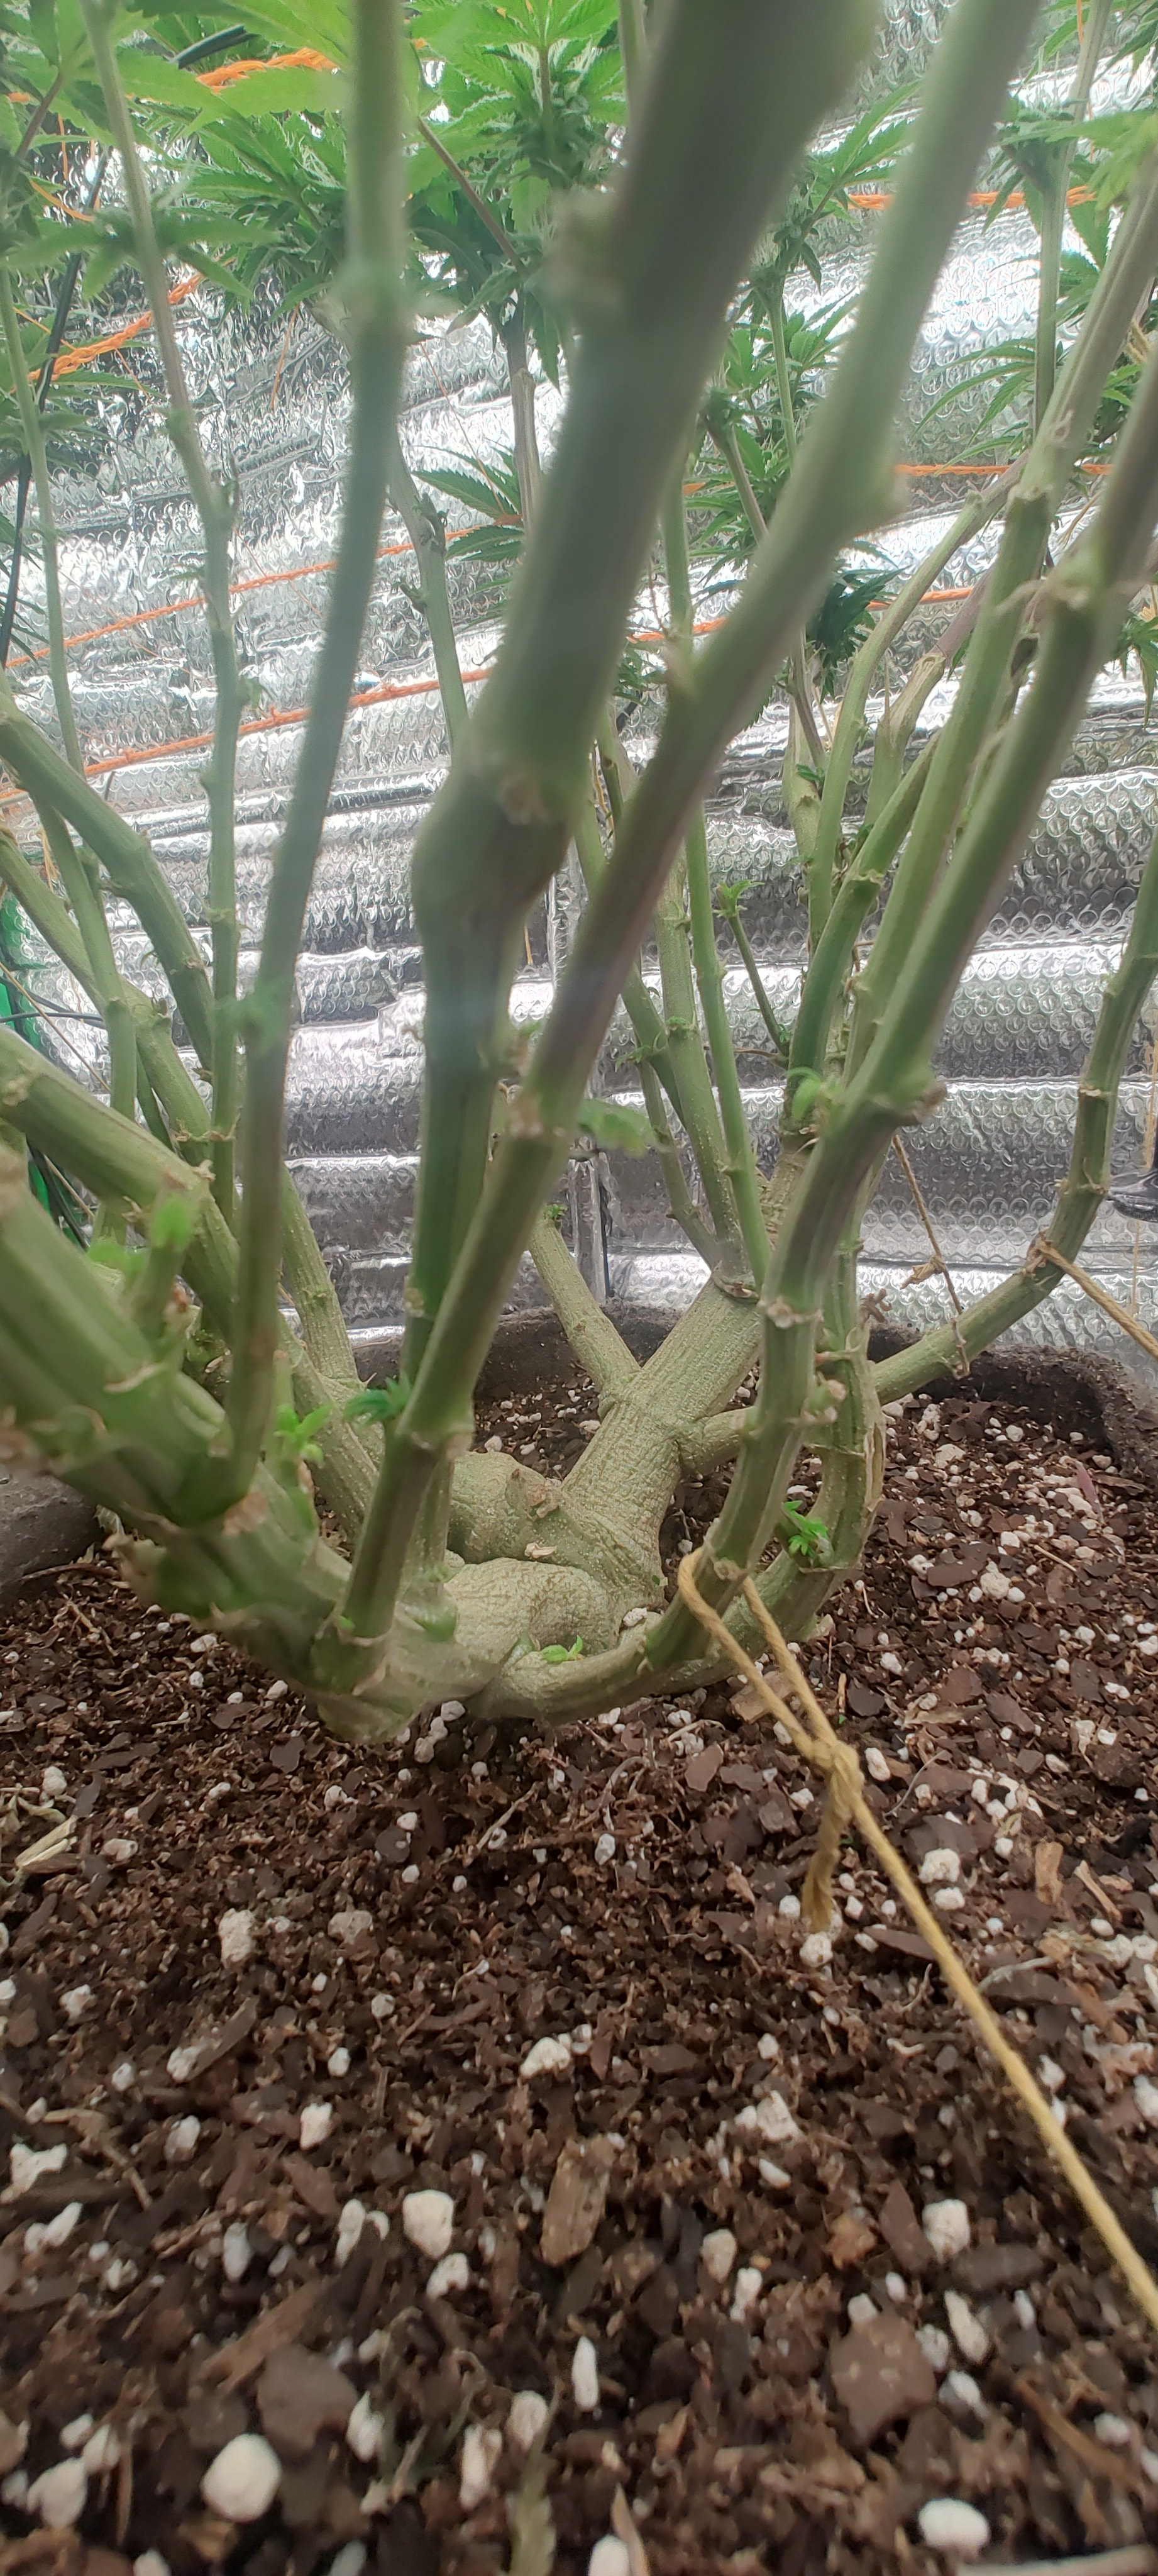
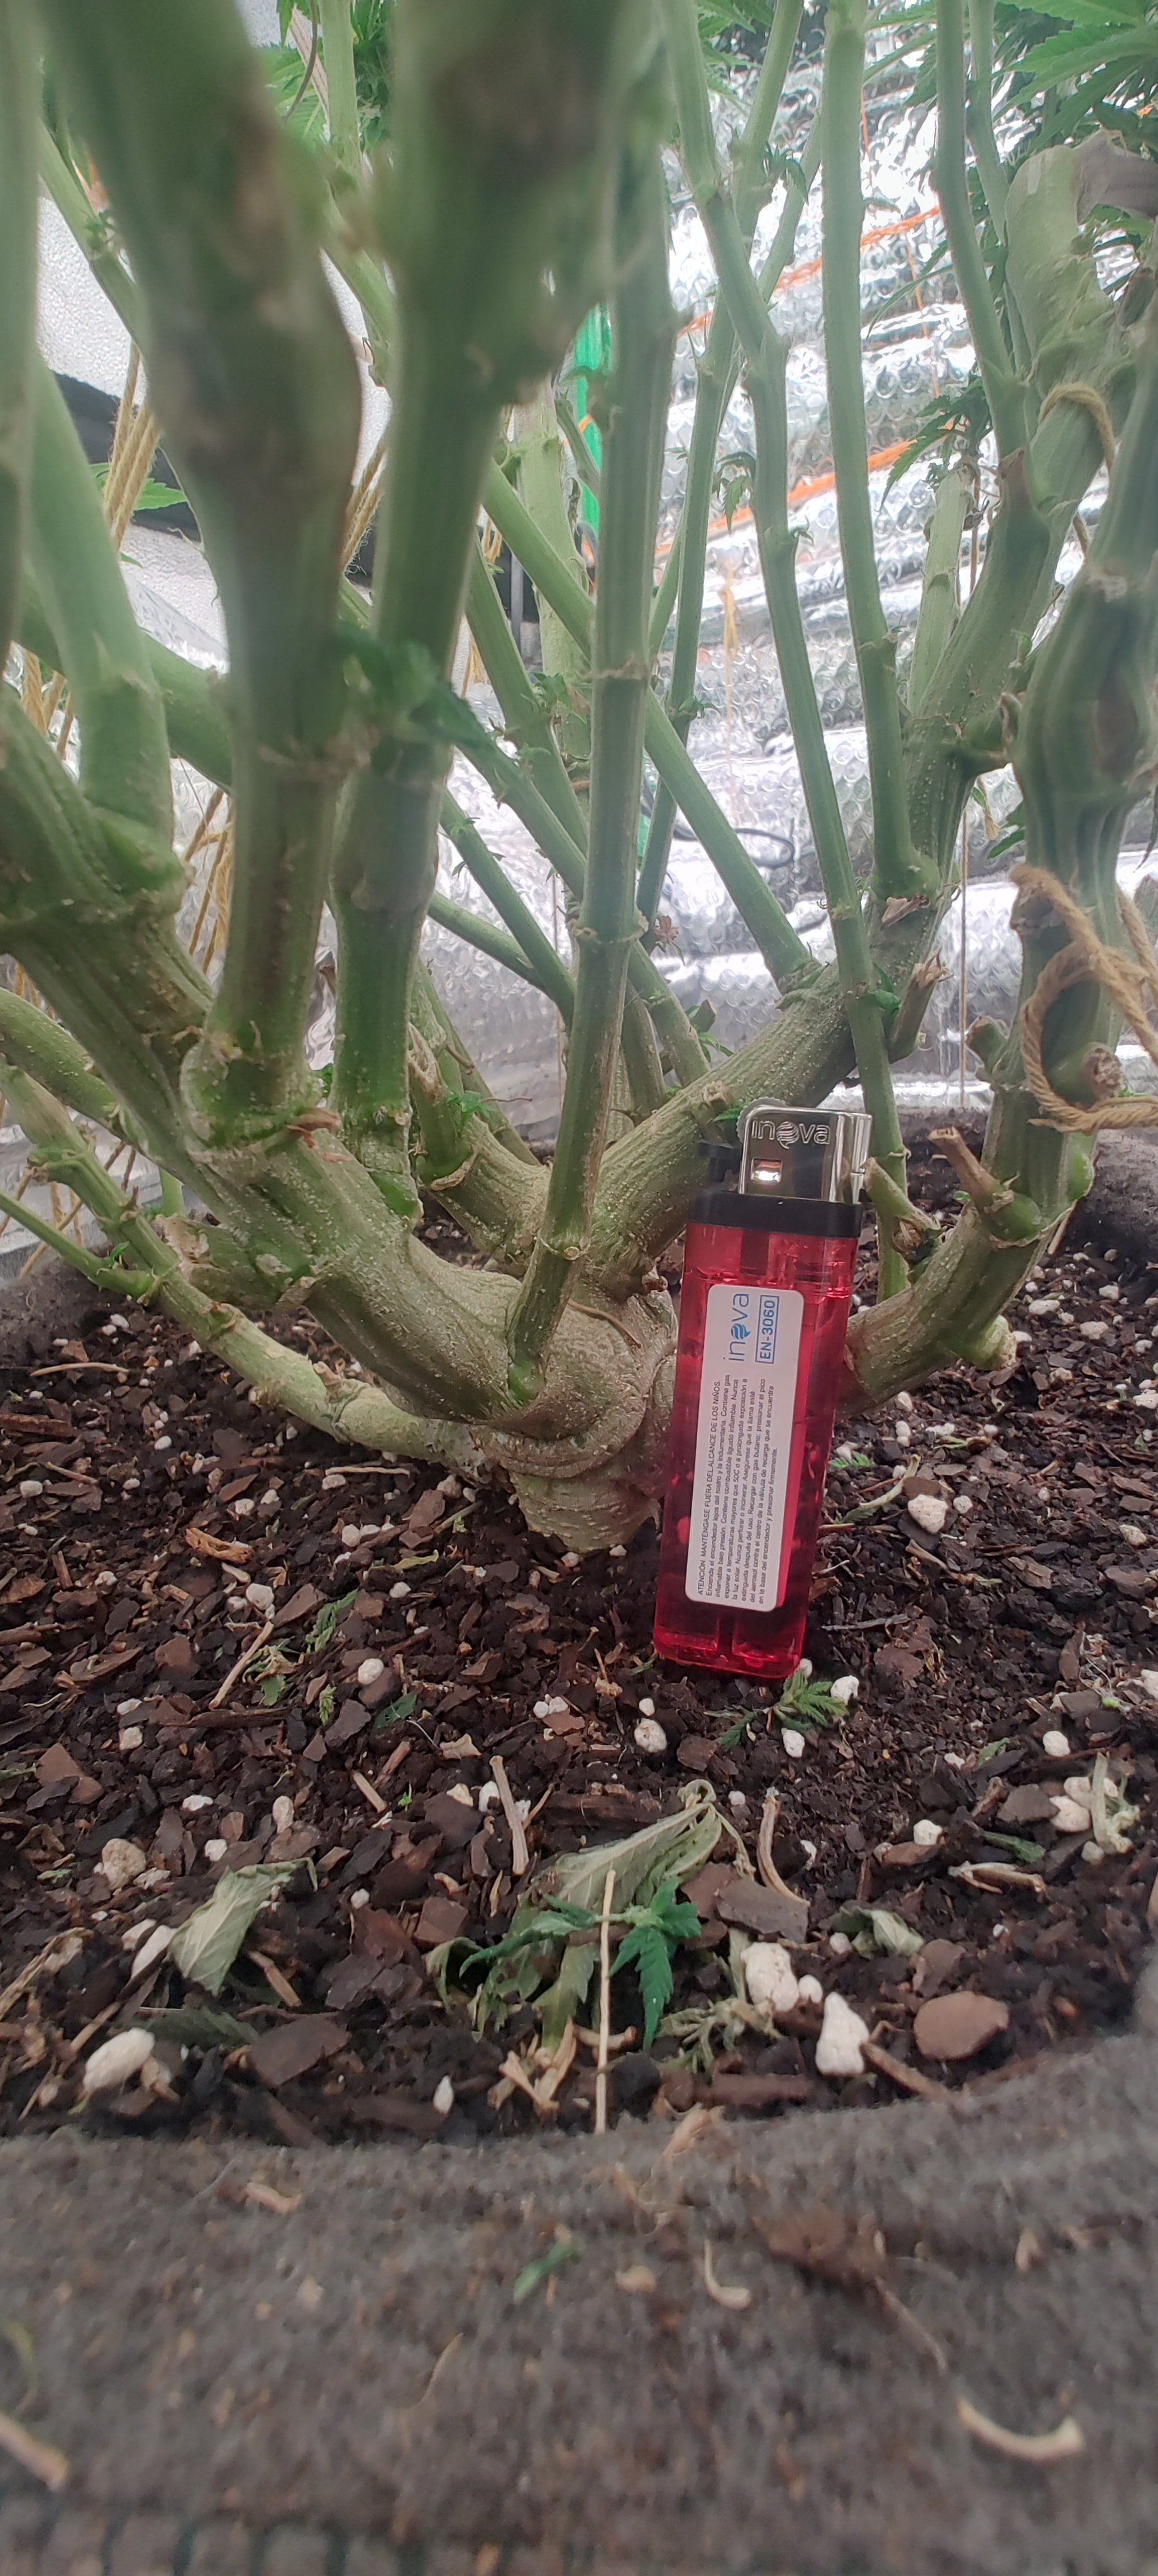
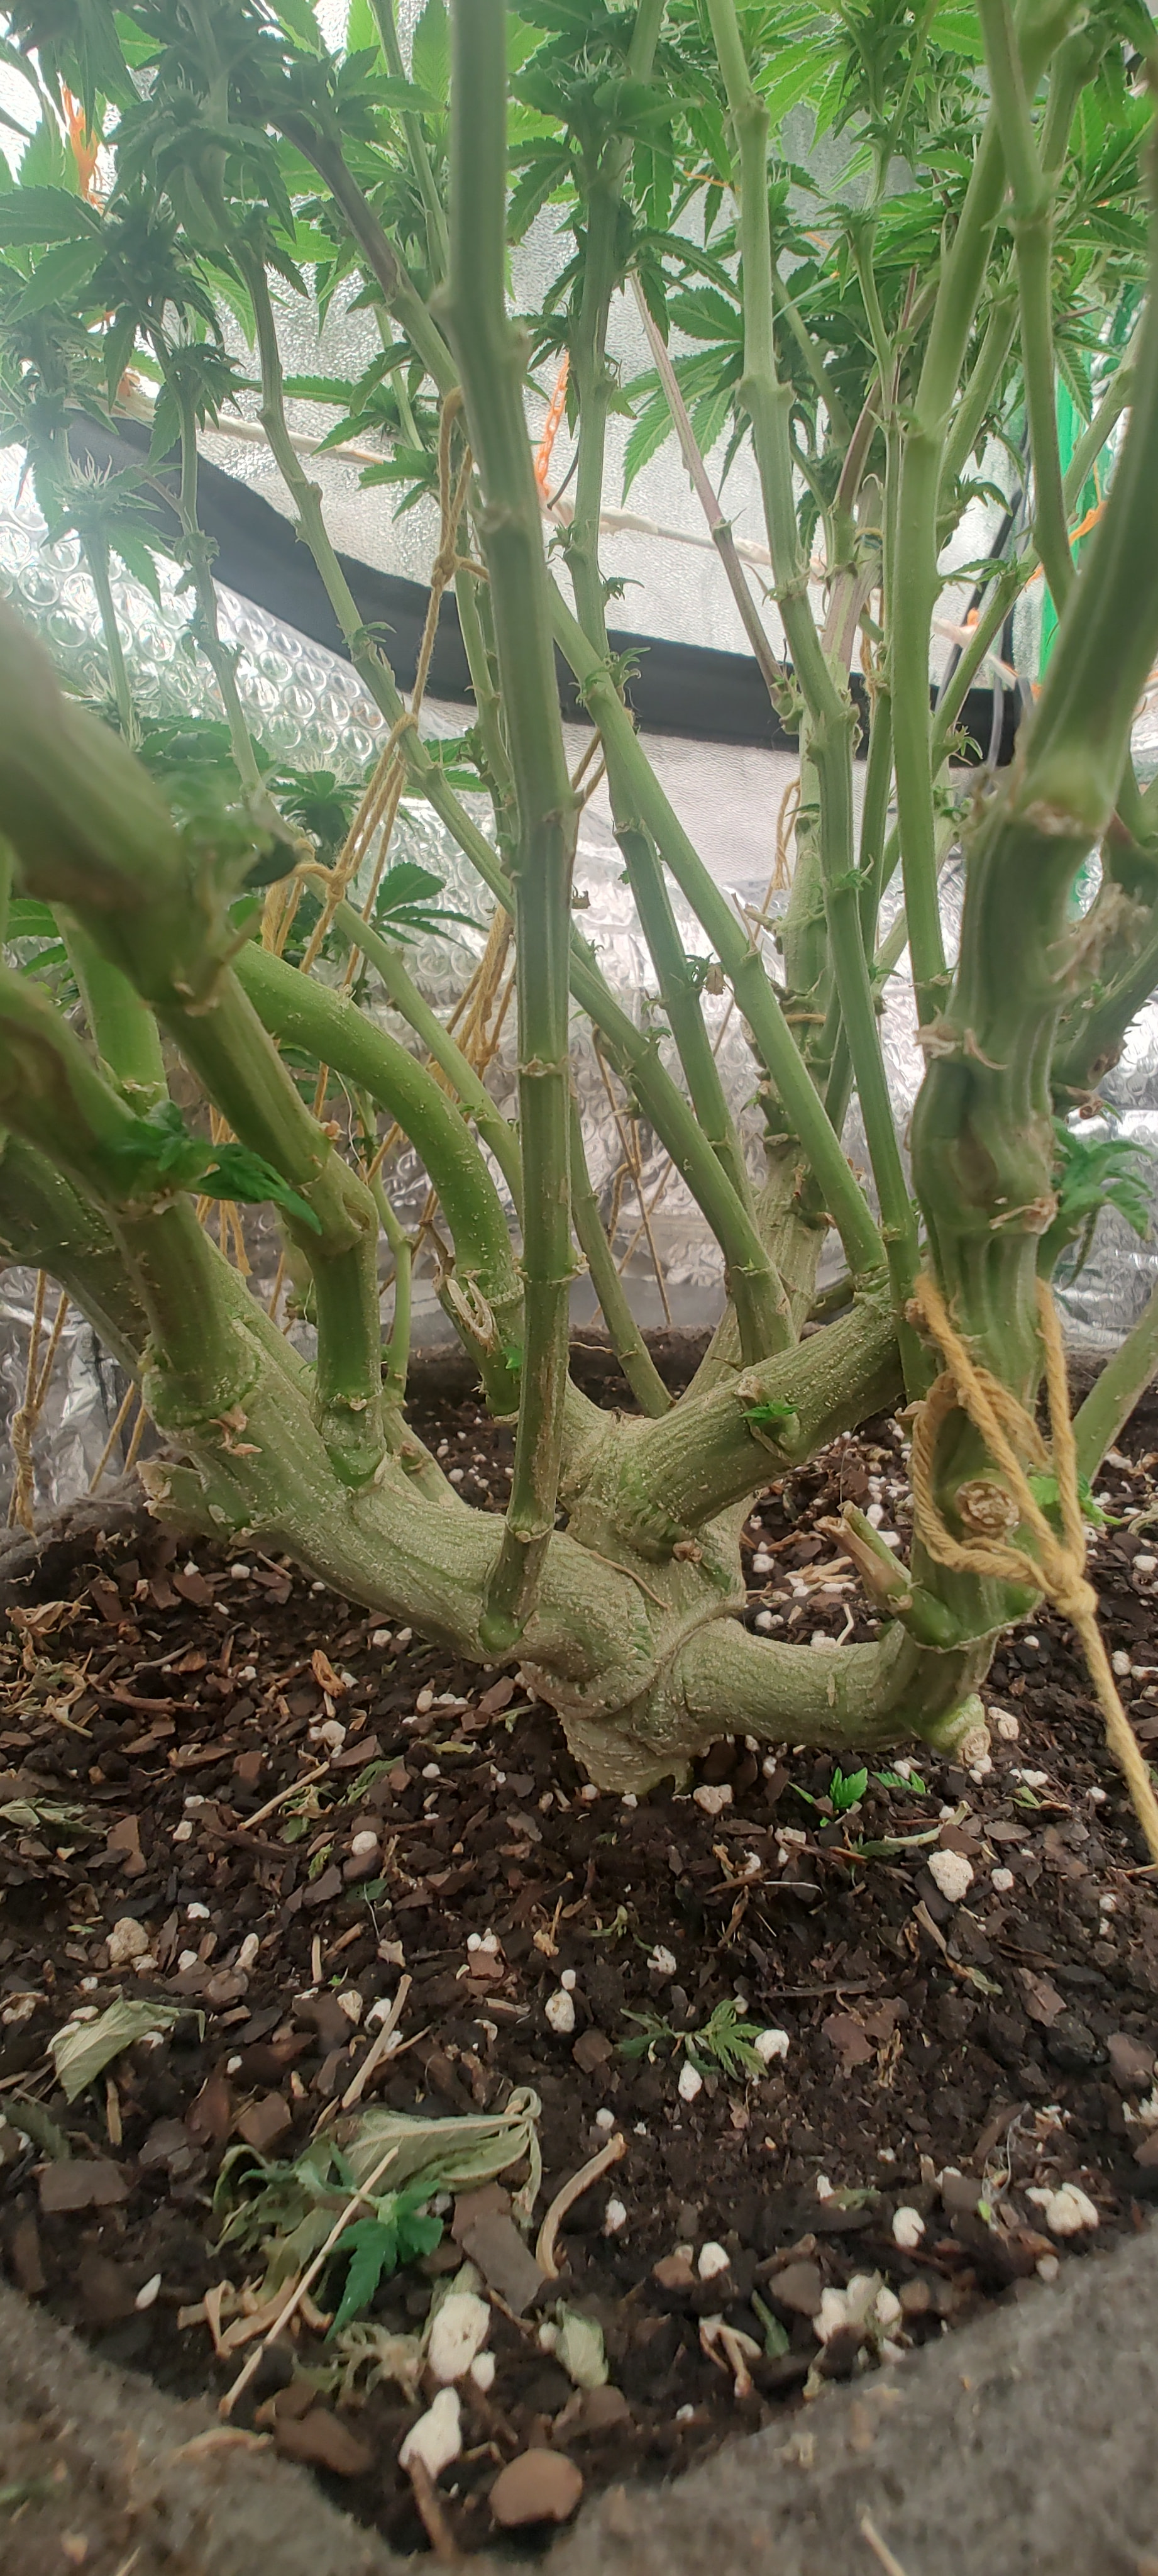
To be honest, it wasn’t a standard vegetative stage. We spent 13 weeks in veg and handled them quite a bit in between, doing topping and heavy defoliations; far from stretching, they stayed really short and super compact. On top of that, keep in mind that this is the first time I’ve set up an indoor grow
I started out without even knowing how it worked, not in the middle of winter, nor summer, nor anything. It’s all experimentation; this is the first test grow where we’ve been learning as we go. That’s why I made this post—I’m actually grasping at straws, but well, something will come out of it, and any advice or helping hand you can give me is welcome. I’ll leave you the image and share the link to the Growlog in case you want to check out the step-by-step. Thanks for the good vibes and the sharp eye!
 I completely agree with your analysis regarding base water and the origin of feeding charts. Adding to the discussion, I’d like to share how we approach it through practical measurements for mineral management: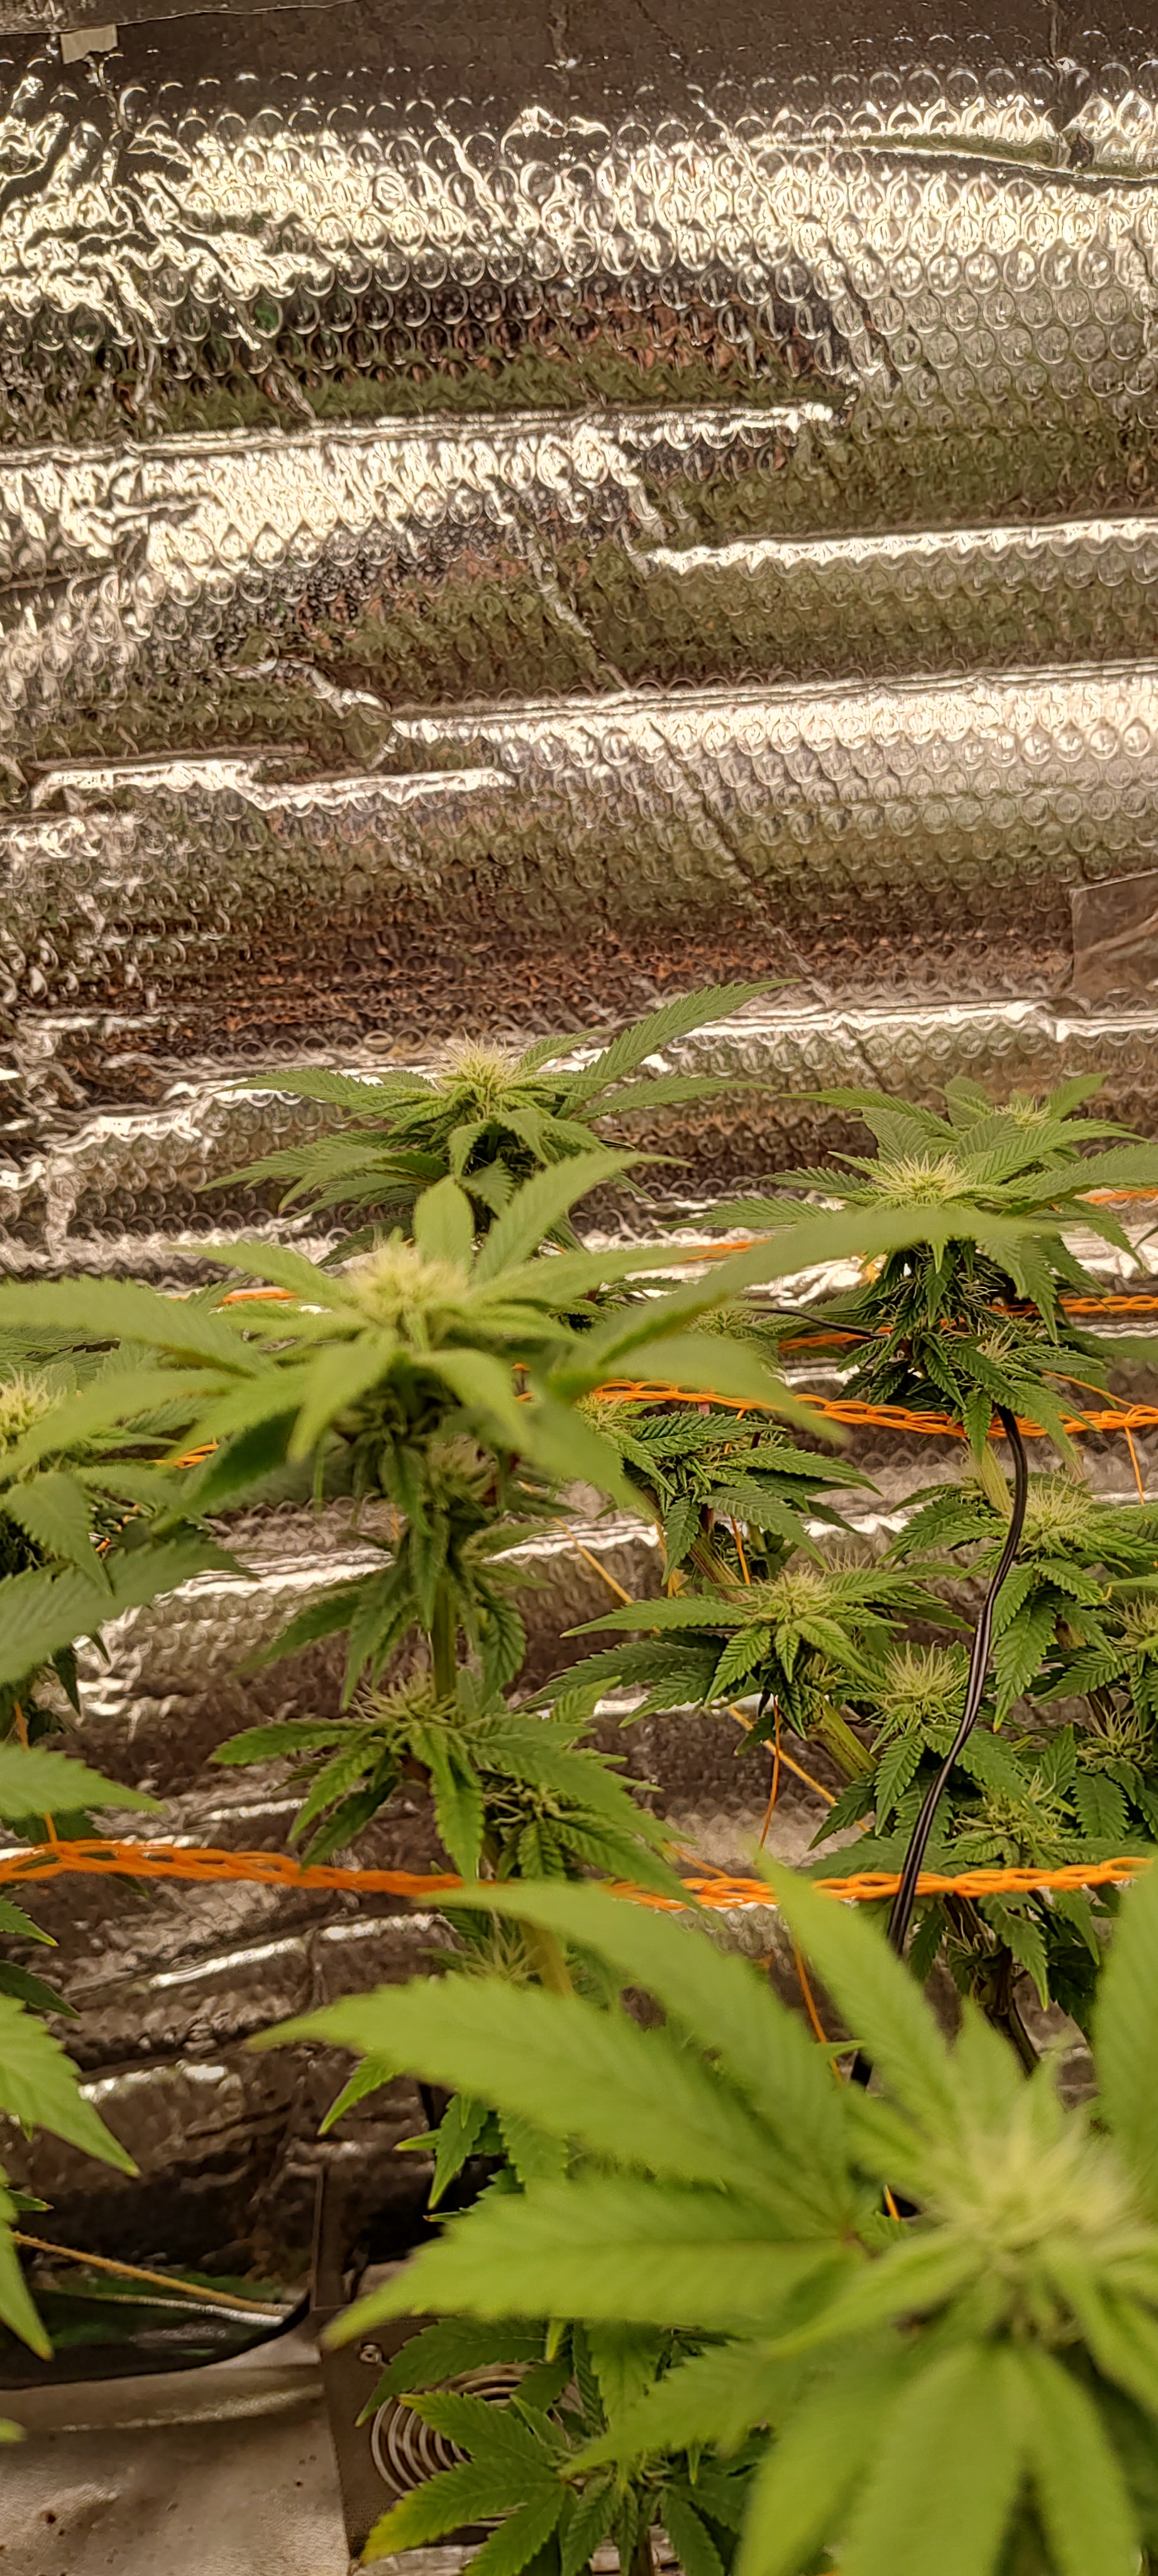






 warm regards